
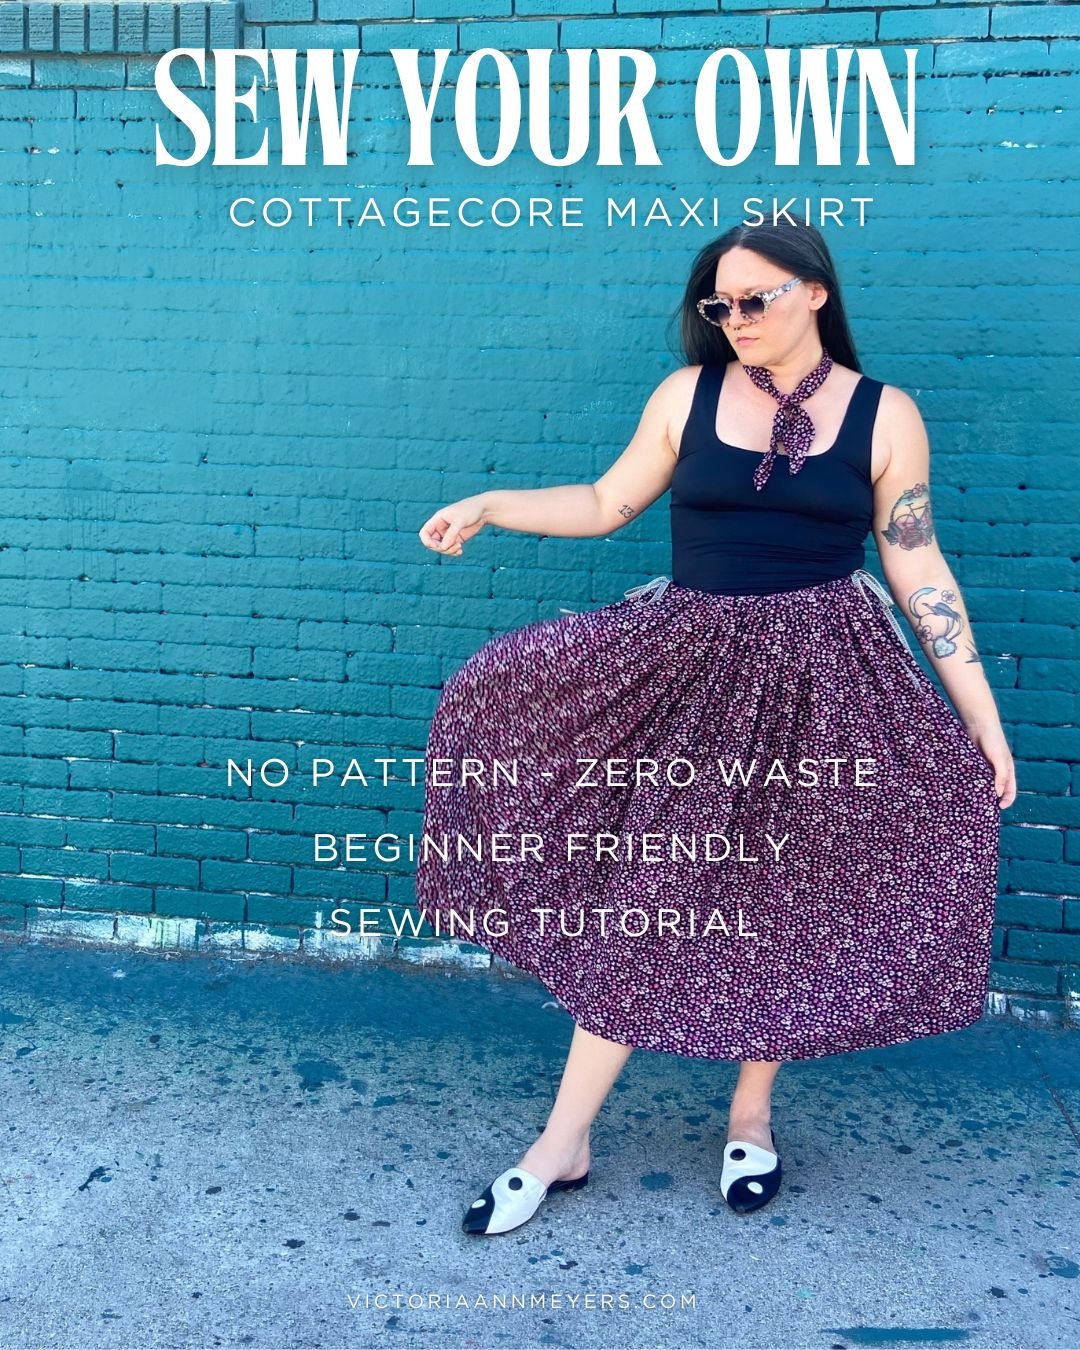
Cottagecore Maxi Skirt Sewing Tutorial (beginner friendly!)
Have you ever had a dream from a long-ago past life spring up, fully formed, from deep in your subconscious, at a… very bad time for that to happen?
Like a… I am way too deep in a very different life than the one I had back when I believed it was possible and am somehow even less equipped to make it happen.
But you can’t let it go and even get about ¾ through a business plan before you realize that with everything on your plate (being a chronically ill, low income single mom with 100% custody juggling running her struggling small business, an internship, navigating disability services for her son, and applying for jobs, WHILE RUSHING TO FINISH HER BACHELORS DEGREE and going through SEVERE burnout that no one in her real life circle will acknowledge or help with), you simply can not add in learning how to apply for grants to fund this long-dormant dream.
So you try to let it go… but it just won’t leave.
And now, nearly two years later, you are still a chronically ill low-income single mom with 100% custody, juggling your (finally stabilizing) small business, an internship-turned-part-time-remote-job (plus another part time job and freelance client work), a busy (but consistent) schedule of disability services for her son, taking her time working through her MBA because clearly an actual job job is just not happening, noticing that the burnout is slowly but steadily lifting, but…
Not in a way that that makes it realistic to either self fund or pursue grant funding to actually rent one of the empty store fronts on your street and open up the sewing studio/maker space where I can teach classes that also serves as a retail space to sell the things I make (and also host community events?).
BUT THAT DEFINITELY SEEMS TO BE THE DREAM AND IT DOESN’T FEEL RIGHT TO NOT DO ANYTHING ABOUT IT.
Especially after two consecutive Craftcation conferences where I…
- Taught a total of seven sold-out sewing workshops
- Refined my niche as a sewing instructor (simple, self-drafted garments that help emerging sewists gain confidence through understanding how garment construction works and producing something they actually want to wear.
- Developed my projects, materials lists, instructions, and had in-person live testing
- Remembered that I absolutely LOVE teaching, and that maybe having to quit for pandemic reasons was a bummer.
- Received a ton of positive feedback and was asked every time where else I teach (and had to answer, nowhere, yet…)
- Realized that while I don’t have a location for teaching, or a local audience/following to financially justify renting spaces to teach workshops… this doesn’t have to be just a one-time-a-year thing
AND, a months-long mental health crisis this year where it’s really hit me how much my life is just, not happy. Every day I am stretched beyond my capacity, with an endless list of demands to react to, and very little opportunity to proactively create anything I want. To the point where, I’ve lost so much of my ability to even know what I would want even if I could pursue it (this has been highly problematic when it comes to the rare instances when somebody does want to try and help).
But this dream, the one that won’t leave me alone? I think this is a real, genuine thing that I want. Something I can put my creative energy into instead of just scrambling to react to my (objectively awful) circumstances. I think I really do need this.
As much as I would love to simply quit everything else I do and dive headfirst into building it, I also have to live in my real life, where I’m doing everything by myself, with no safety net.
So I’m starting small.
I’m starting here.
With a tutorial for the skirt project I designed for my 2026 Crafcation proposals (it wasn’t selected but THREE other projects were!), that I hope to develop into an actual sewing pattern, and would be happy to teach in person (if you have a venue and clientele).
This skirt is the perfect first garment project:
No paper pattern
Only straight seams
No closures
No fancy finishing techniques
And a truly size-inclusive garment that is anything but basic.
Oh, and the opportunities for customization? Endless. But we’ll get to that later.
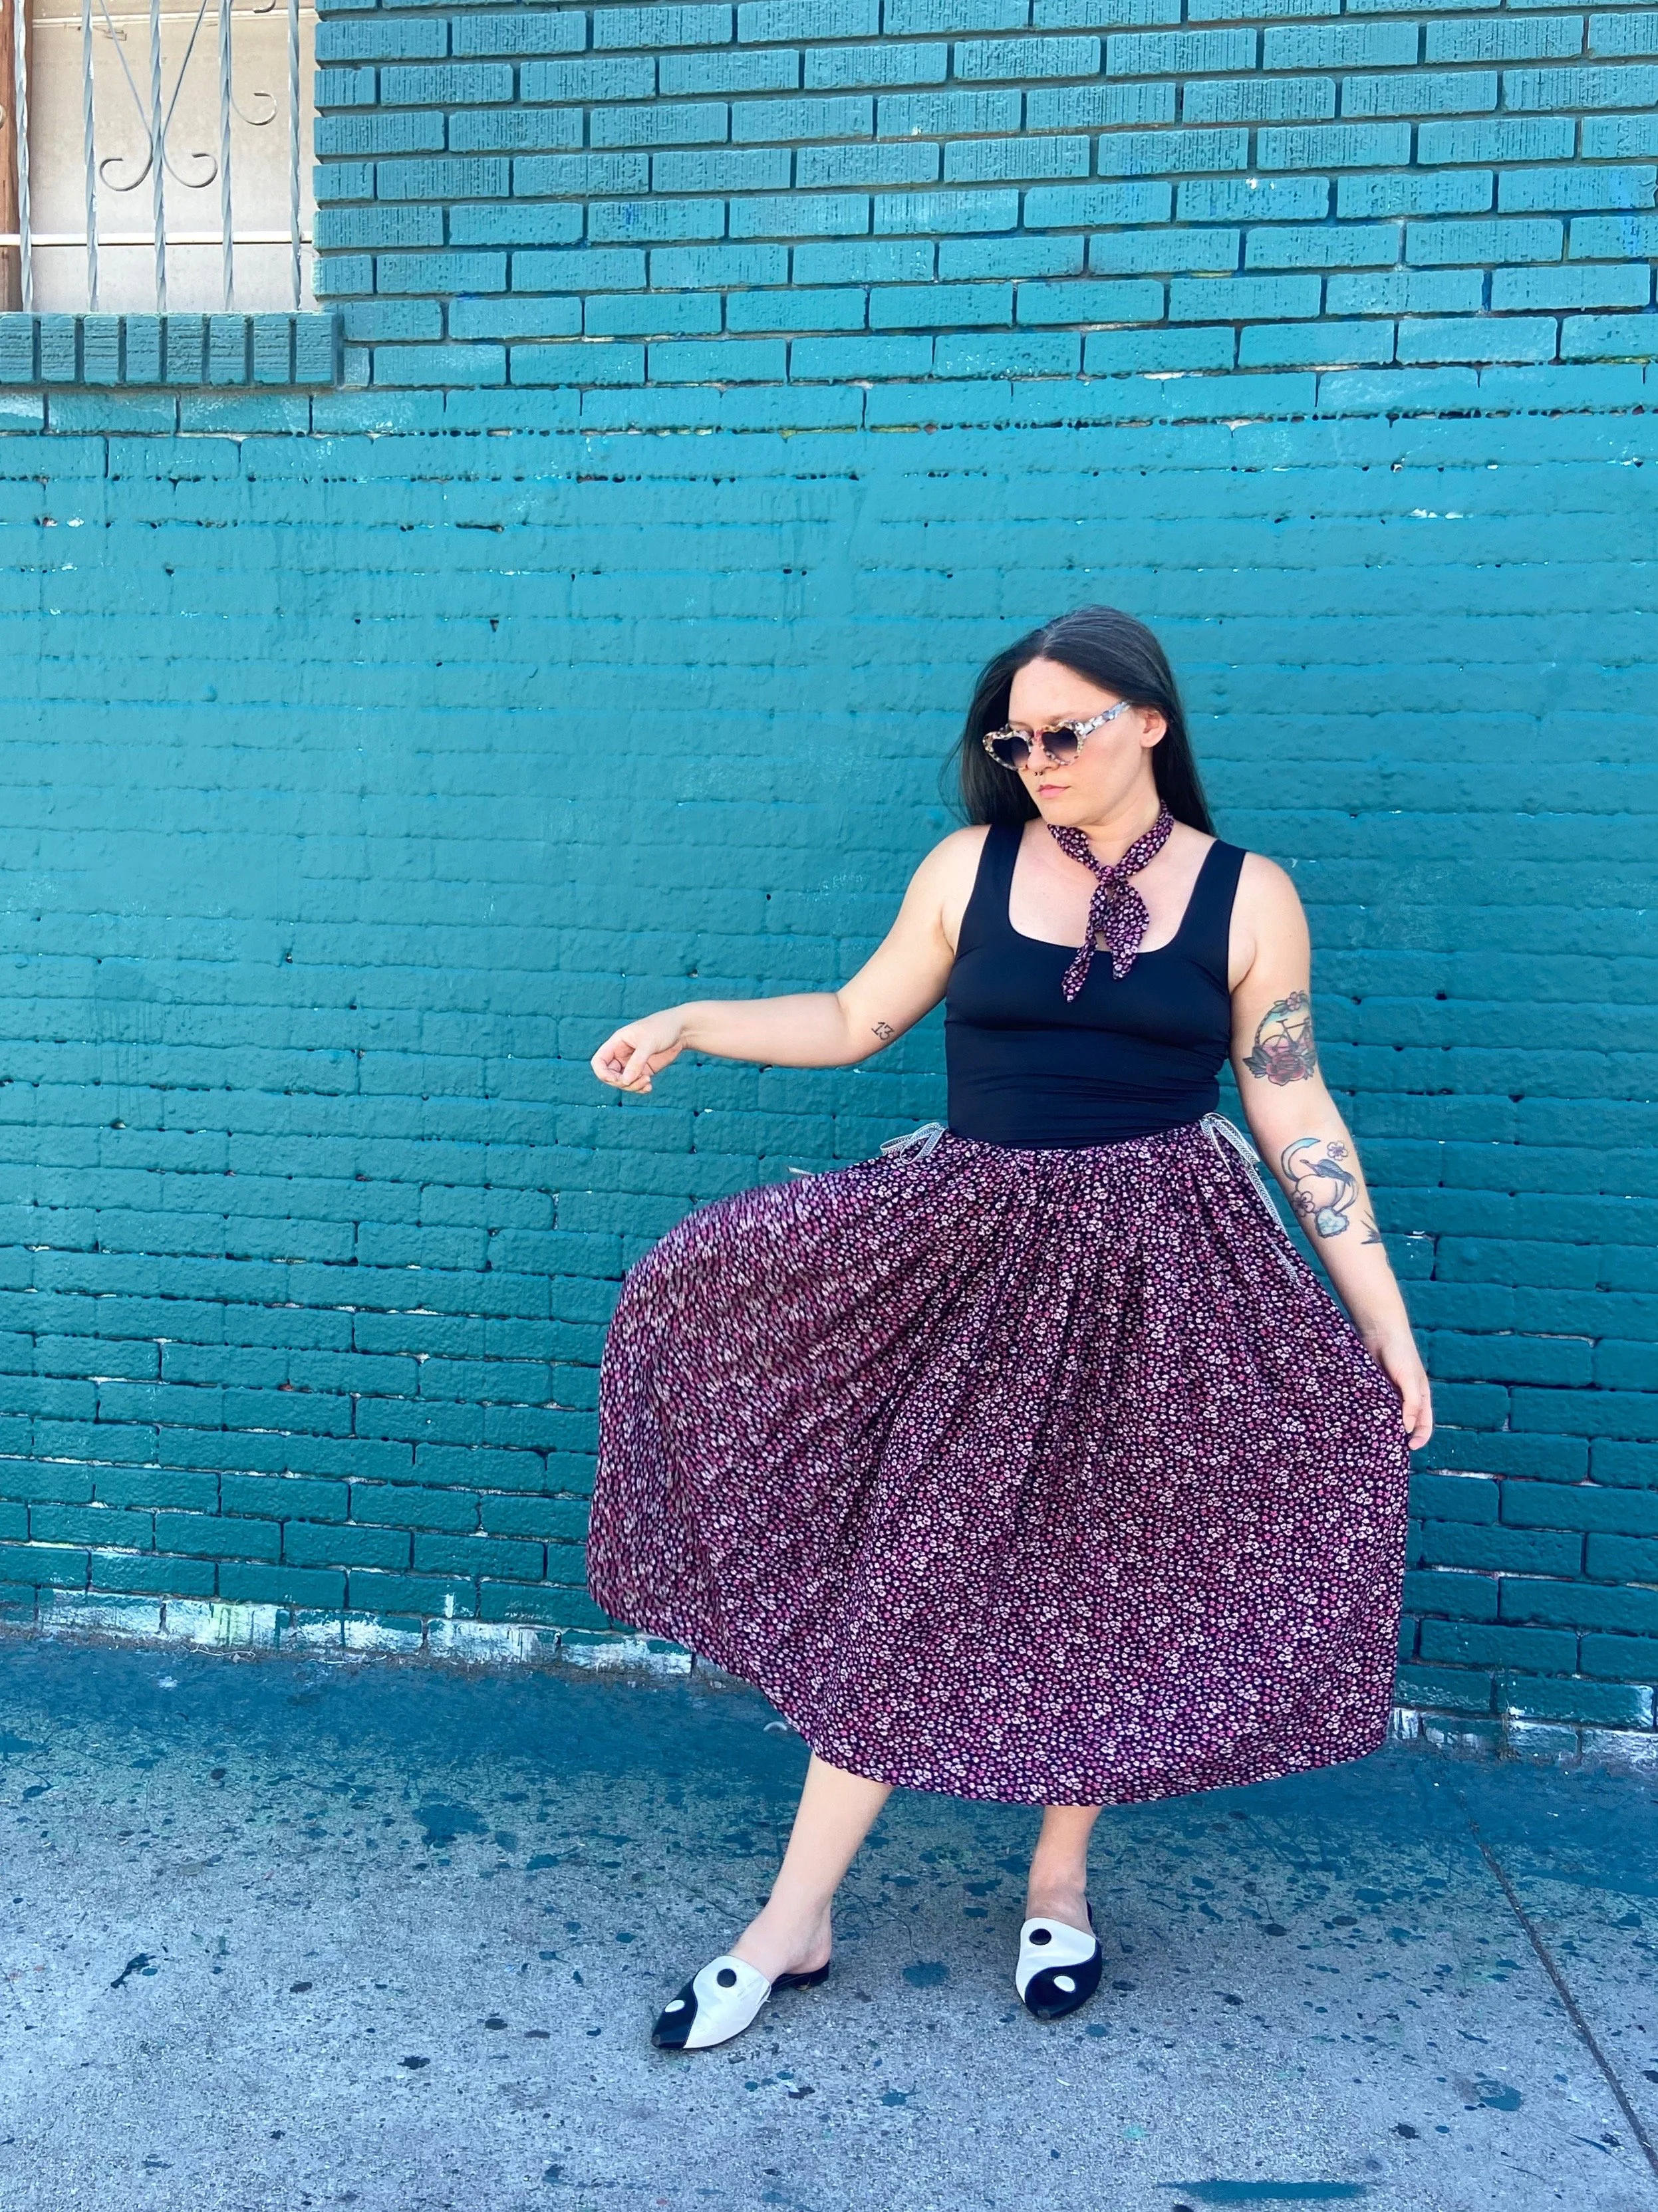
Today we’ll be walking through the cottagecore skirt of your dreams:
Custom length with plenty of ease for maximum swishability, and a darling double drawstring that allows a perfect fit every time you wear it.
And all you need are the most basic sewing skills and supplies.
Materials
Fabric – at least two yards of a light-to-mid weight woven. This sample is made from Rayon Challis gifted from LA Finch Fabrics in Los Alamitos.
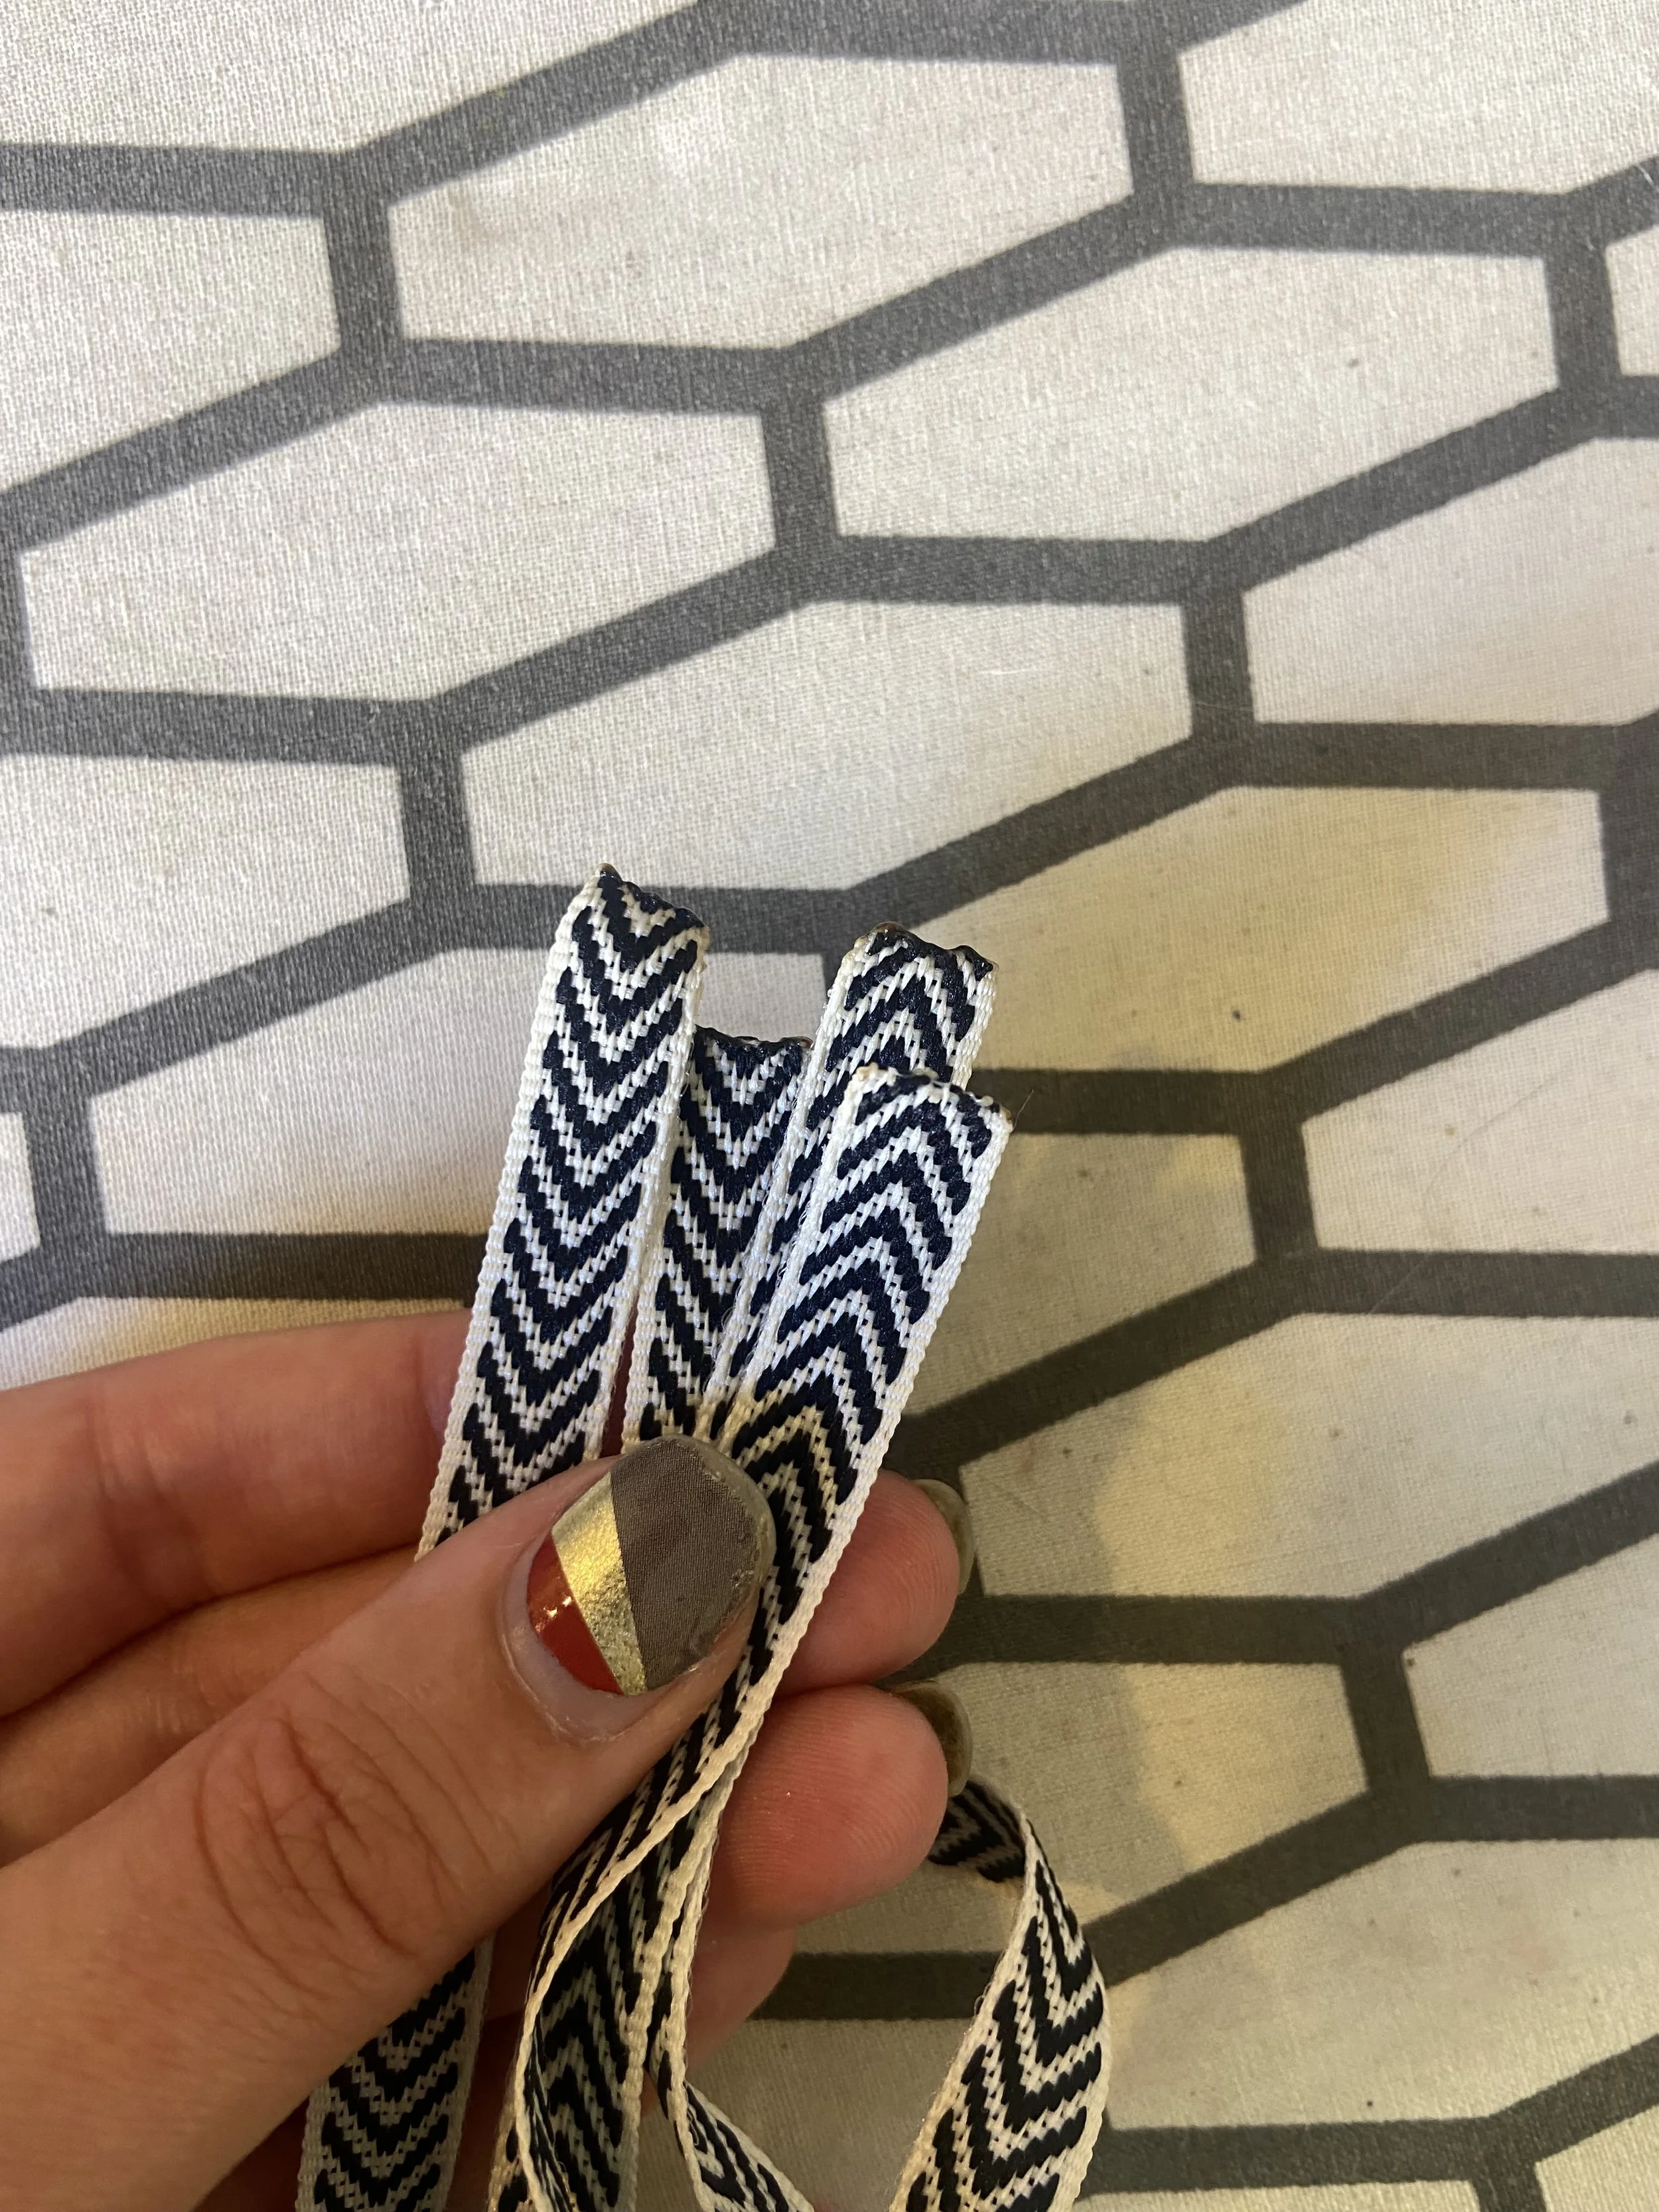
Ribbon – The exact amount will depend on your waist measurement, but you need about 4x your waist measurement in total. For most standard sizes, a 4-6 yard spool of ribbon from a craft store will be sufficient.
Sewing Machine – Could you technically sew this skirt by hand? I’m sure you could. But that would be very slow and maybe not very fun.
Iron – An absolute must, sorry.
Fabric shears – I understand this may seem like a big investment, but trust me it’s worth it
Pins – straight pins, ideally ones with different colored heads for reasons you will see later
Thread – whether or not it matches your fabric is up to you, but you will need kind of a lot of it.
Thread snips – I mean you could use scissors but also… they are just so cute
Measuring tape - to check your body measurements where needed
Flat ruler – for measuring fabric lengths
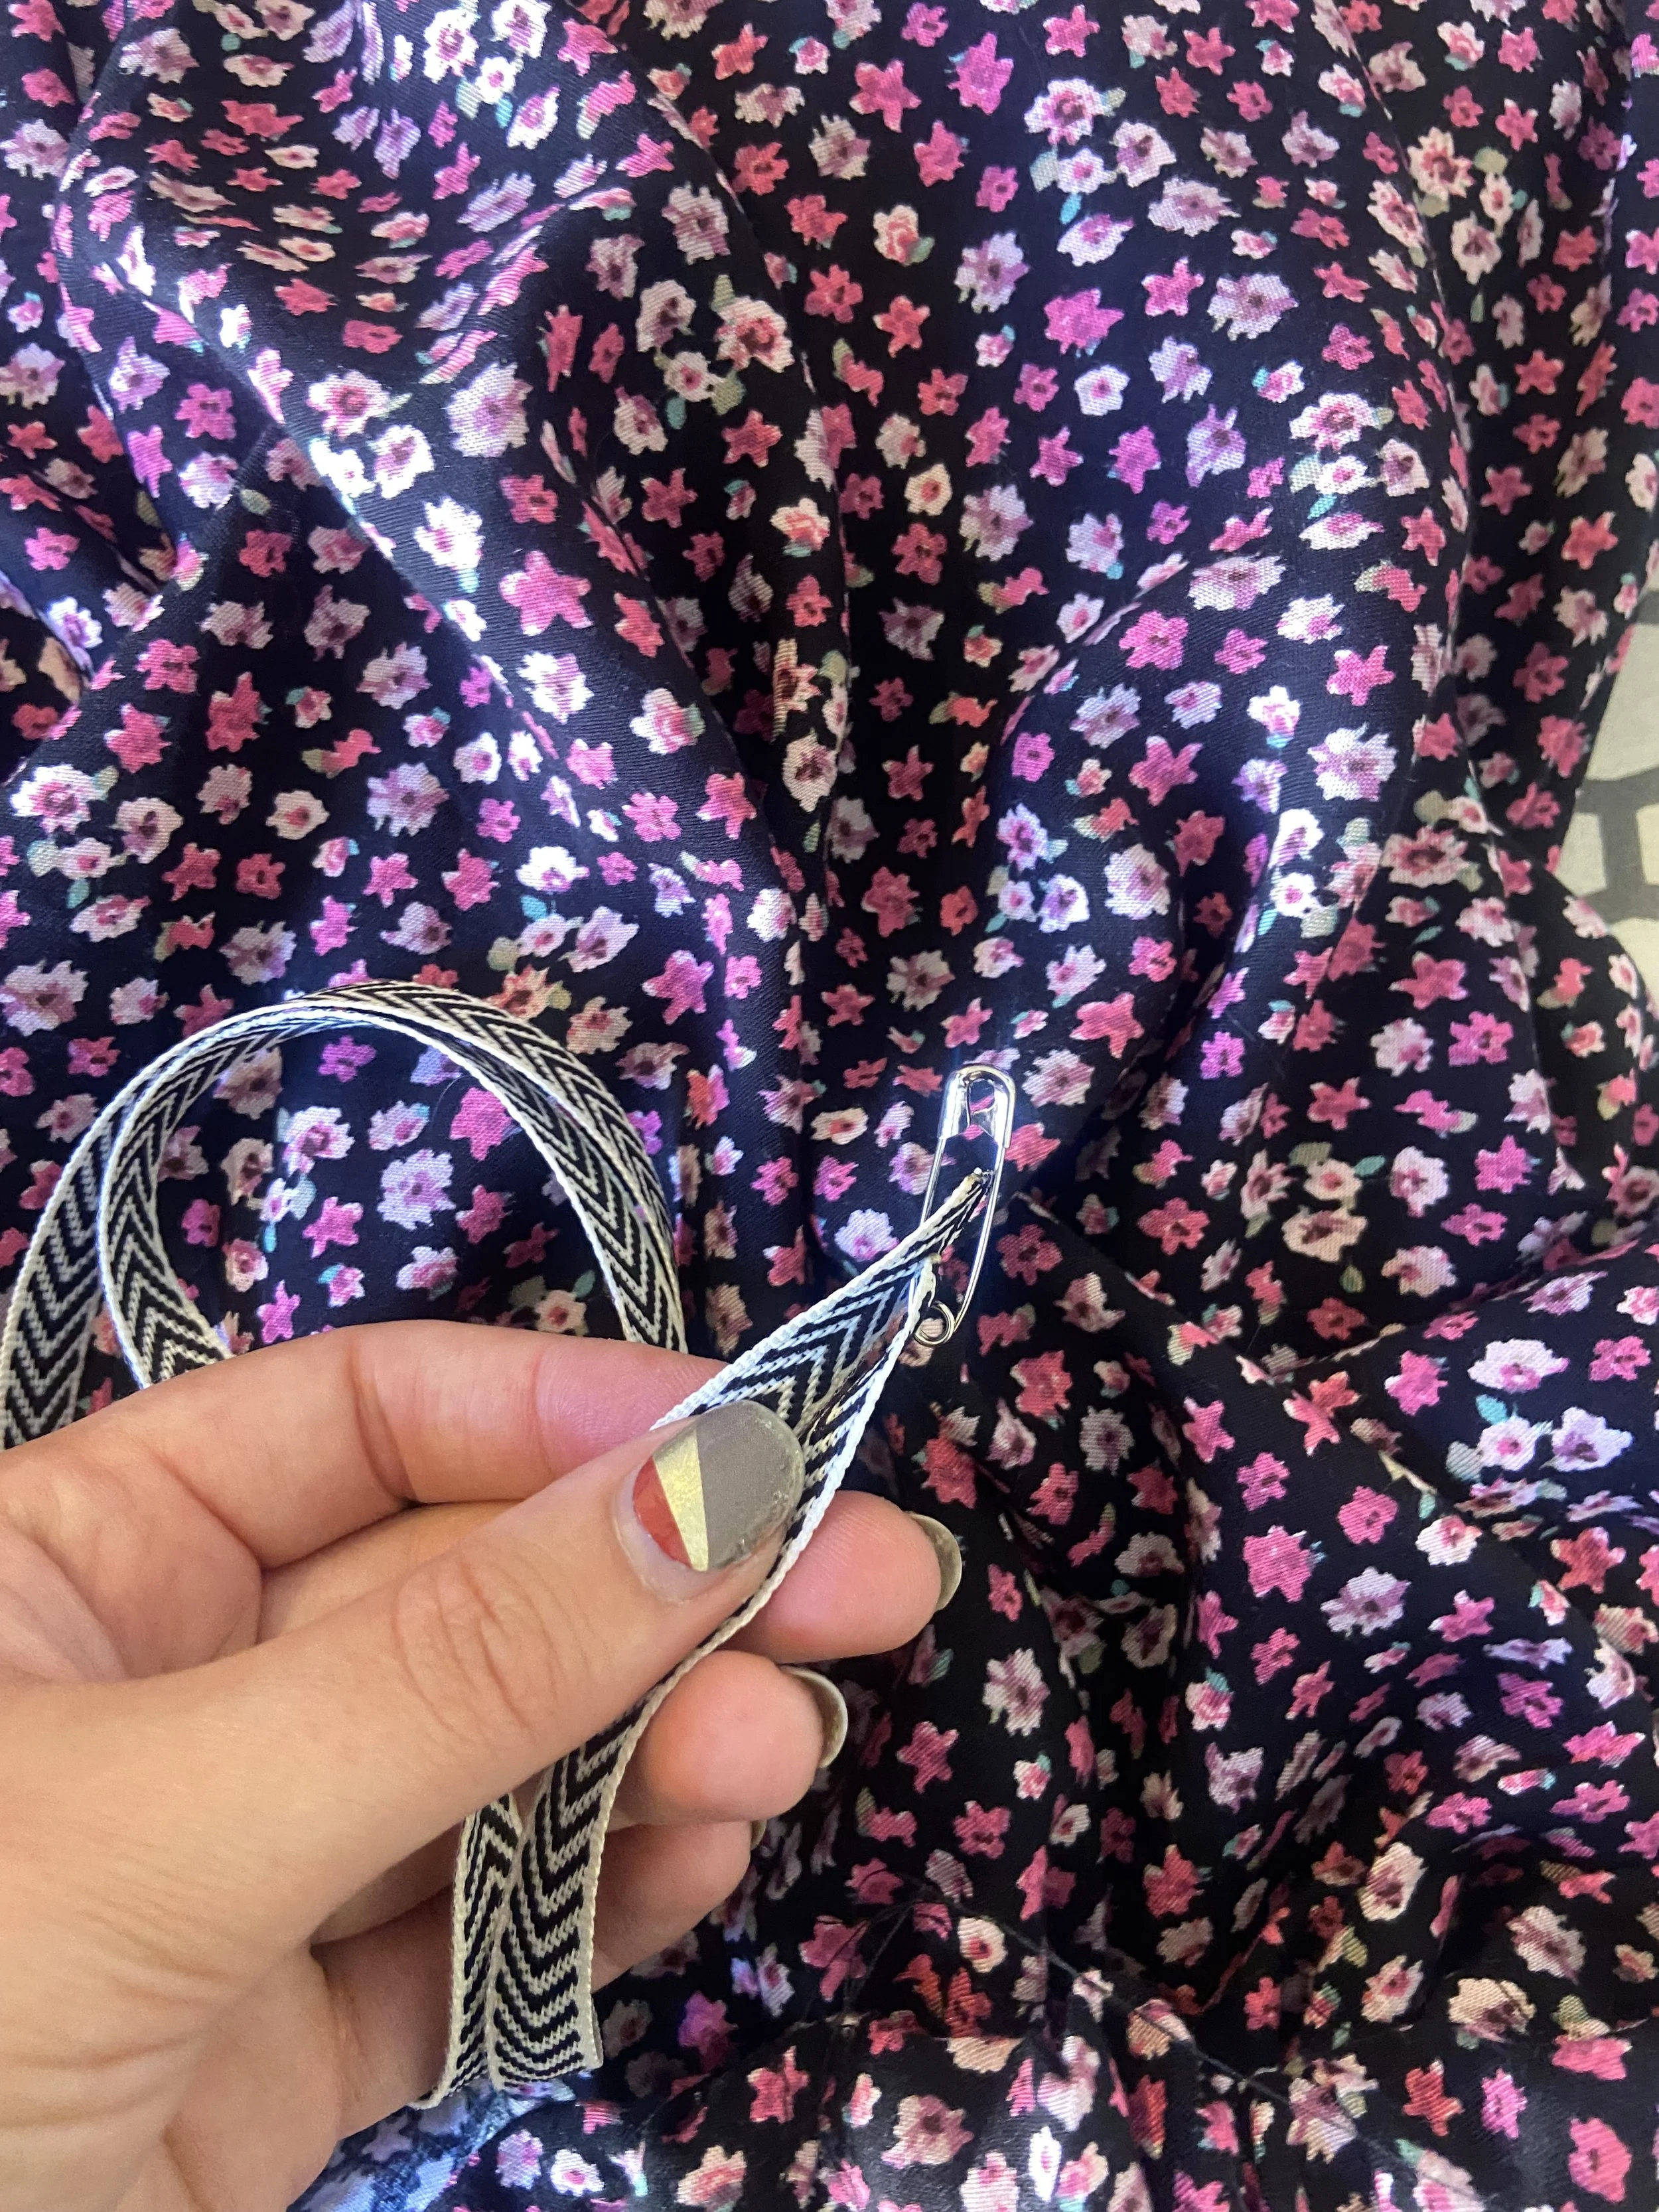
Safety pin or bodkin – for threading the ribbon drawstring
Tailors chalk – for marking measurements
(a note about affiliate links: I do use affiliate links wherever possible in my blog posts. These links, if you choose to click on/purchase from, help support my business/this blog and I appreciate it so much. However, you are under no obligation to use/purchase from them)
Measuring Instructions
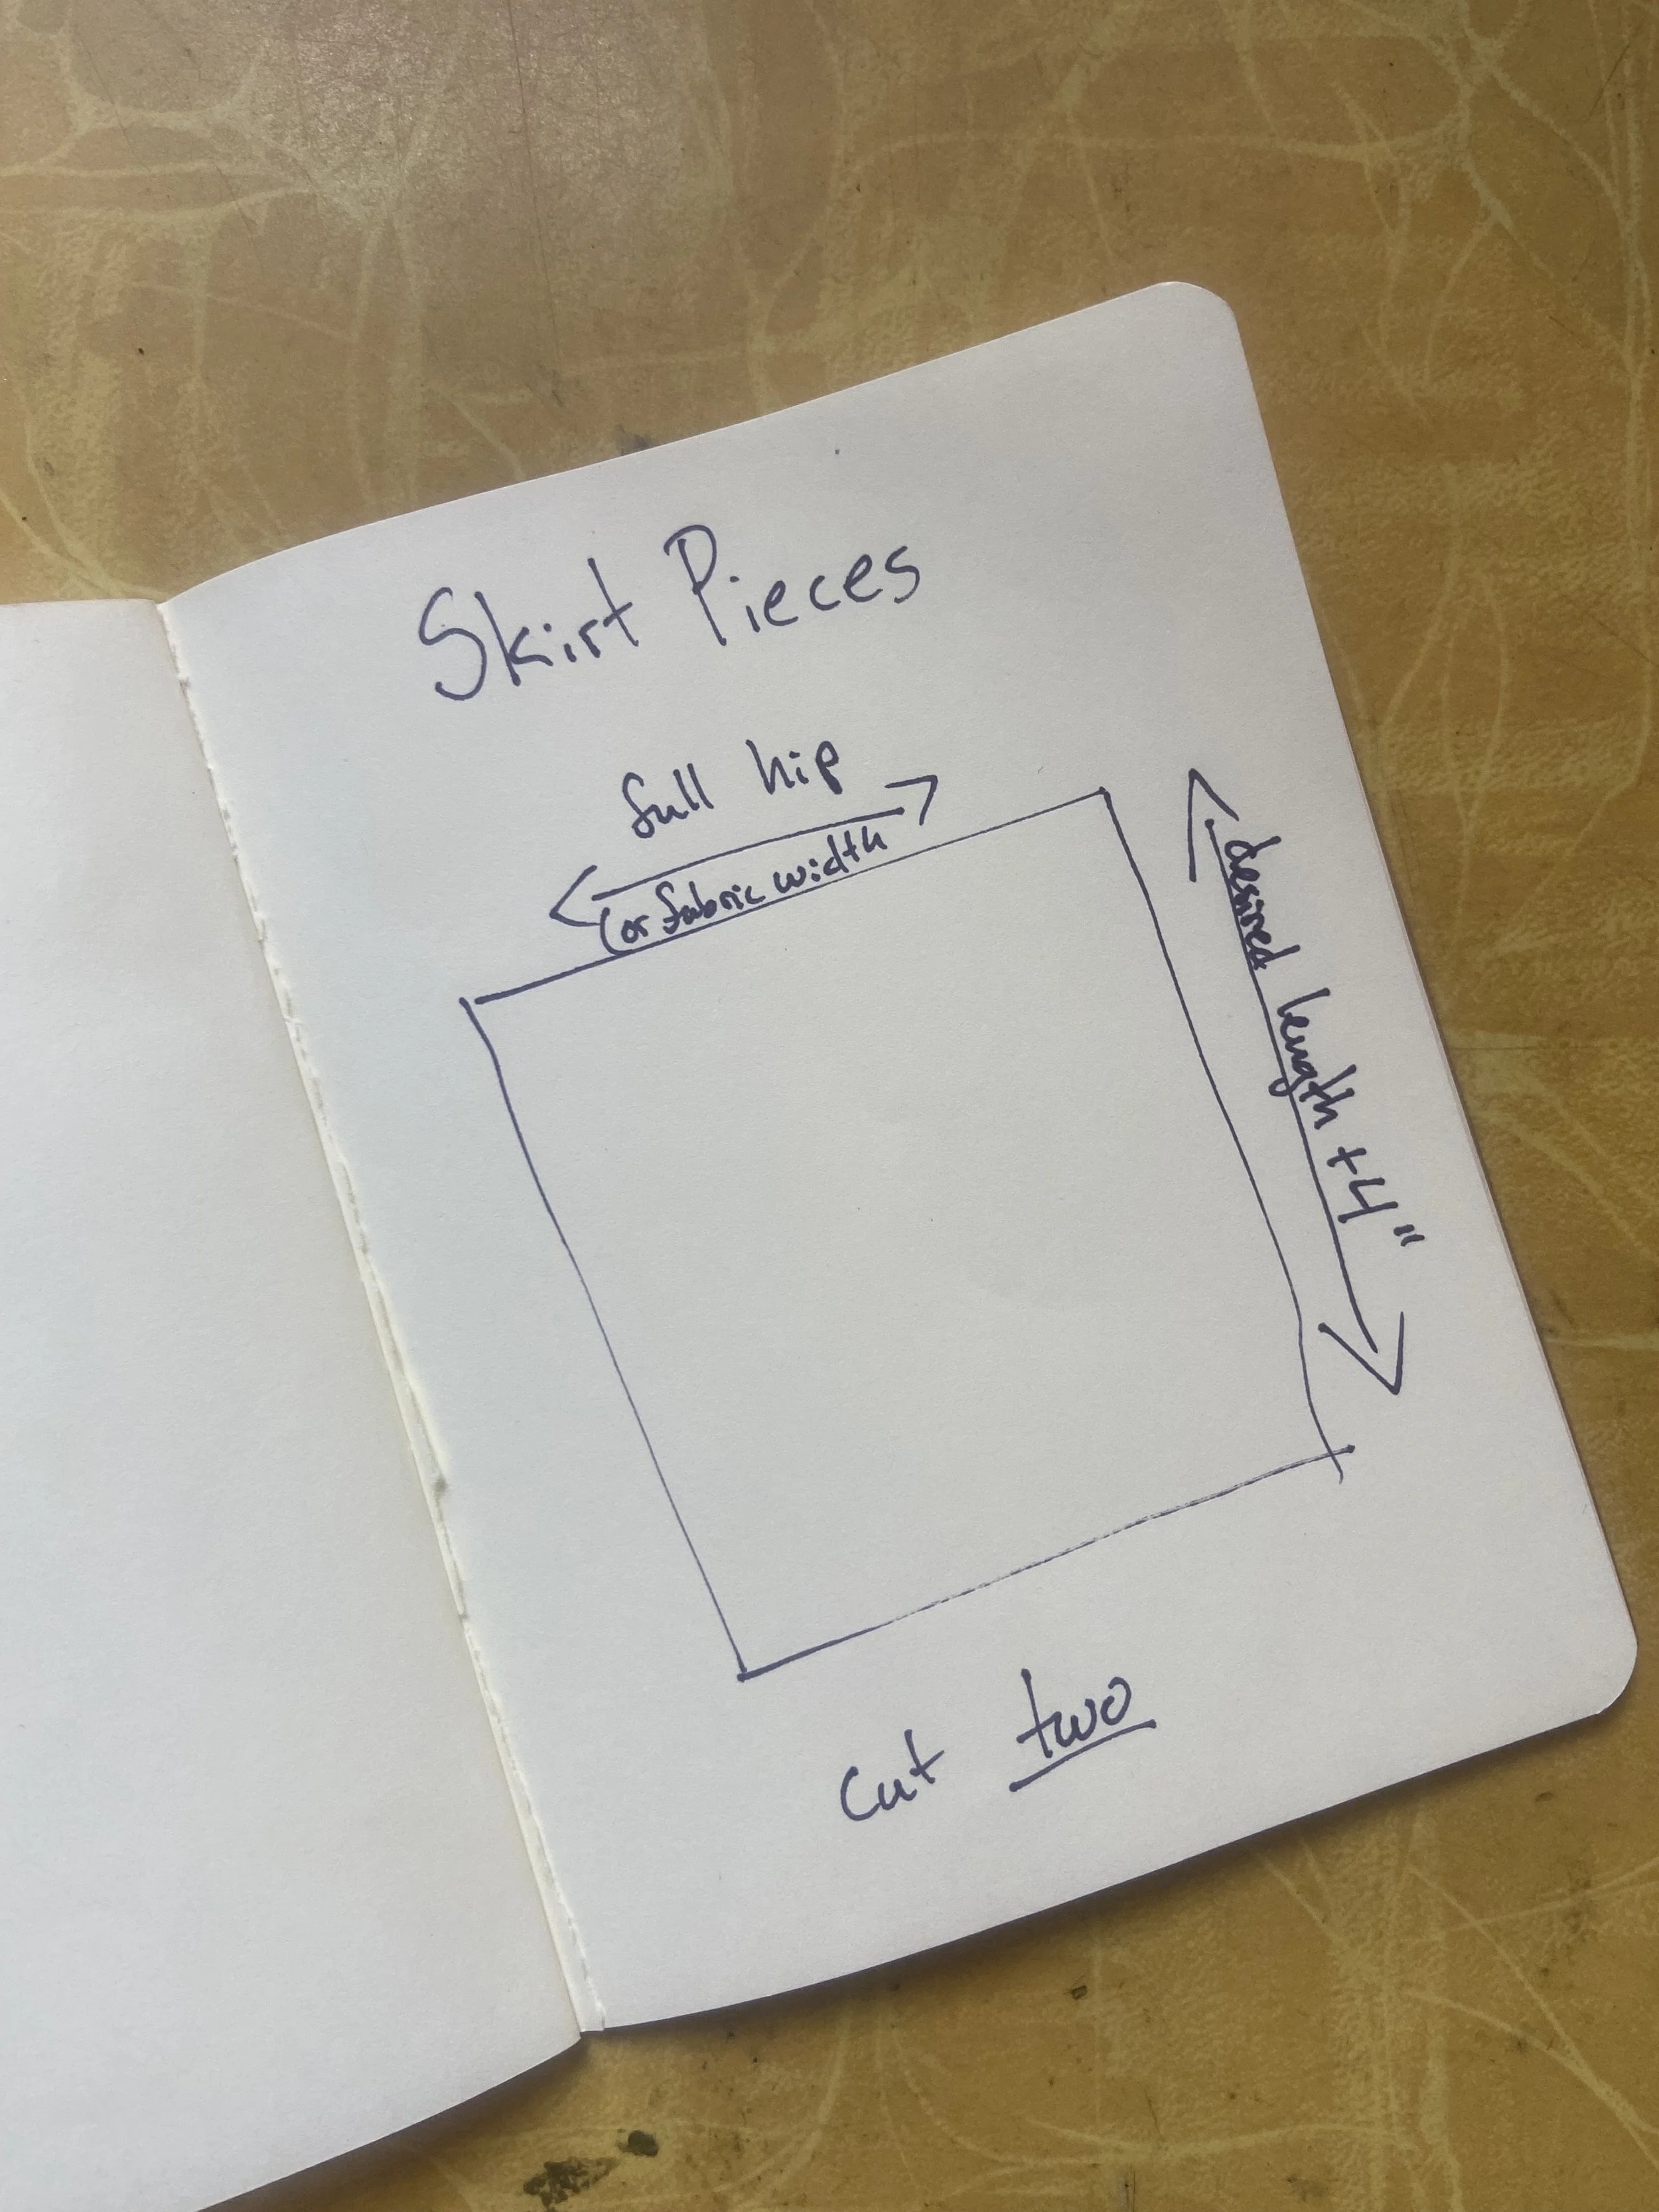
This skirt is literally just two rectangles and nothing else.
However, you probably want to know what size of rectangles to cut.
As we all know, rectangles have two dimensions: Width and Length
For the purpose of this skirt, “width” refers to the horizontal measurement ACROSS the skirt that will go AROUND your body when you wear it, and “length” refers to the vertical measurement from the top of the waist to the hem of the skirt.
If you are using standard 44” wide fabric, and have a hip measurement that is under, idk 65” or so, you can just go ahead and use the full width of the fabric (selvedge edge to selvedge edge) for the width. After seam allowances, you will end up with a skirt that has a circumference of approximately 86 inches.
HOWEVER, if you are say, using a vintage bedsheet or fabric of unknown origin or are piecing together fabric in custom panels and you want to know JUST how wide your fabric will need to be…
You will want to calculate the width of each skirt panel as: a minimum of your full hip measurement, but honestly there is no maximum. The only difference will be the fullness of the skirt/how much you can adjust it with the waist ties.
For length, you will either need to measure yourself or a skit that you already have and love the length of.
Start by measuring the full length from your natural waistline down to where you’d like the skirt to end (or alternately, from the top of your favorite skirt’s waistband down to its hem.
THEN take that number and add 4” to accommodate for the drawstring channel and the hem. Here’s a quick illustration for the visual learners:
Cutting Instructions
Once you have your width and length measurements, you are going to cut two rectangles in these dimensions.
You are not going to like what I am about to say, but…
This is going to be a lot easier if you pre-wash and iron your fabric. Or at least iron it. Sorry.
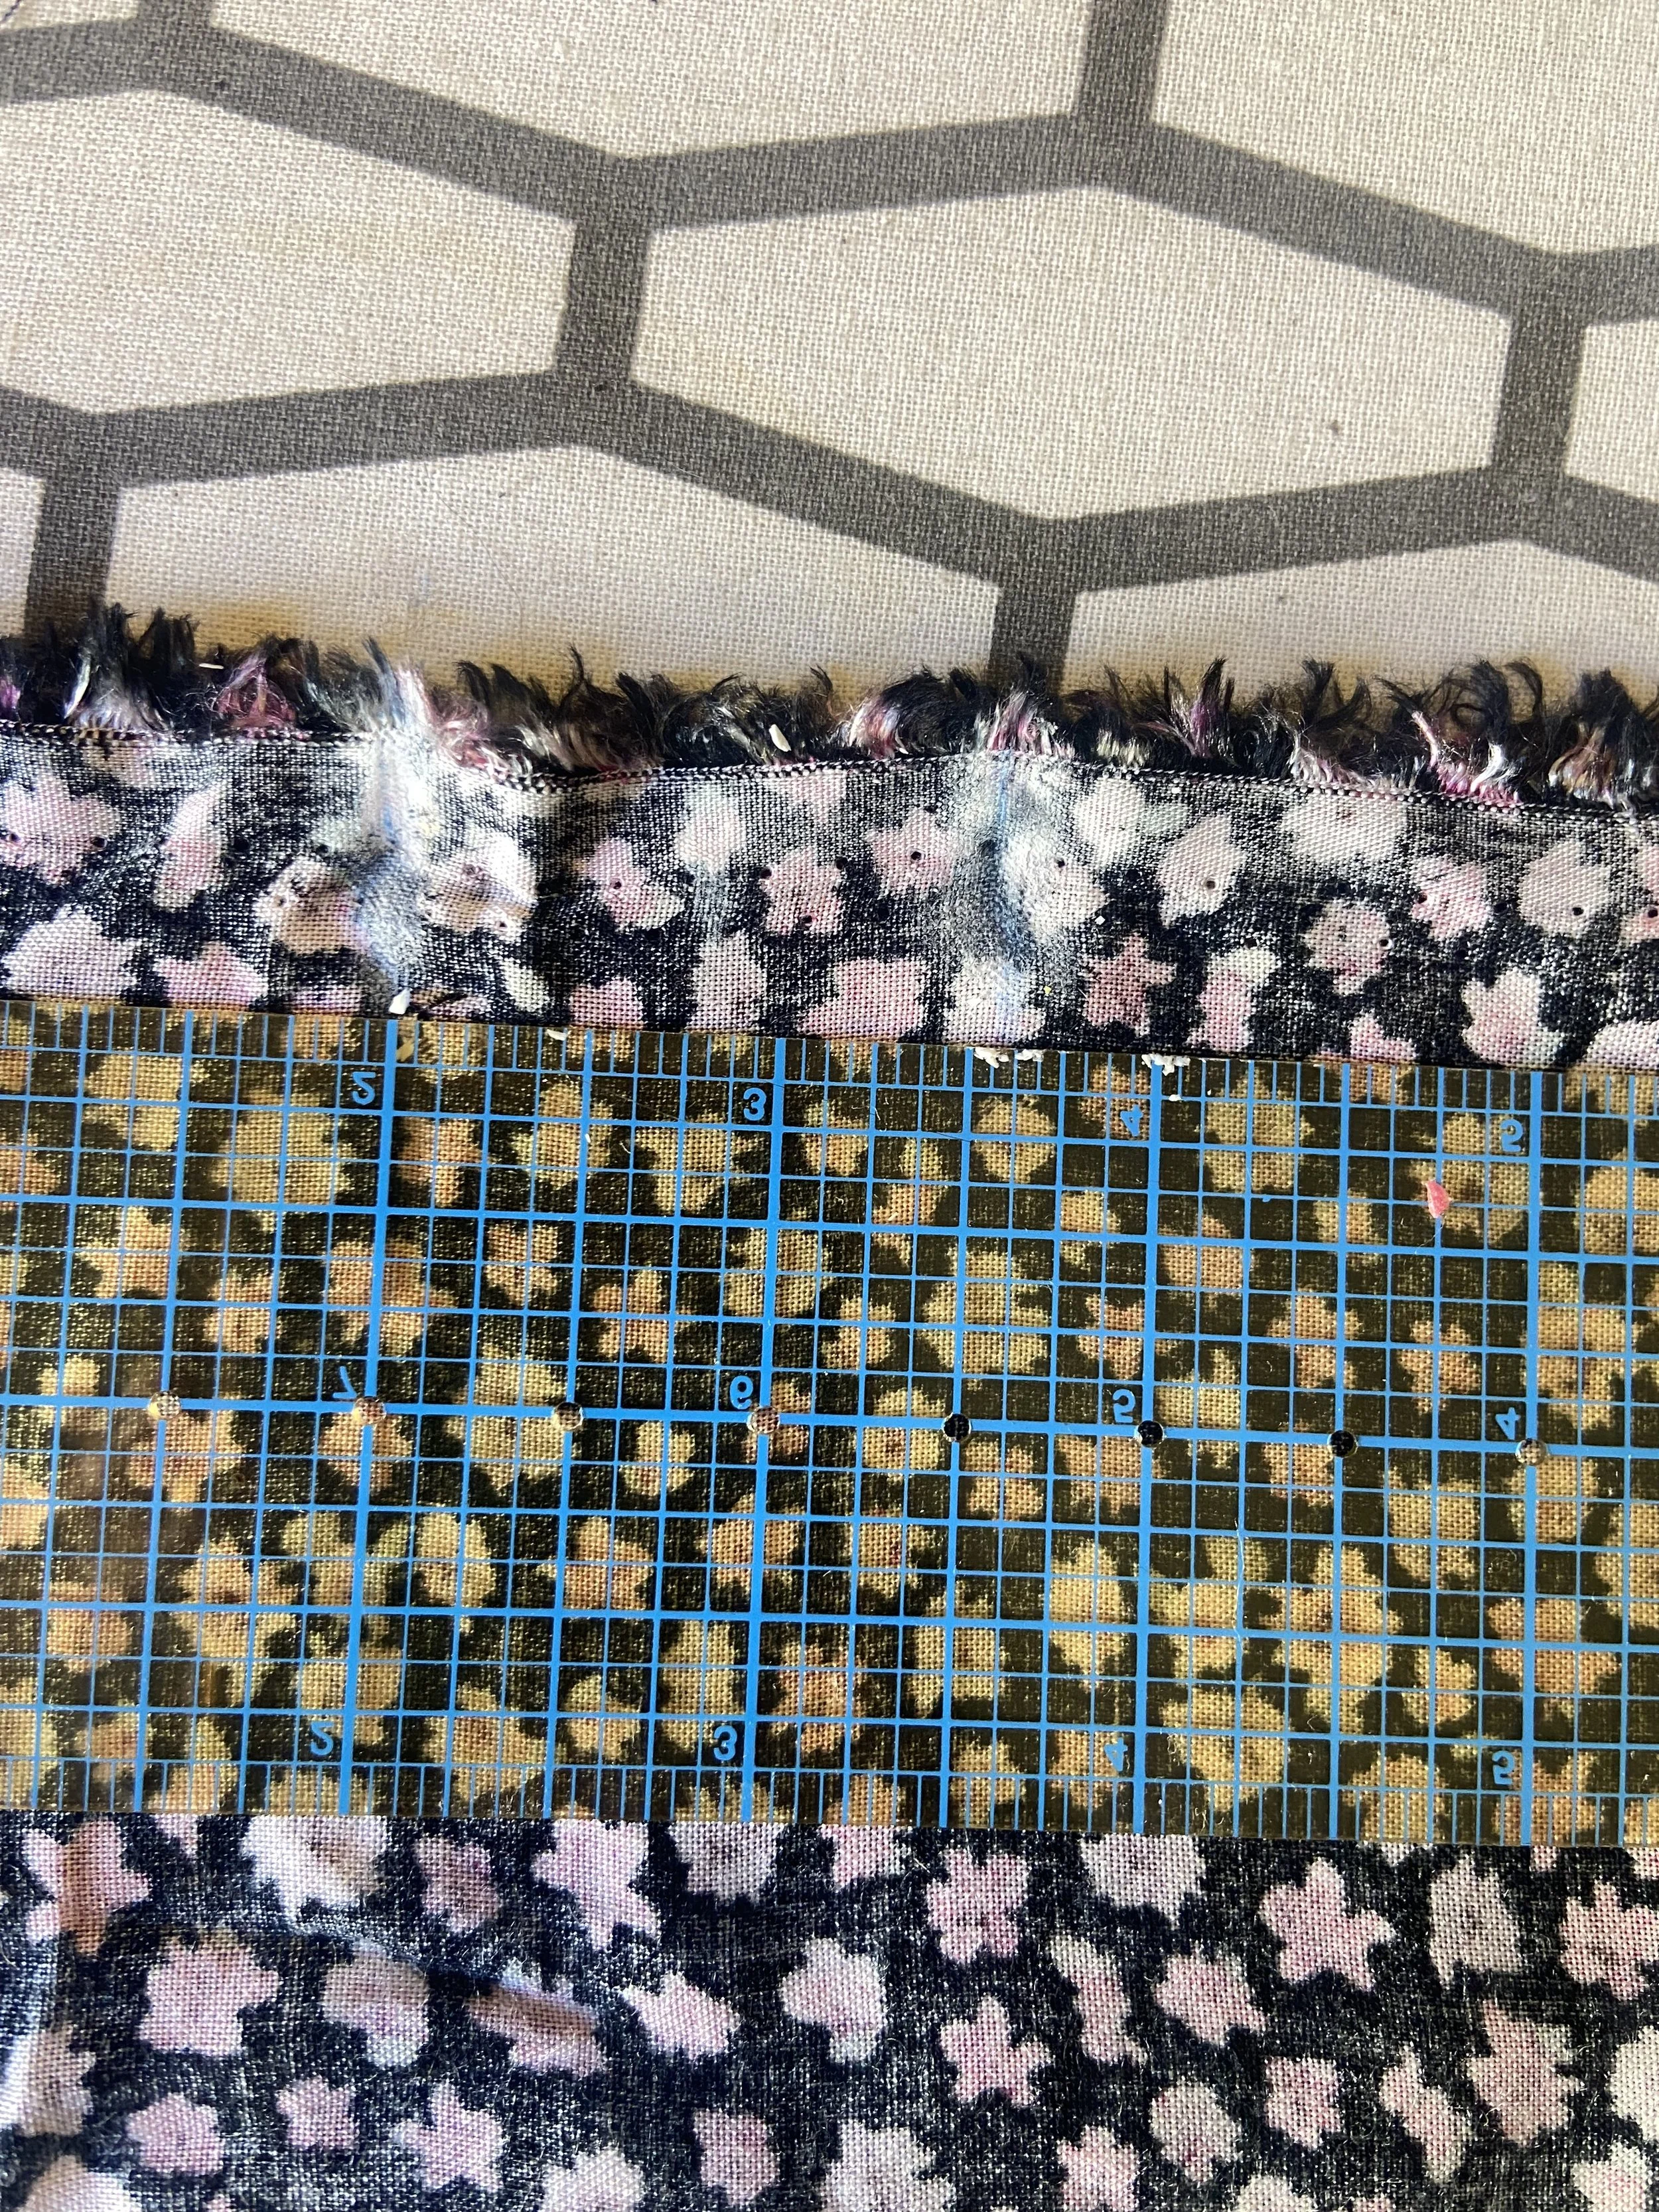
Ideally, your fabric will have very narrow selvedges that you can just leave, however if the printed area of your fabric is more than ½’ away from the selvedge edge, you will need to trim those down.
If you are sewing with a woven fabric that doesn’t like to stay still (such as rayon challis like I used here) you can just make a horizontal snip and rip the fabric all the way across so that your “cut” is exactly on grain. This is totally optional but also super helpful. And also fun.
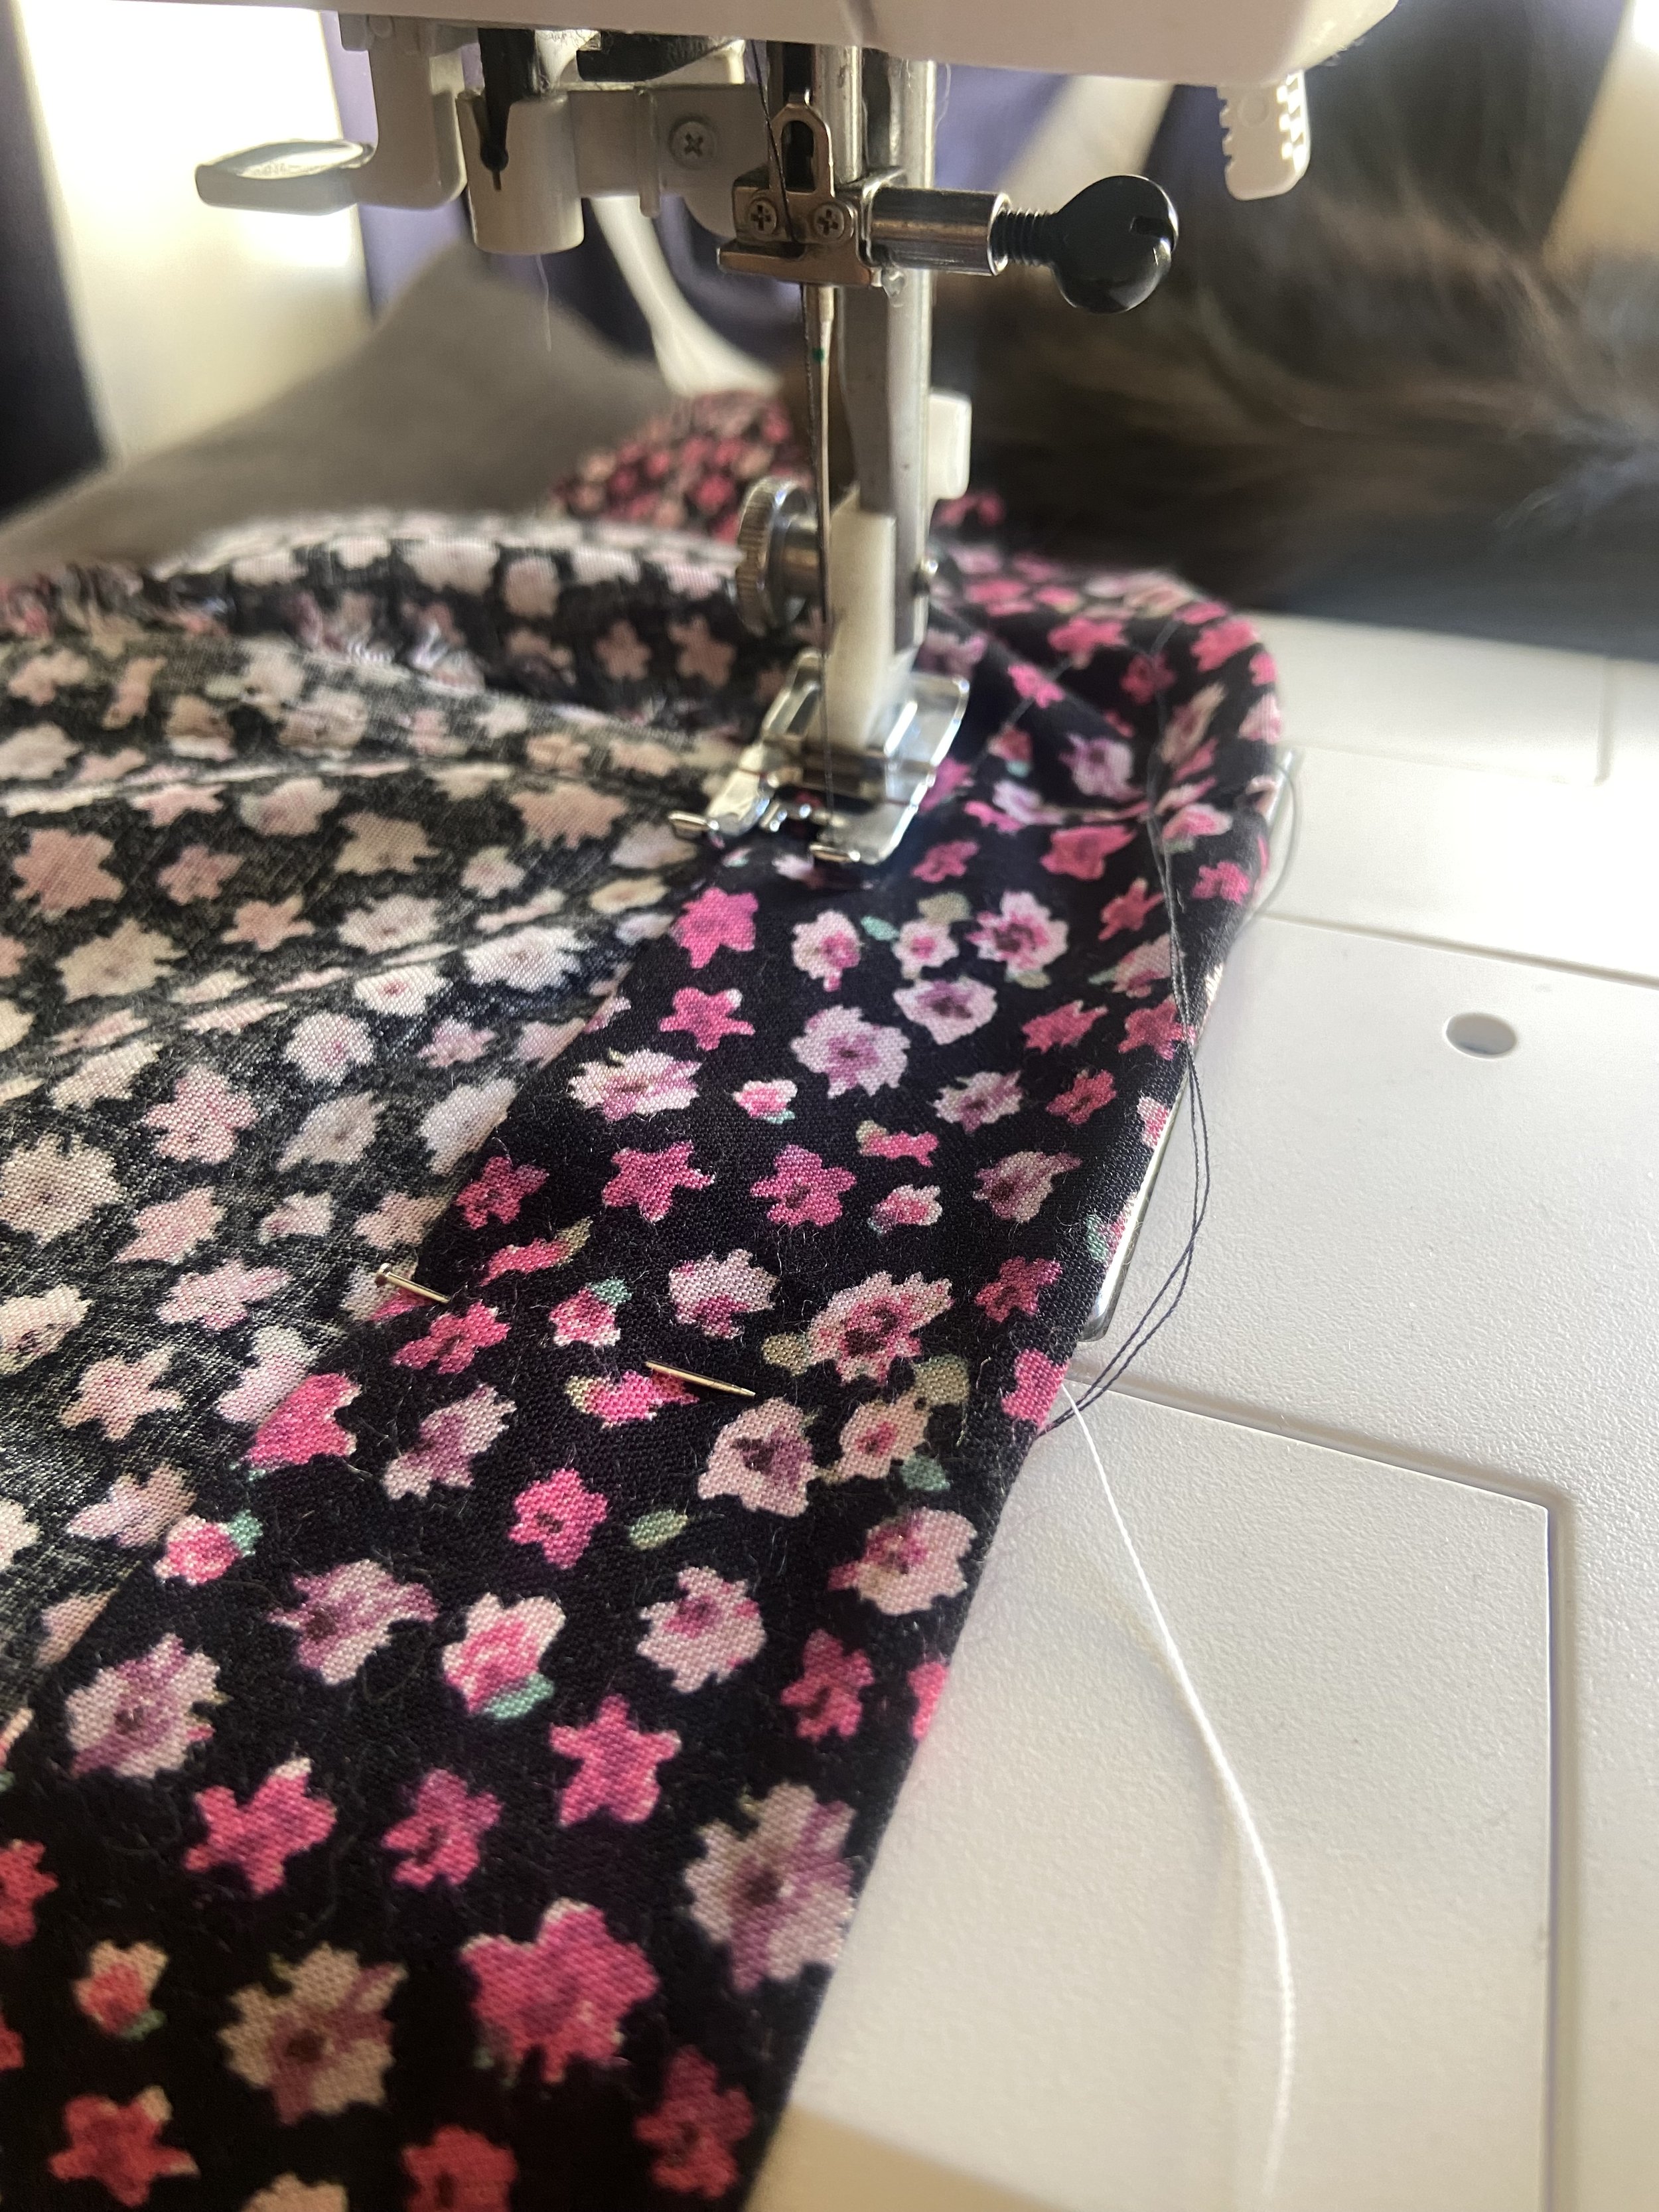
Sewing Instructions
1. Lay your skirt panels together with wrong sides together as though you are going to start pinning them, BUT don’t start pinning them yet.
2. Using your ruler and tailor’s chalk, make two marks: One 2.5 inches from the top edge, and another 1.5” below that one
3. Pin the side seam, using different colored pins near the chalk marks so that you know to stop sewing there
4. Sew the side seam with a ½ inch seam allowance, from the top edge to the first mark, backtack to finish the seam, cut thread, and lift presser foot to skip over to the second mark to leave a gap, then start a new seam (backtacking at the beginning) from the second mark to the hem.
5. Repeat steps 1-4 for the other side seam, taking care to make sure that both gaps are placed so that they will both be at the top of the skirt.
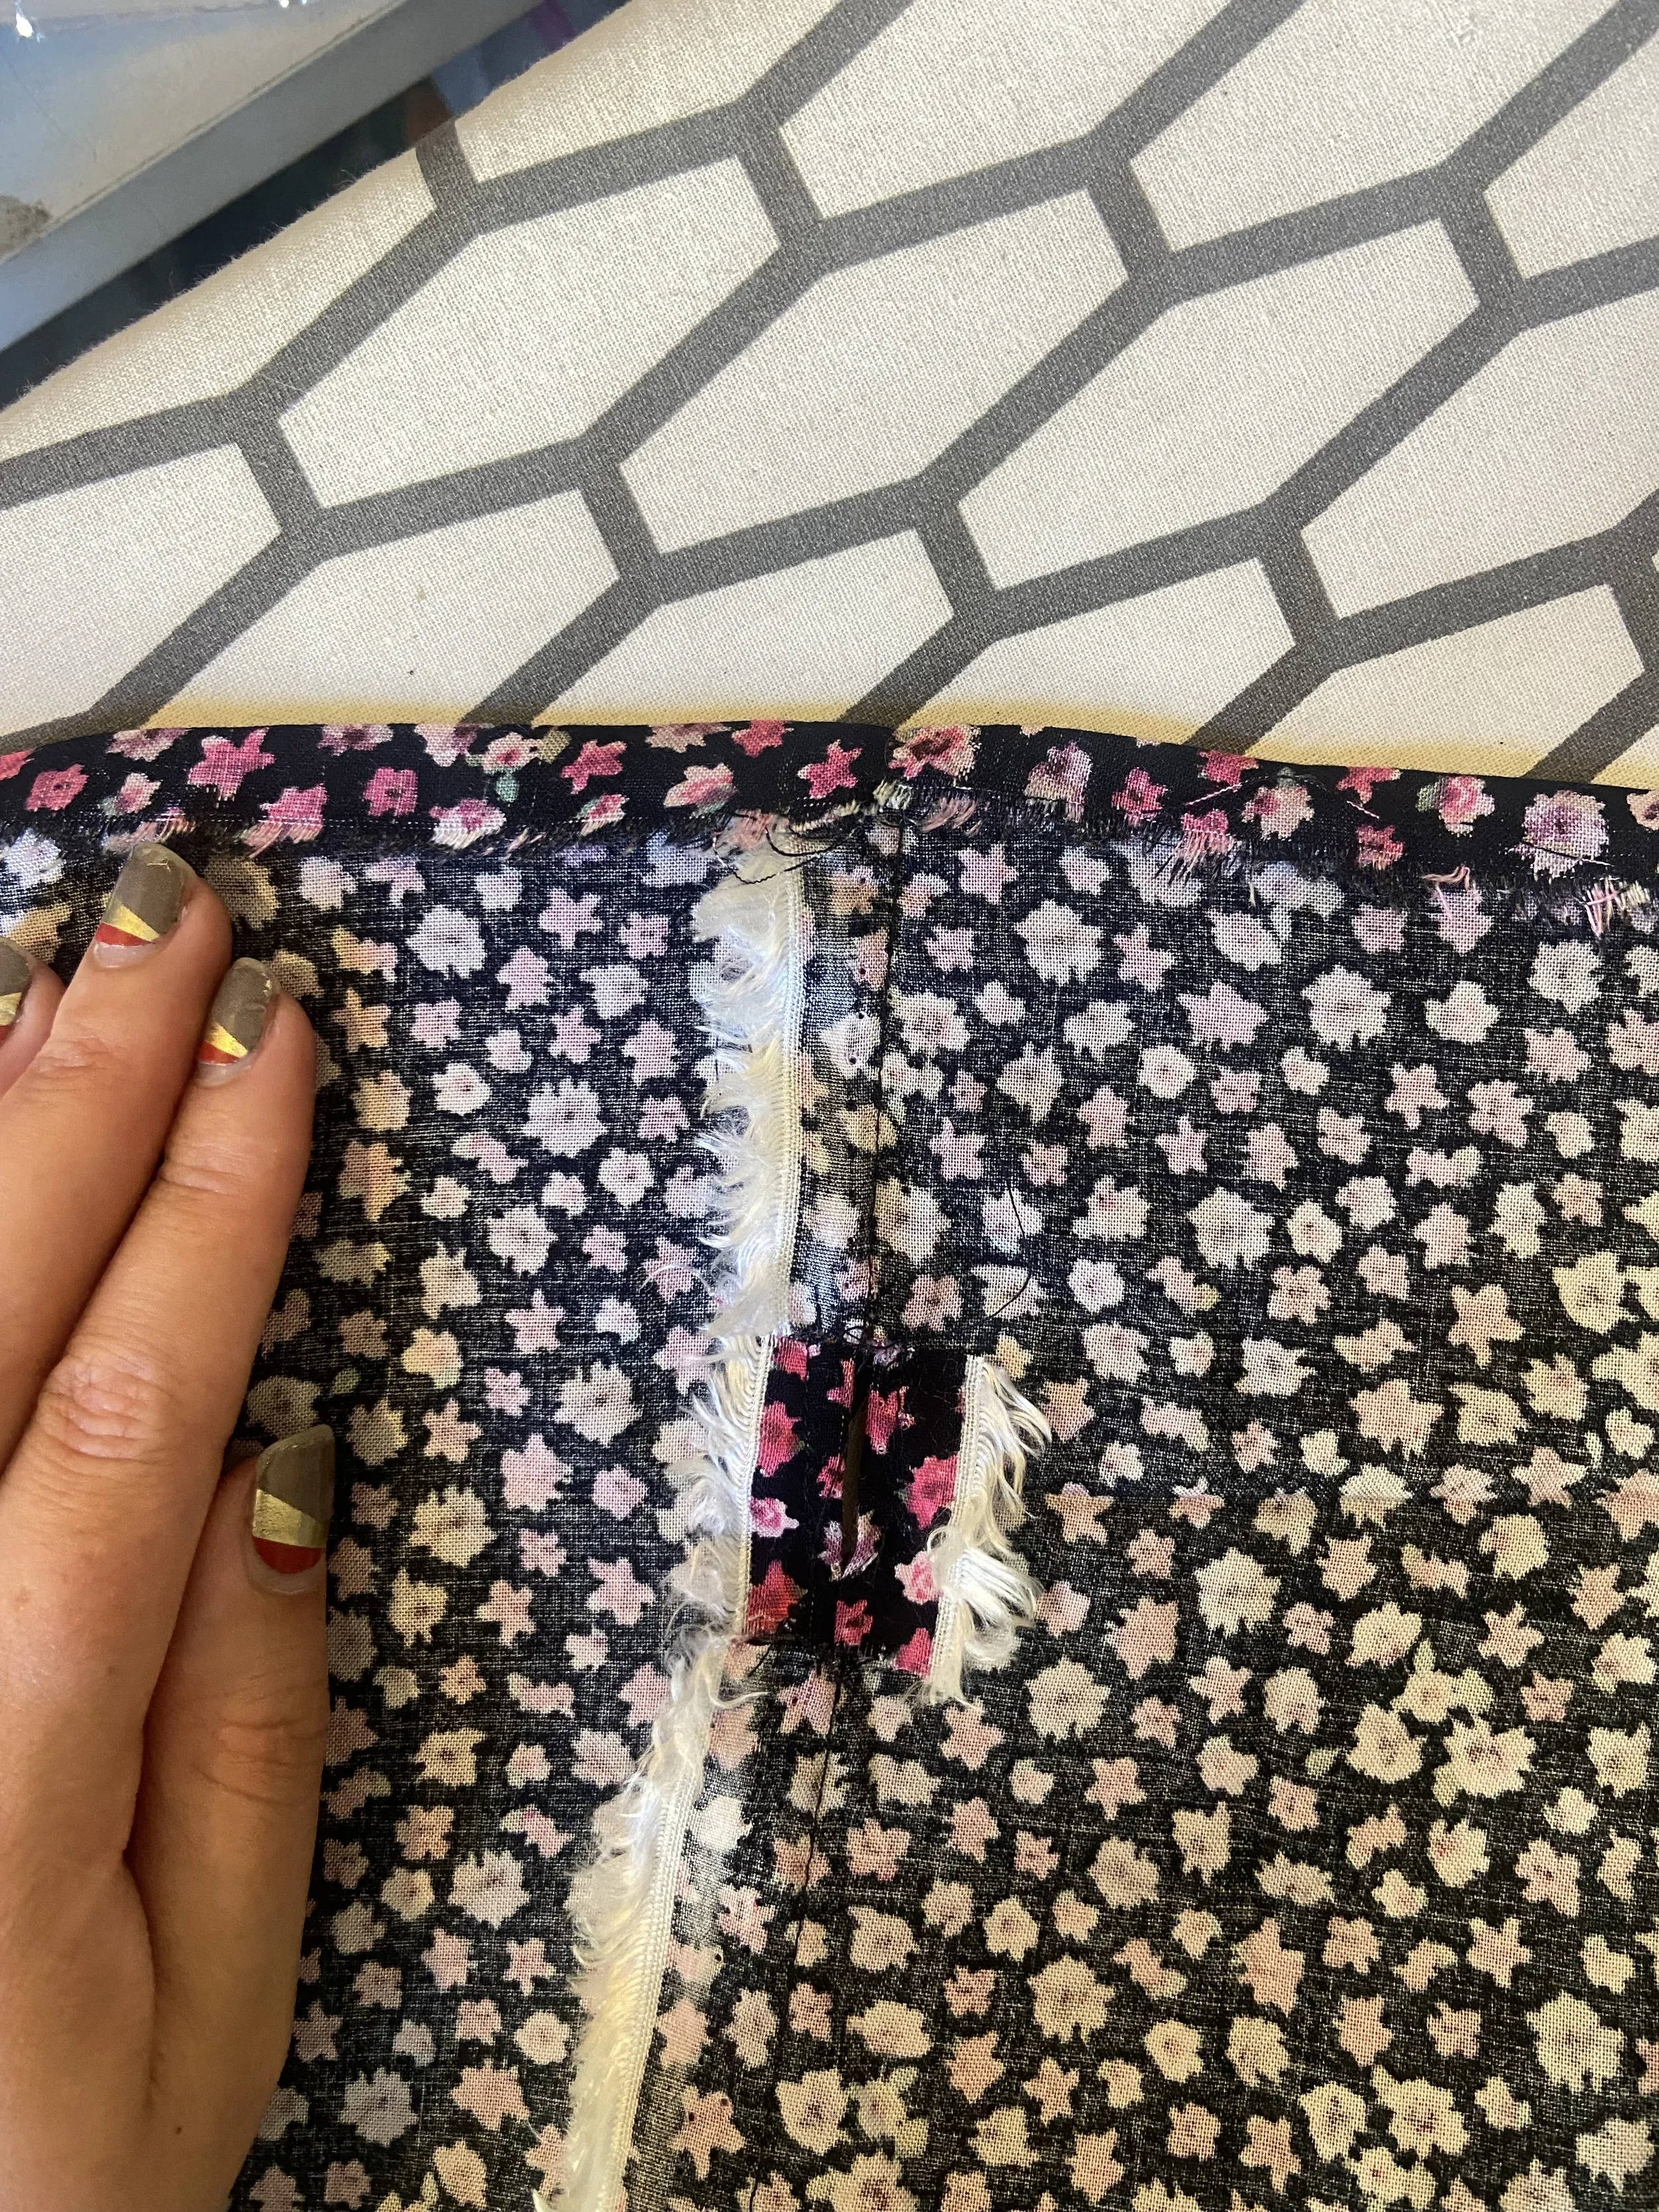
6. Use scissors or thread snips to cut notches in the seam allowances where the gap begins and ends (use your marks as a guide)
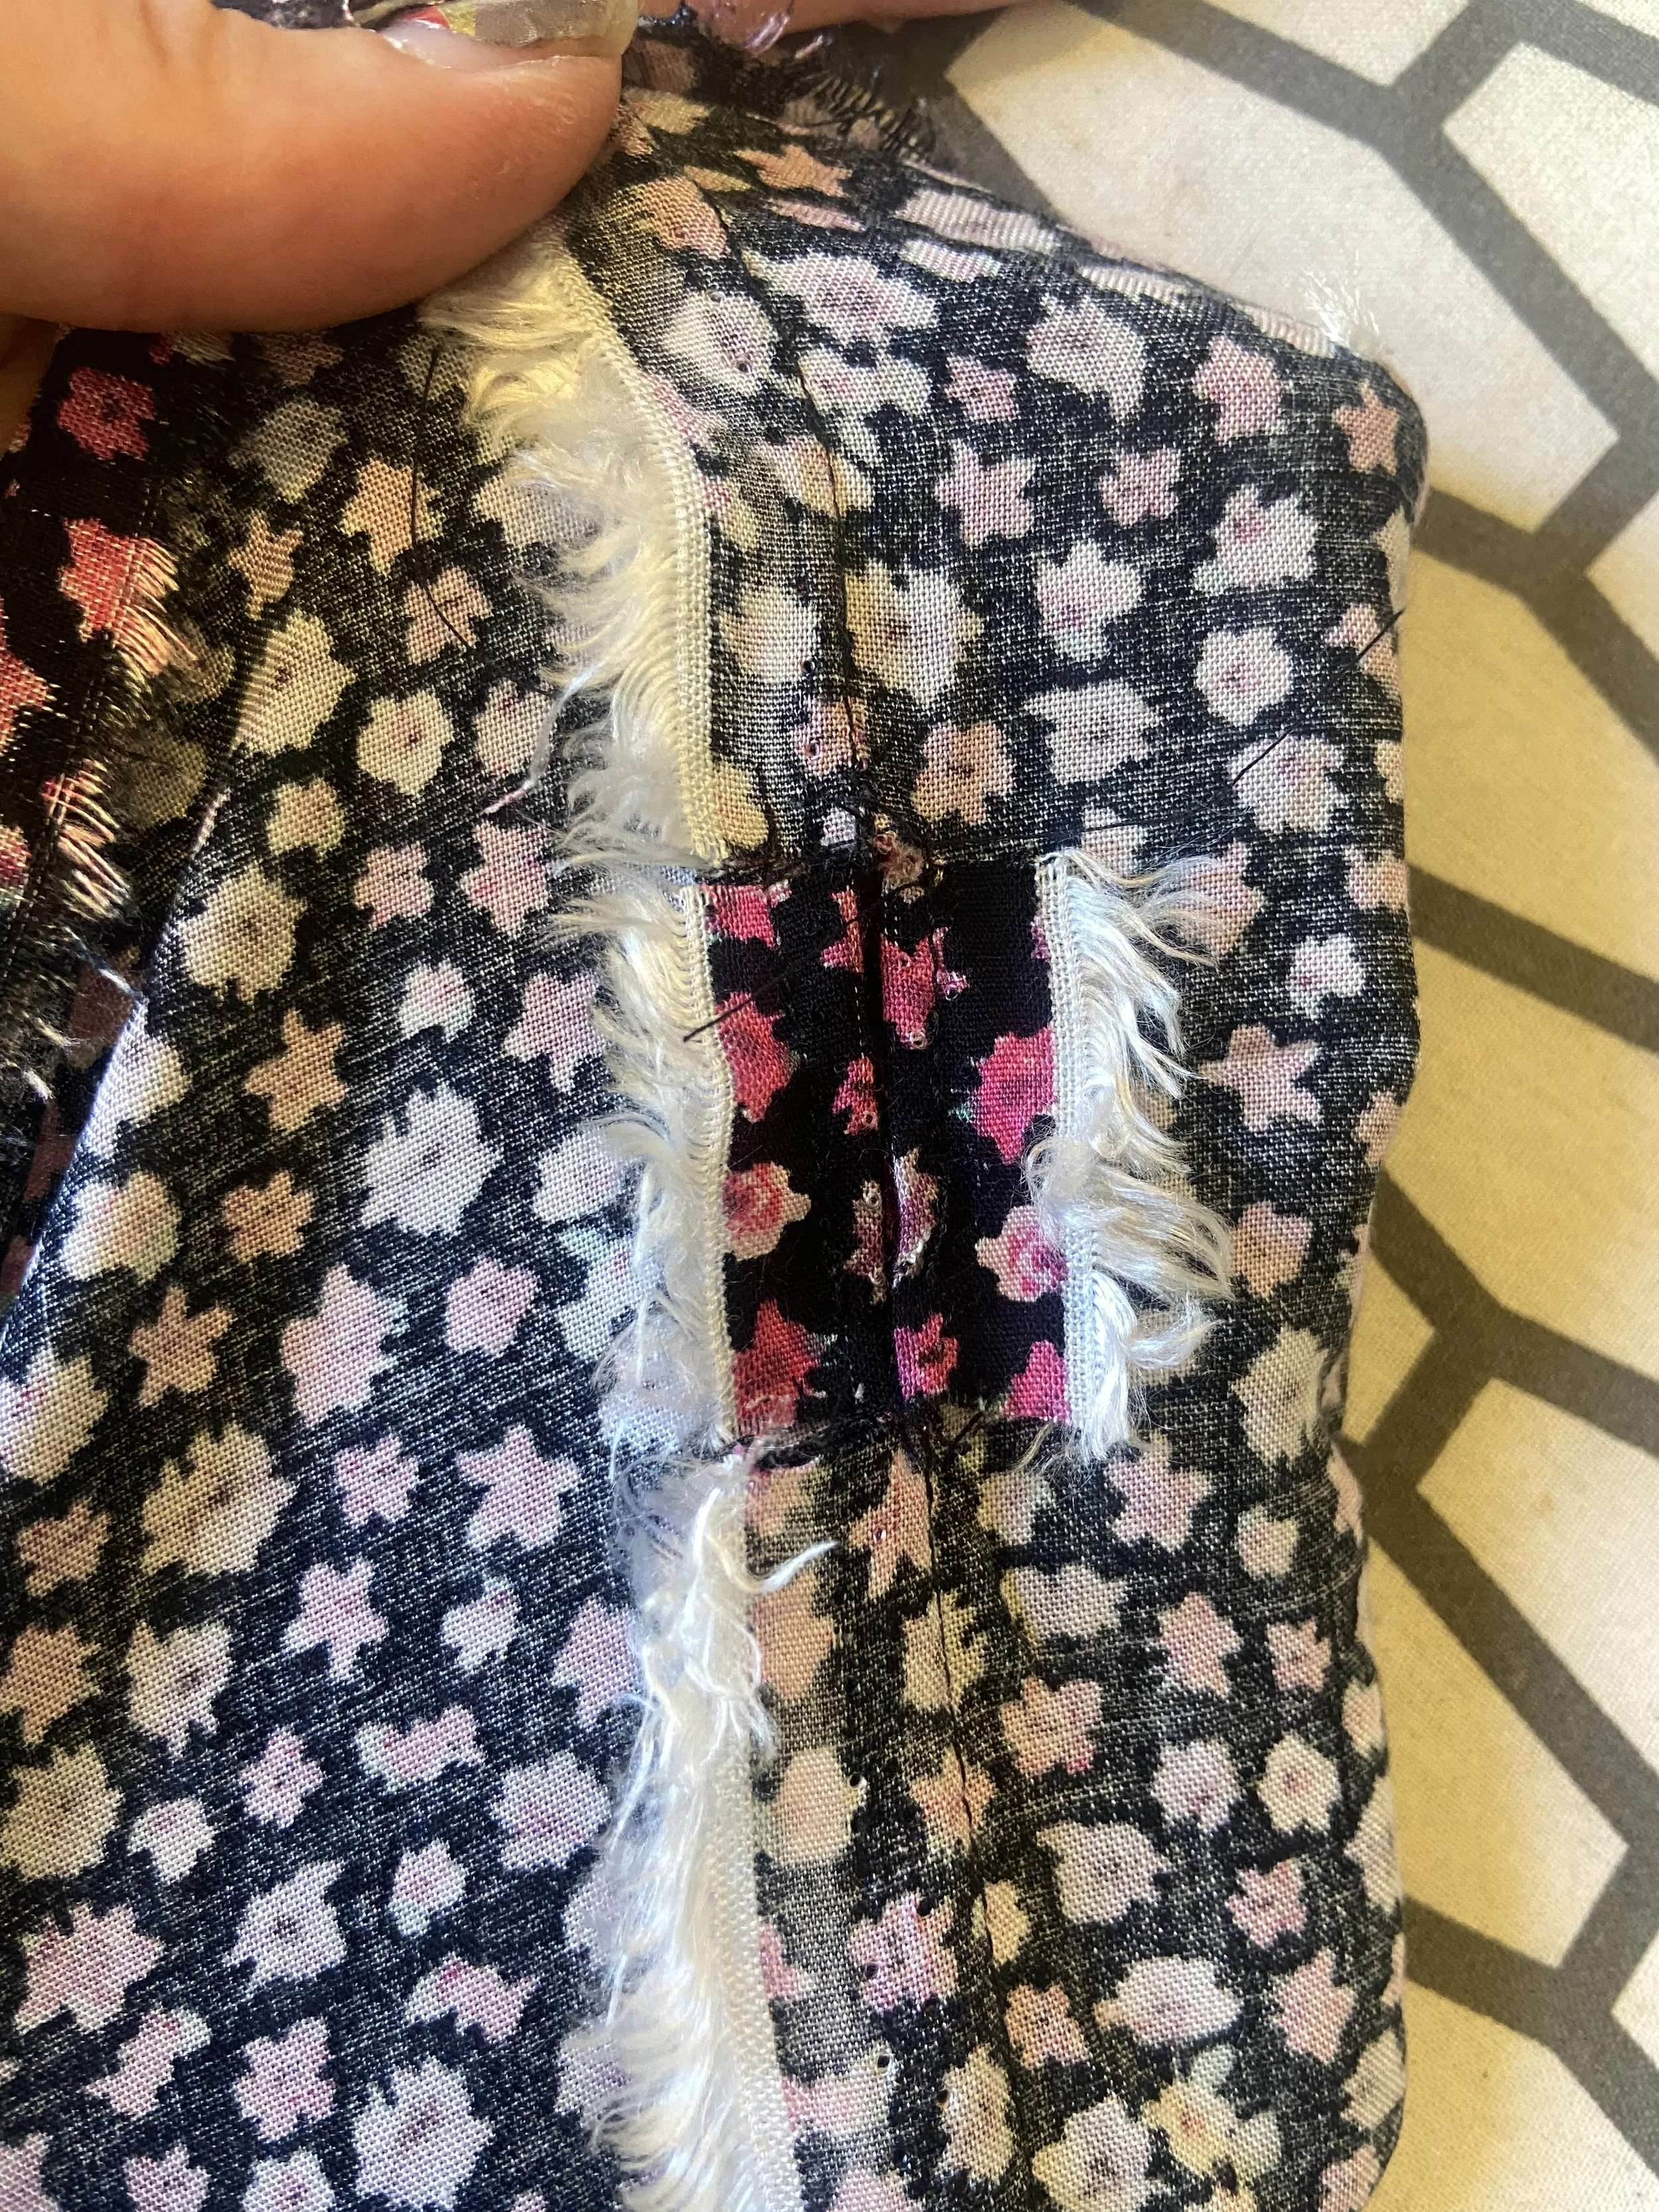
7. Press the seam allowances open only at the gap where they are not sewn shut, press the remaining seam allowances together, and finish with a zigzag stitch, serger, pinking shears, whatever you like.
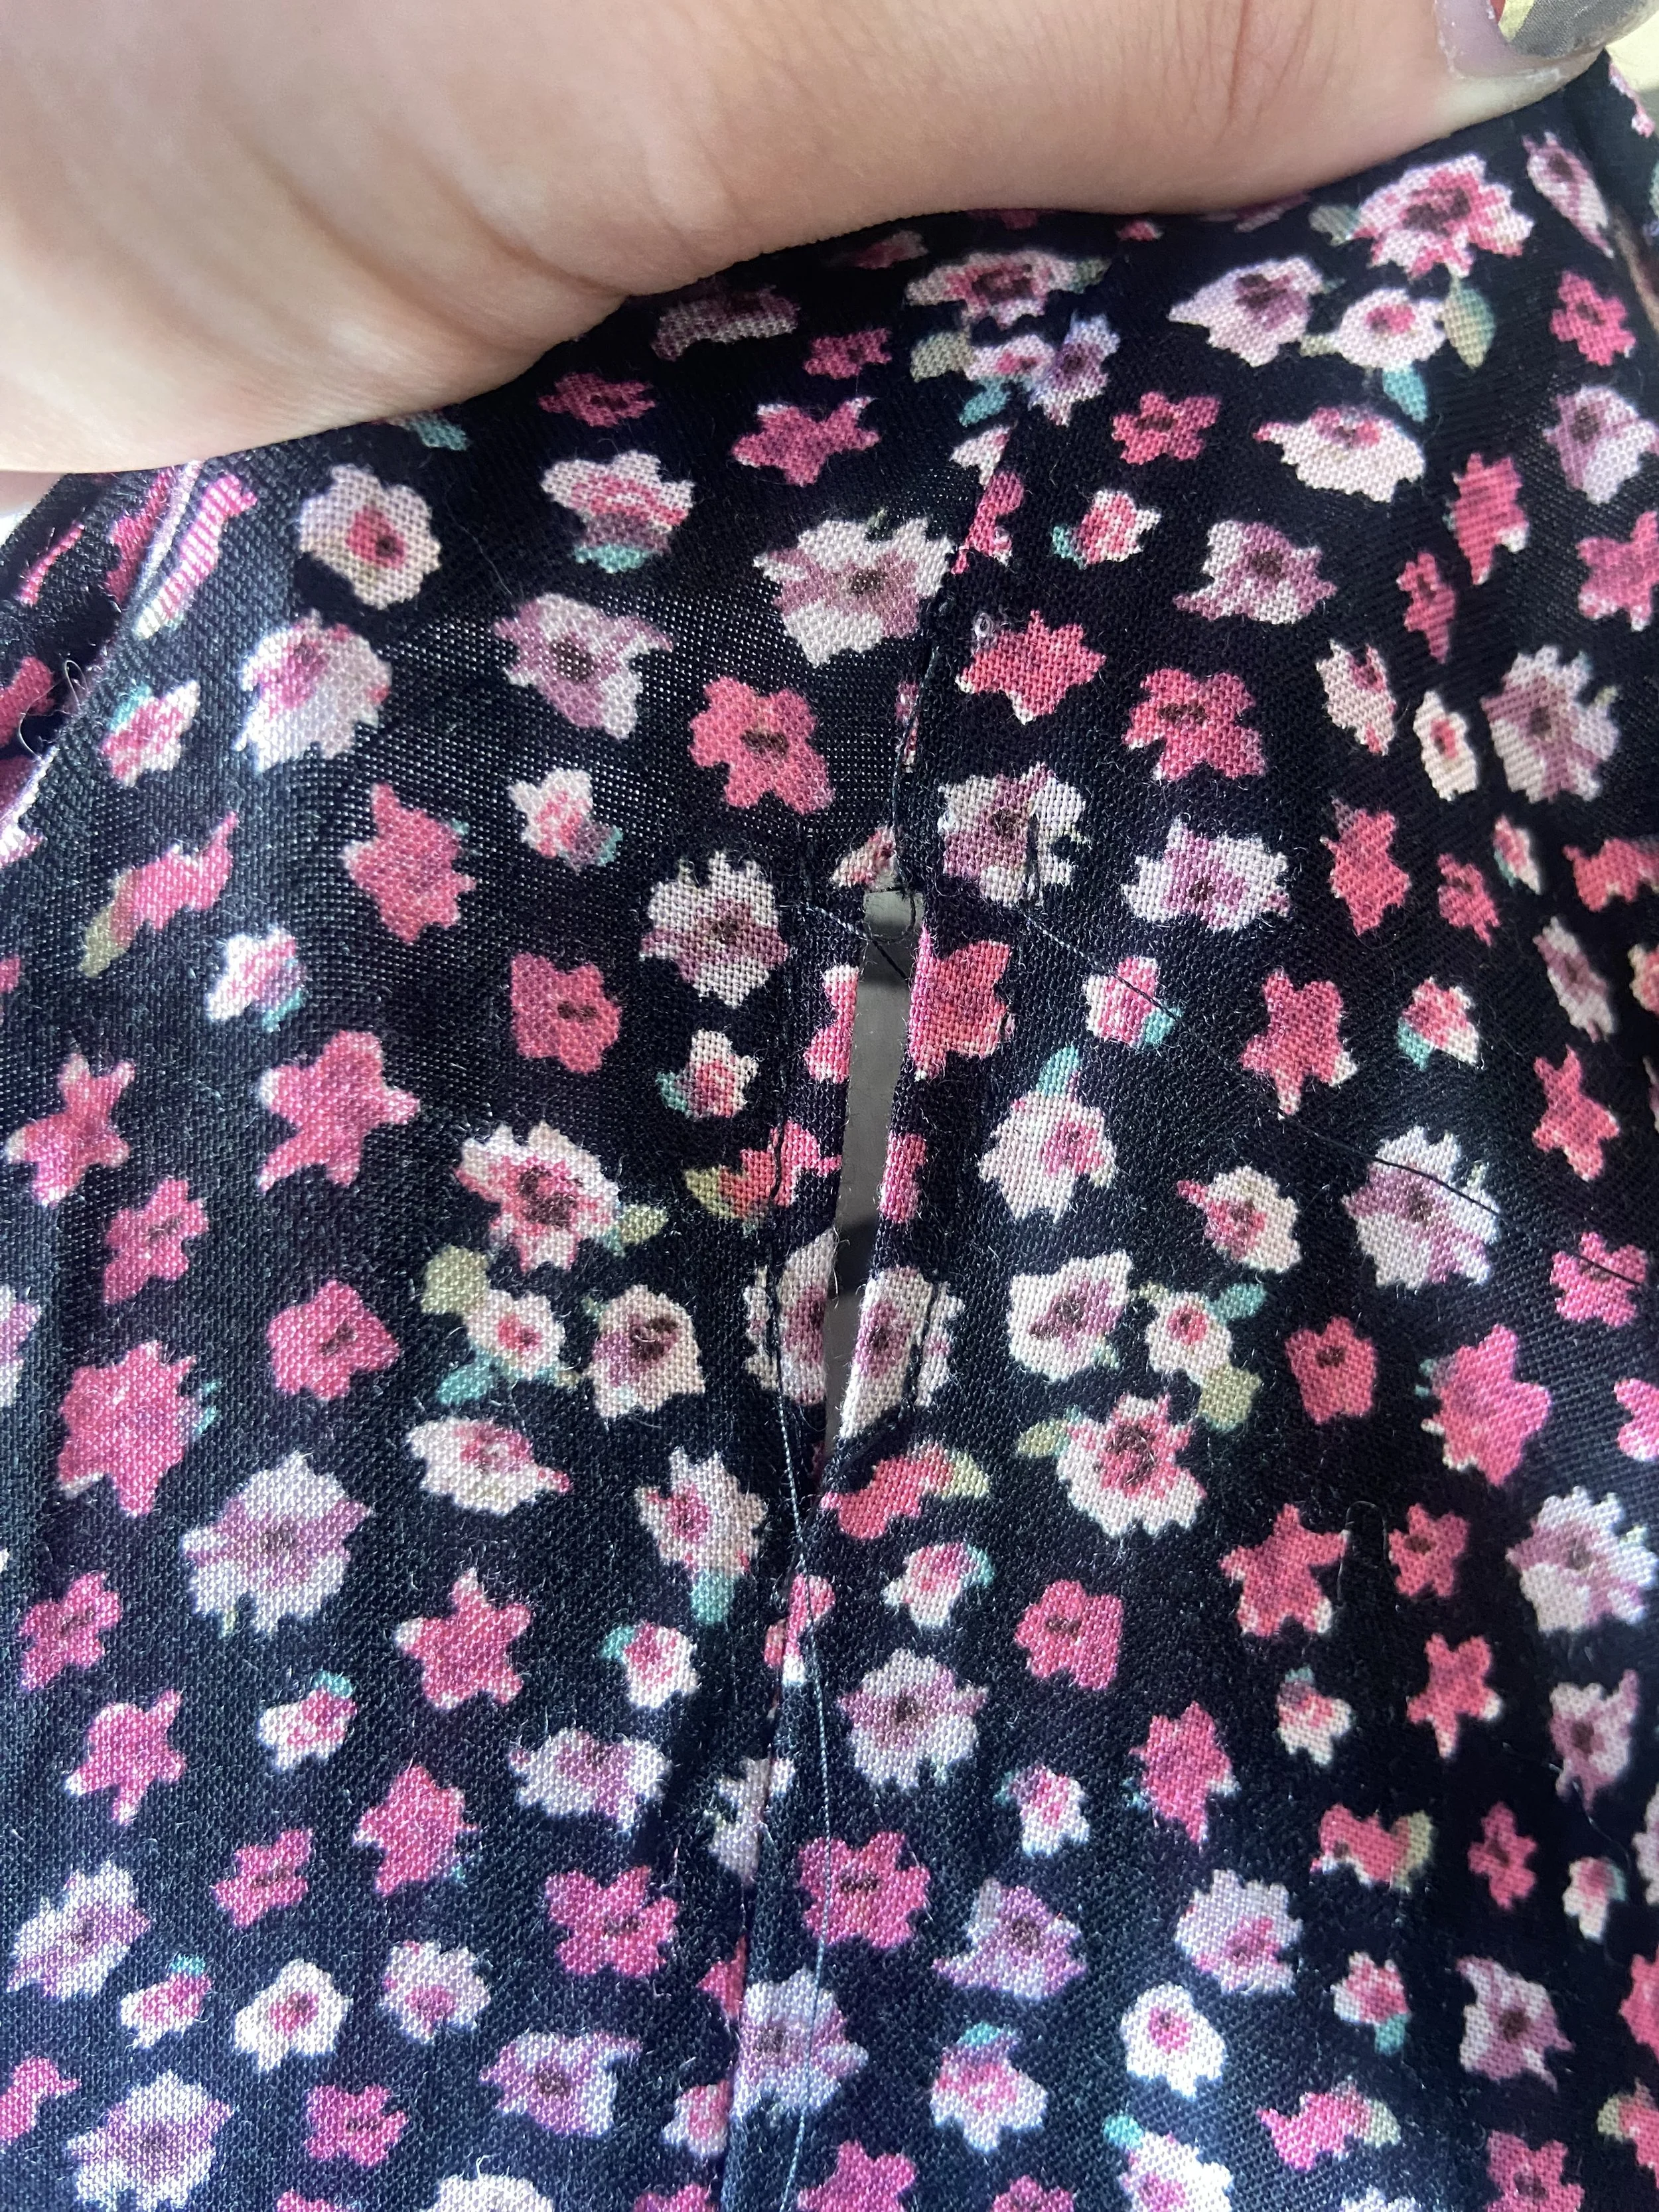
8.Topstitch the seam allowances at the gap to form “buttonholes” on each side seam
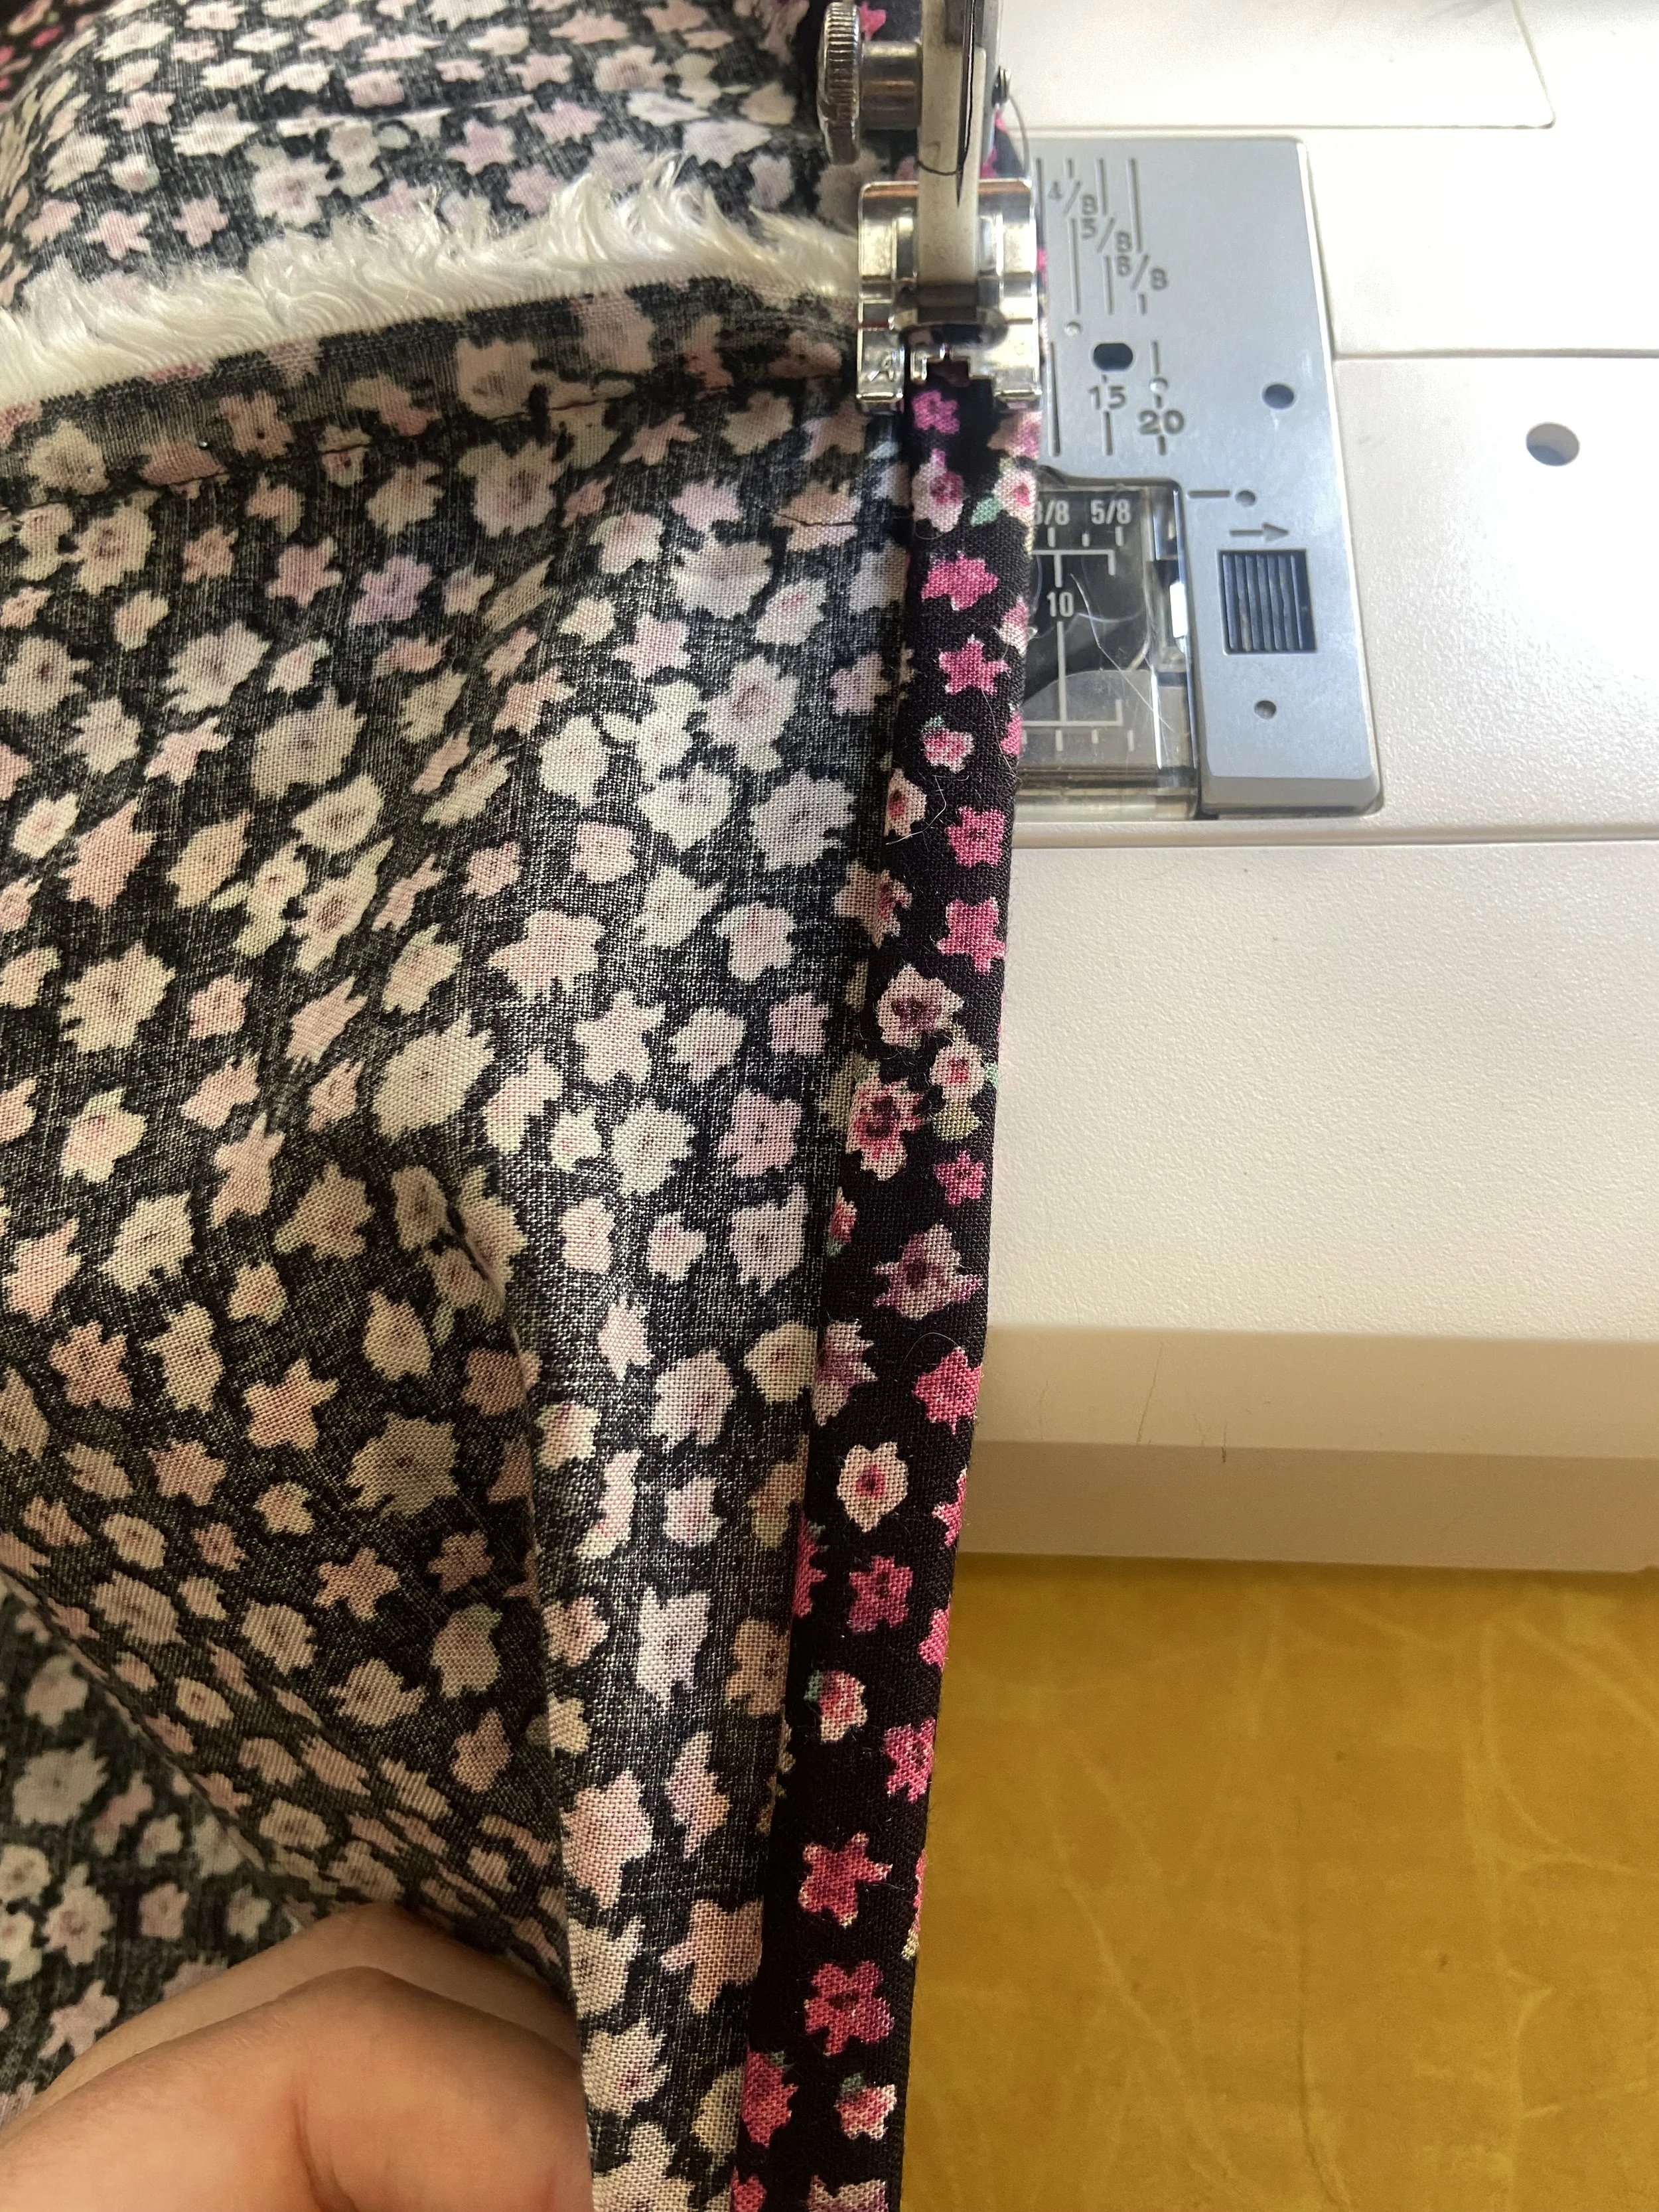
9. At the top edge of the skirt, press the top edge down ½ inch
10. Press the folded edge down an additional 2.5 inches
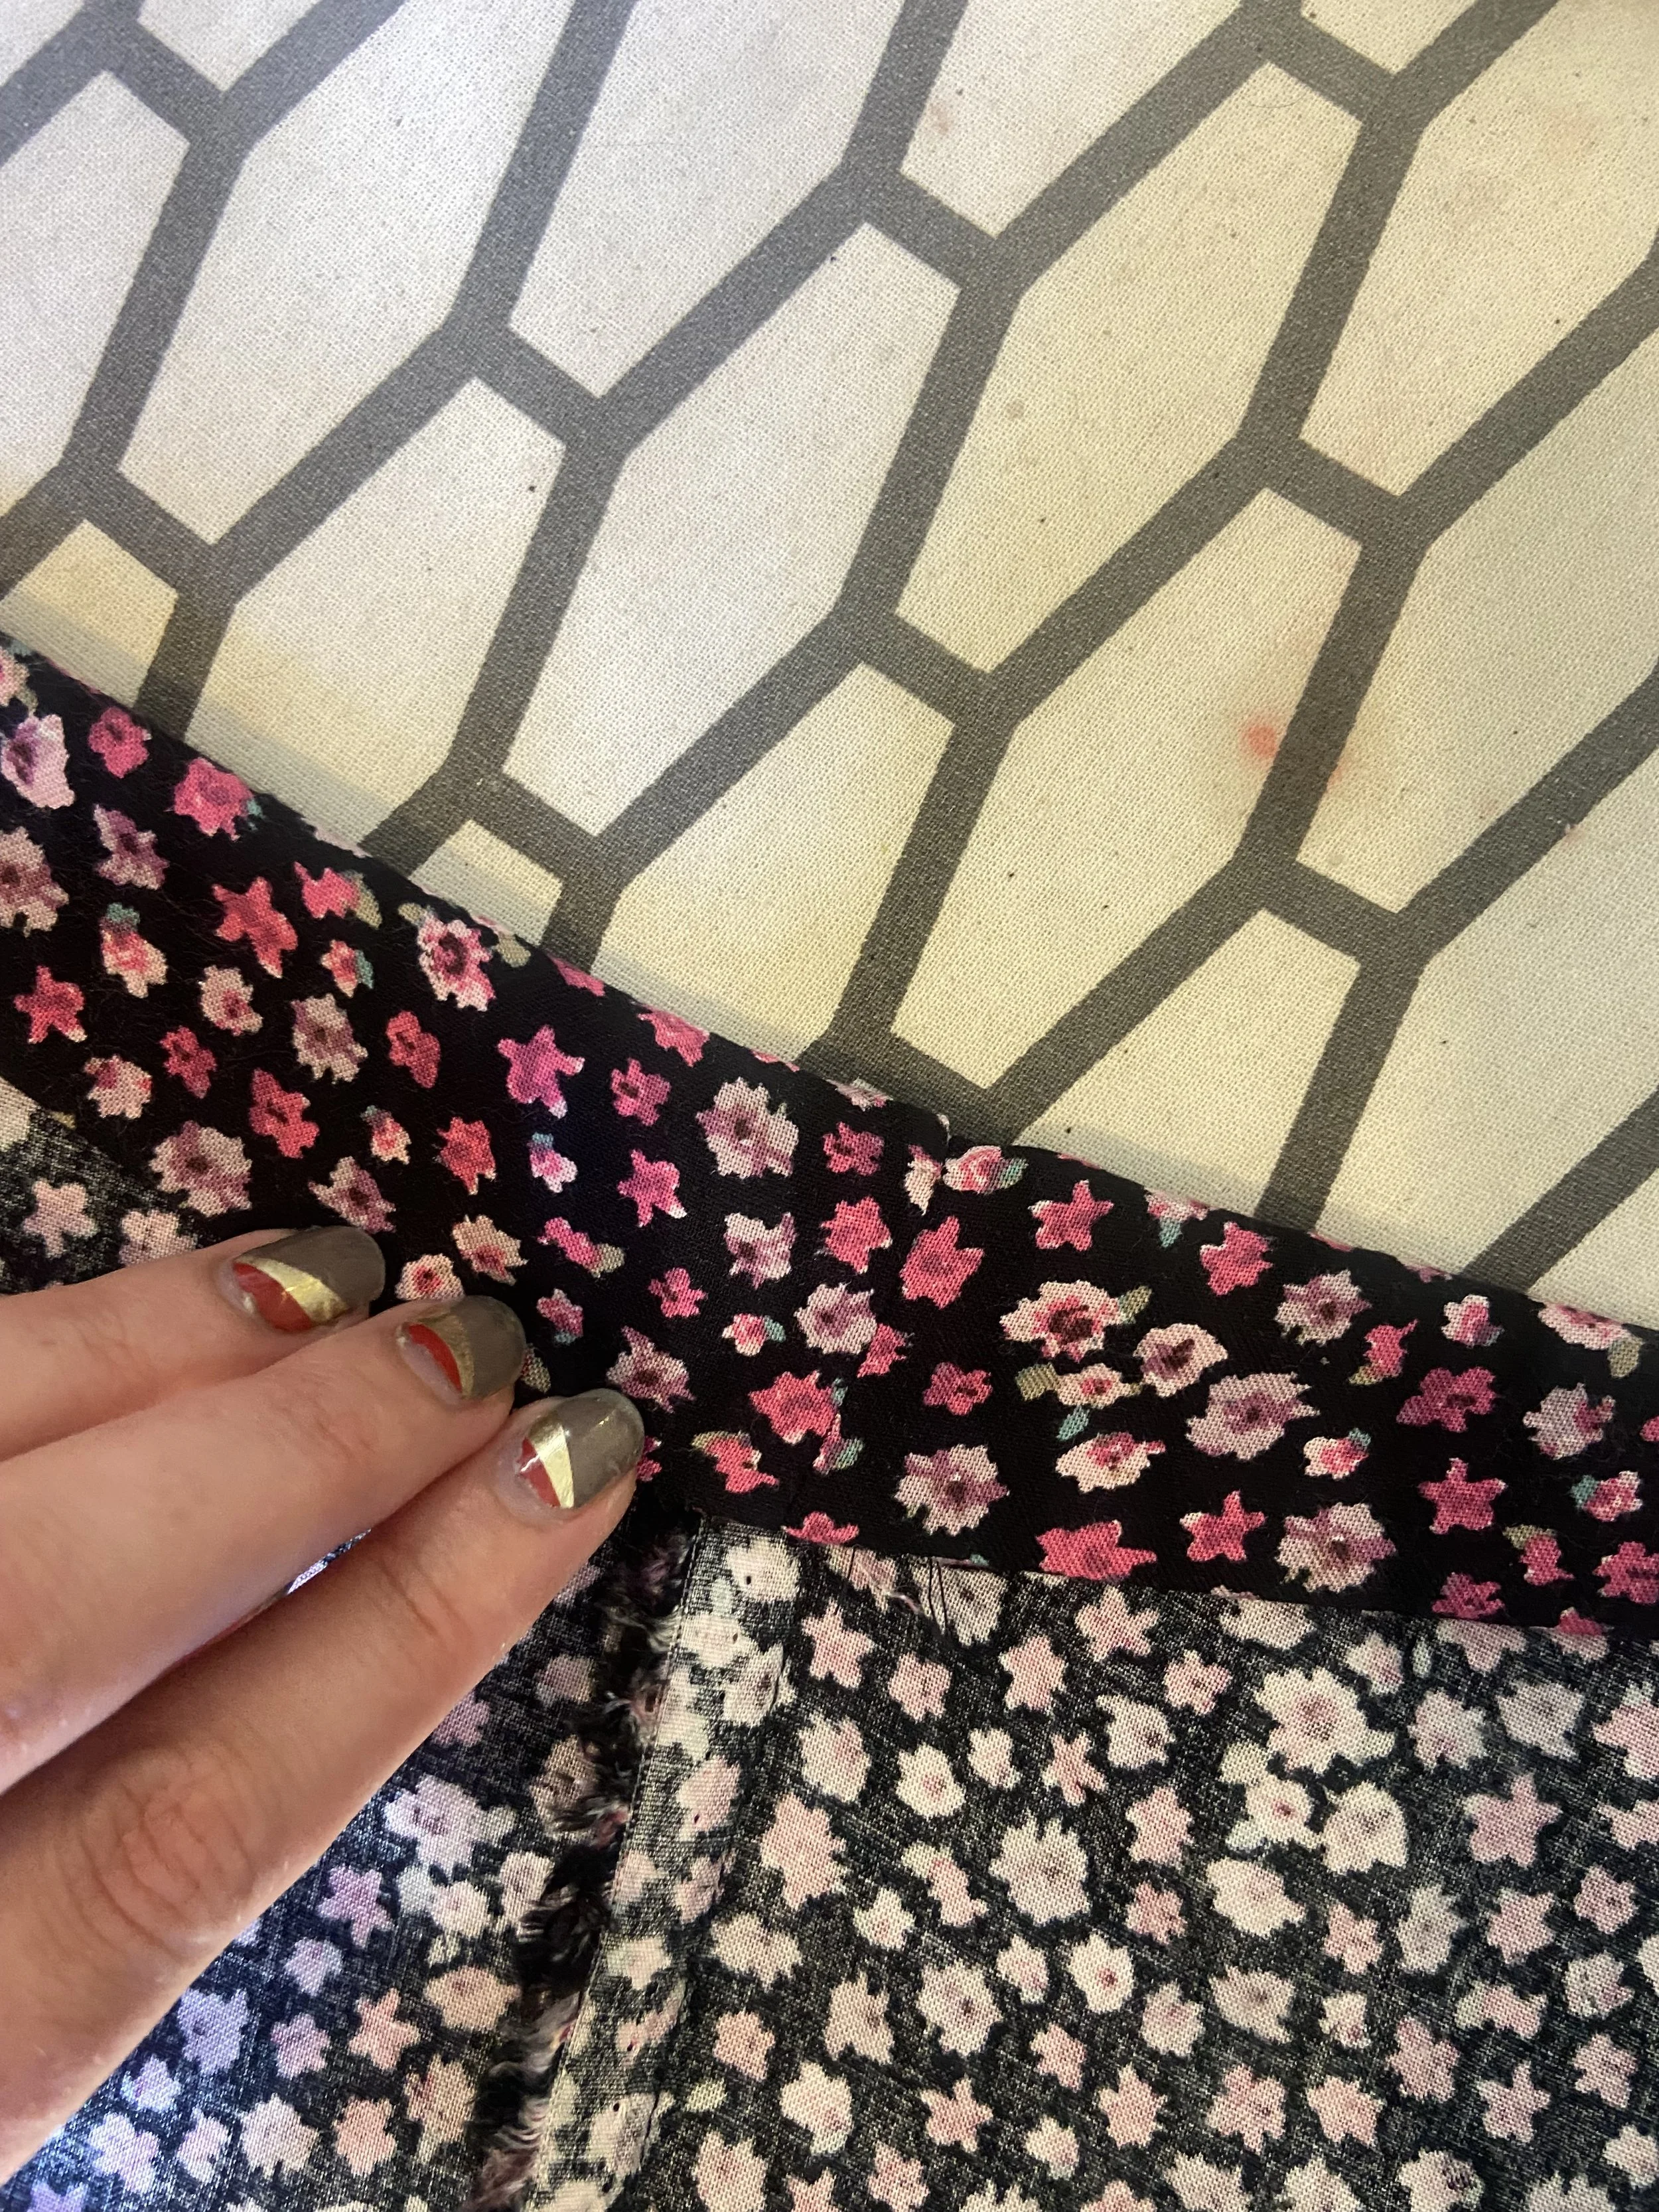
11. Sew around the entire casing close to the edge all the way around
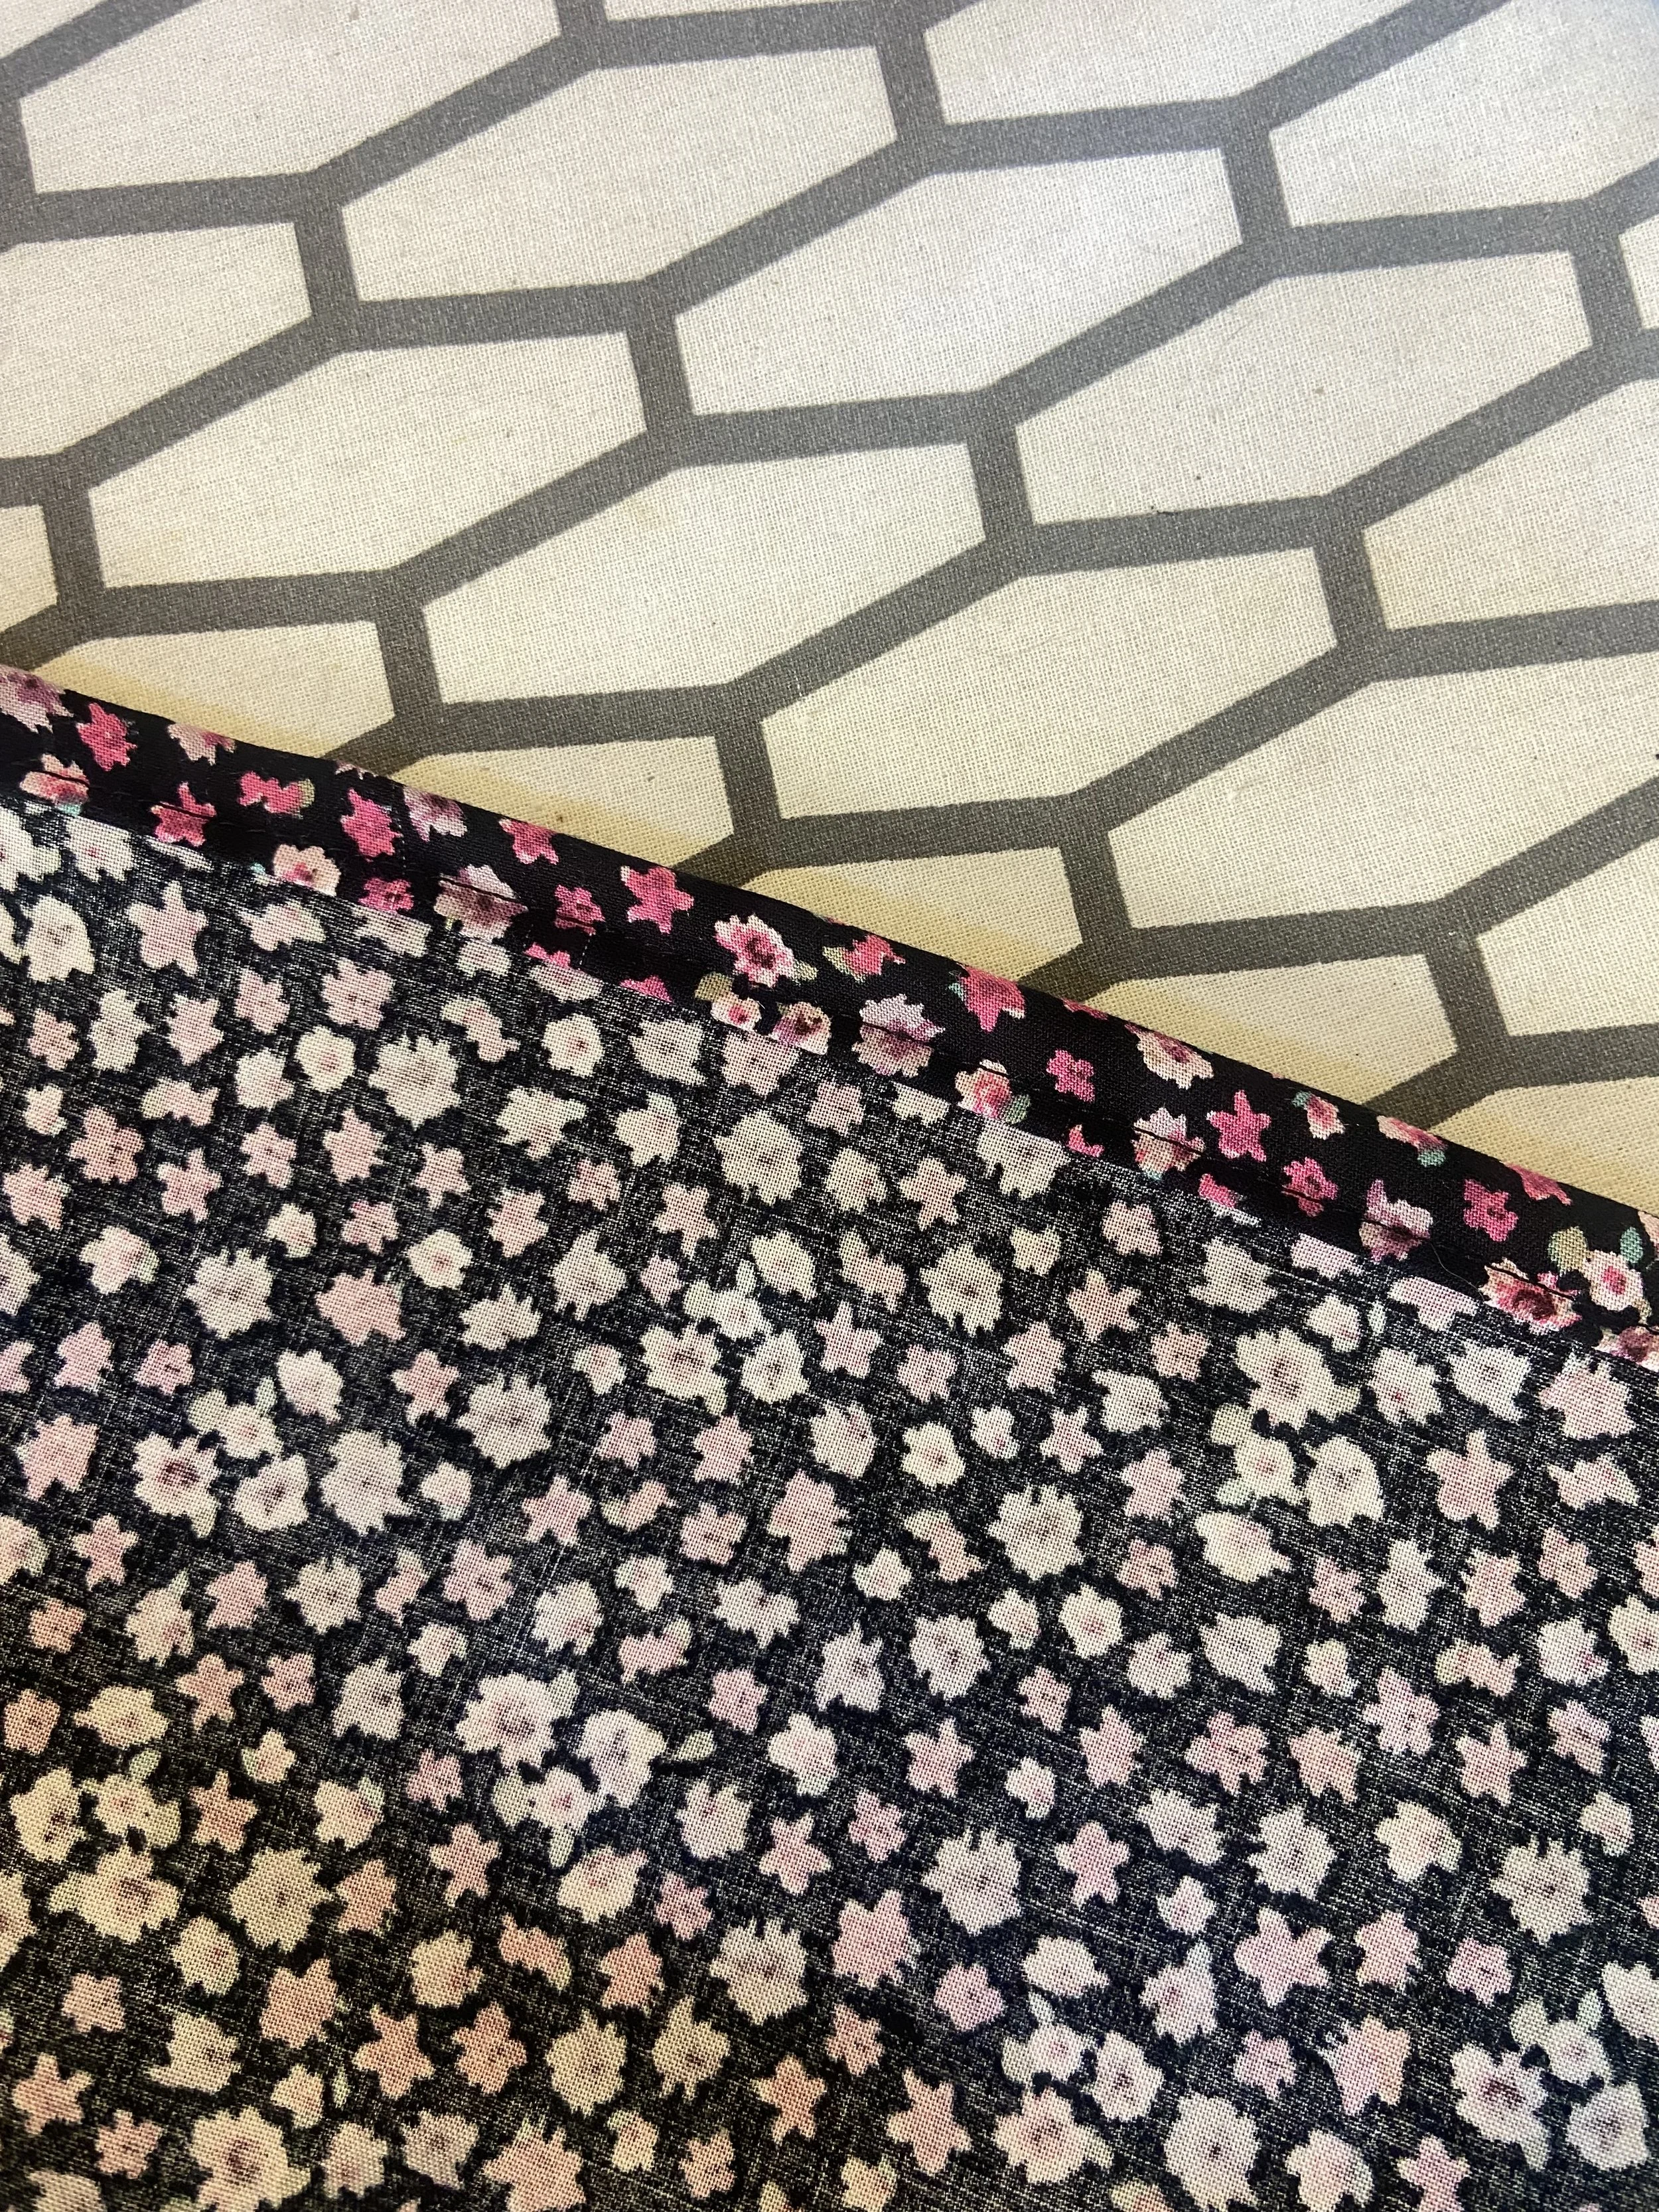
12. At the bottom of the skirt, sew a narrow rolled hem (you can do this in whatever way you like, I eyeball it and roll by hand, you can press twice and pin, or you could use a rolled hem foot)
13. Clip threads and give a final press
14. Cut two lengths of ribbon that measure approximately 2x your waist measurement (it will need to wrap all the way around your waist and tie into a bow)
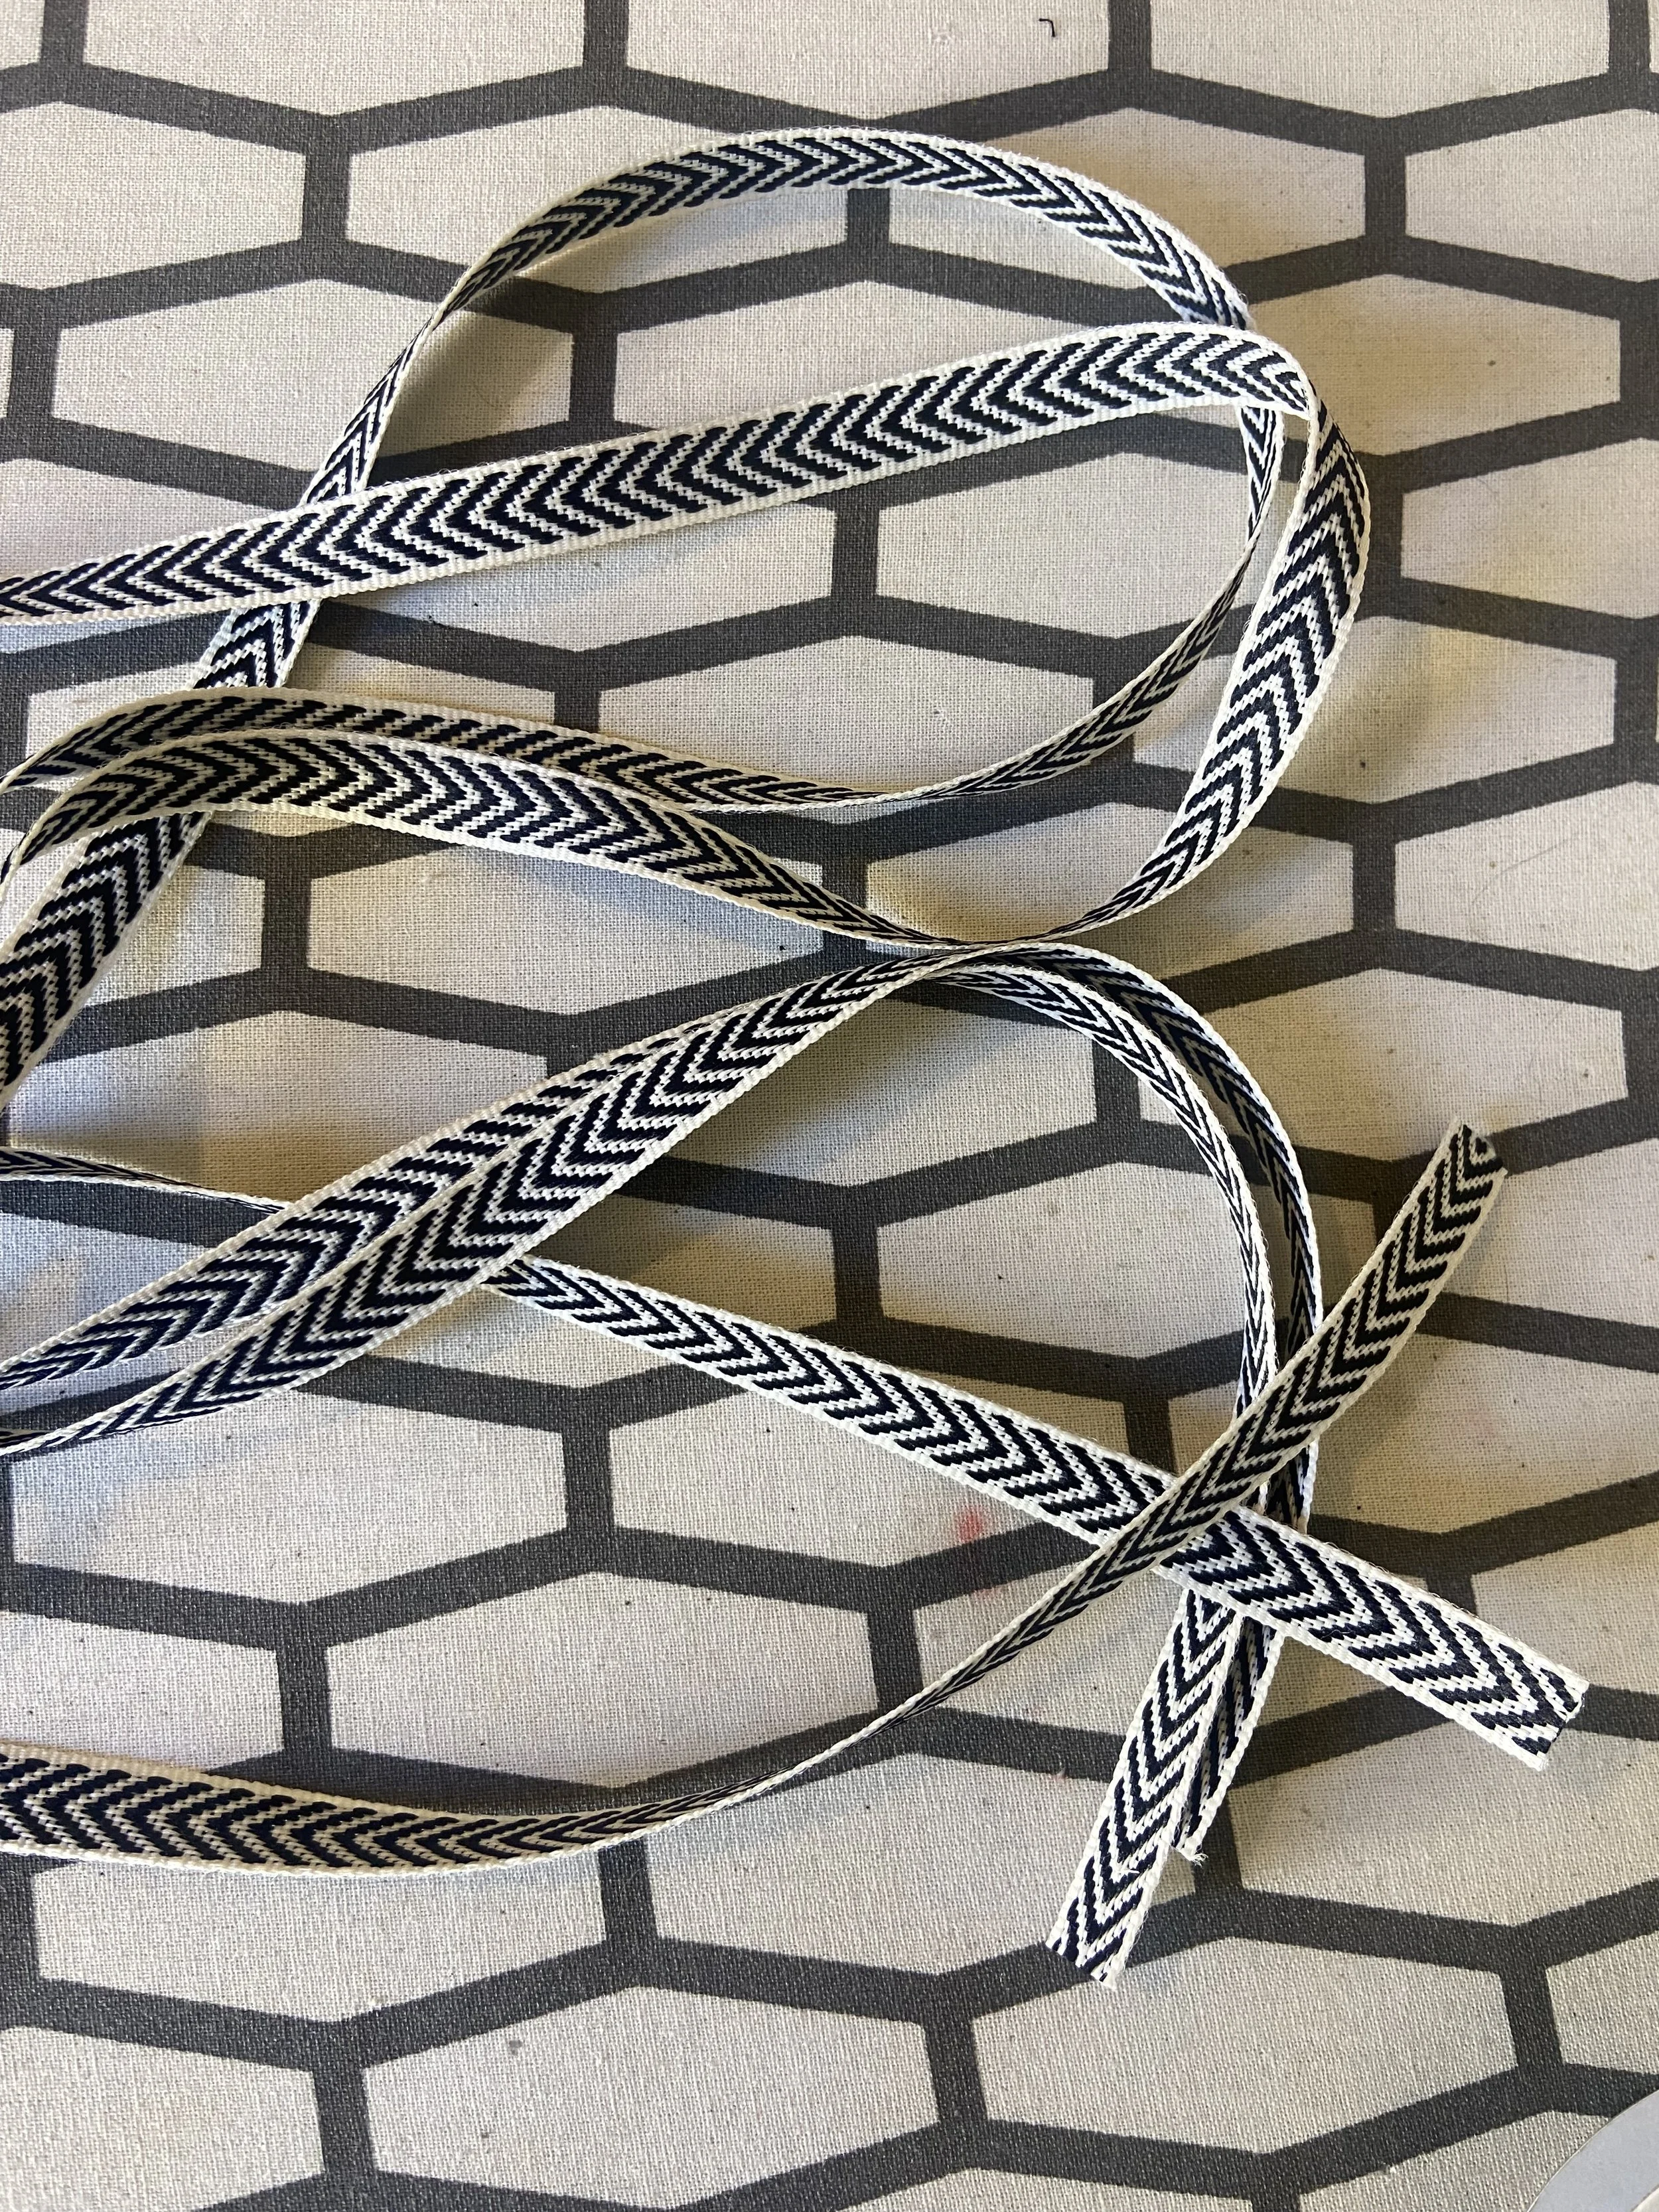
15. Burn the ends of the ribbon to prevent fraying (if needed)
16. Using a safety pin, thread one end of the first ribbon all the way through the waist casing, going in one hole, PAST the hole on the opposite side, and then back out of the same hole.
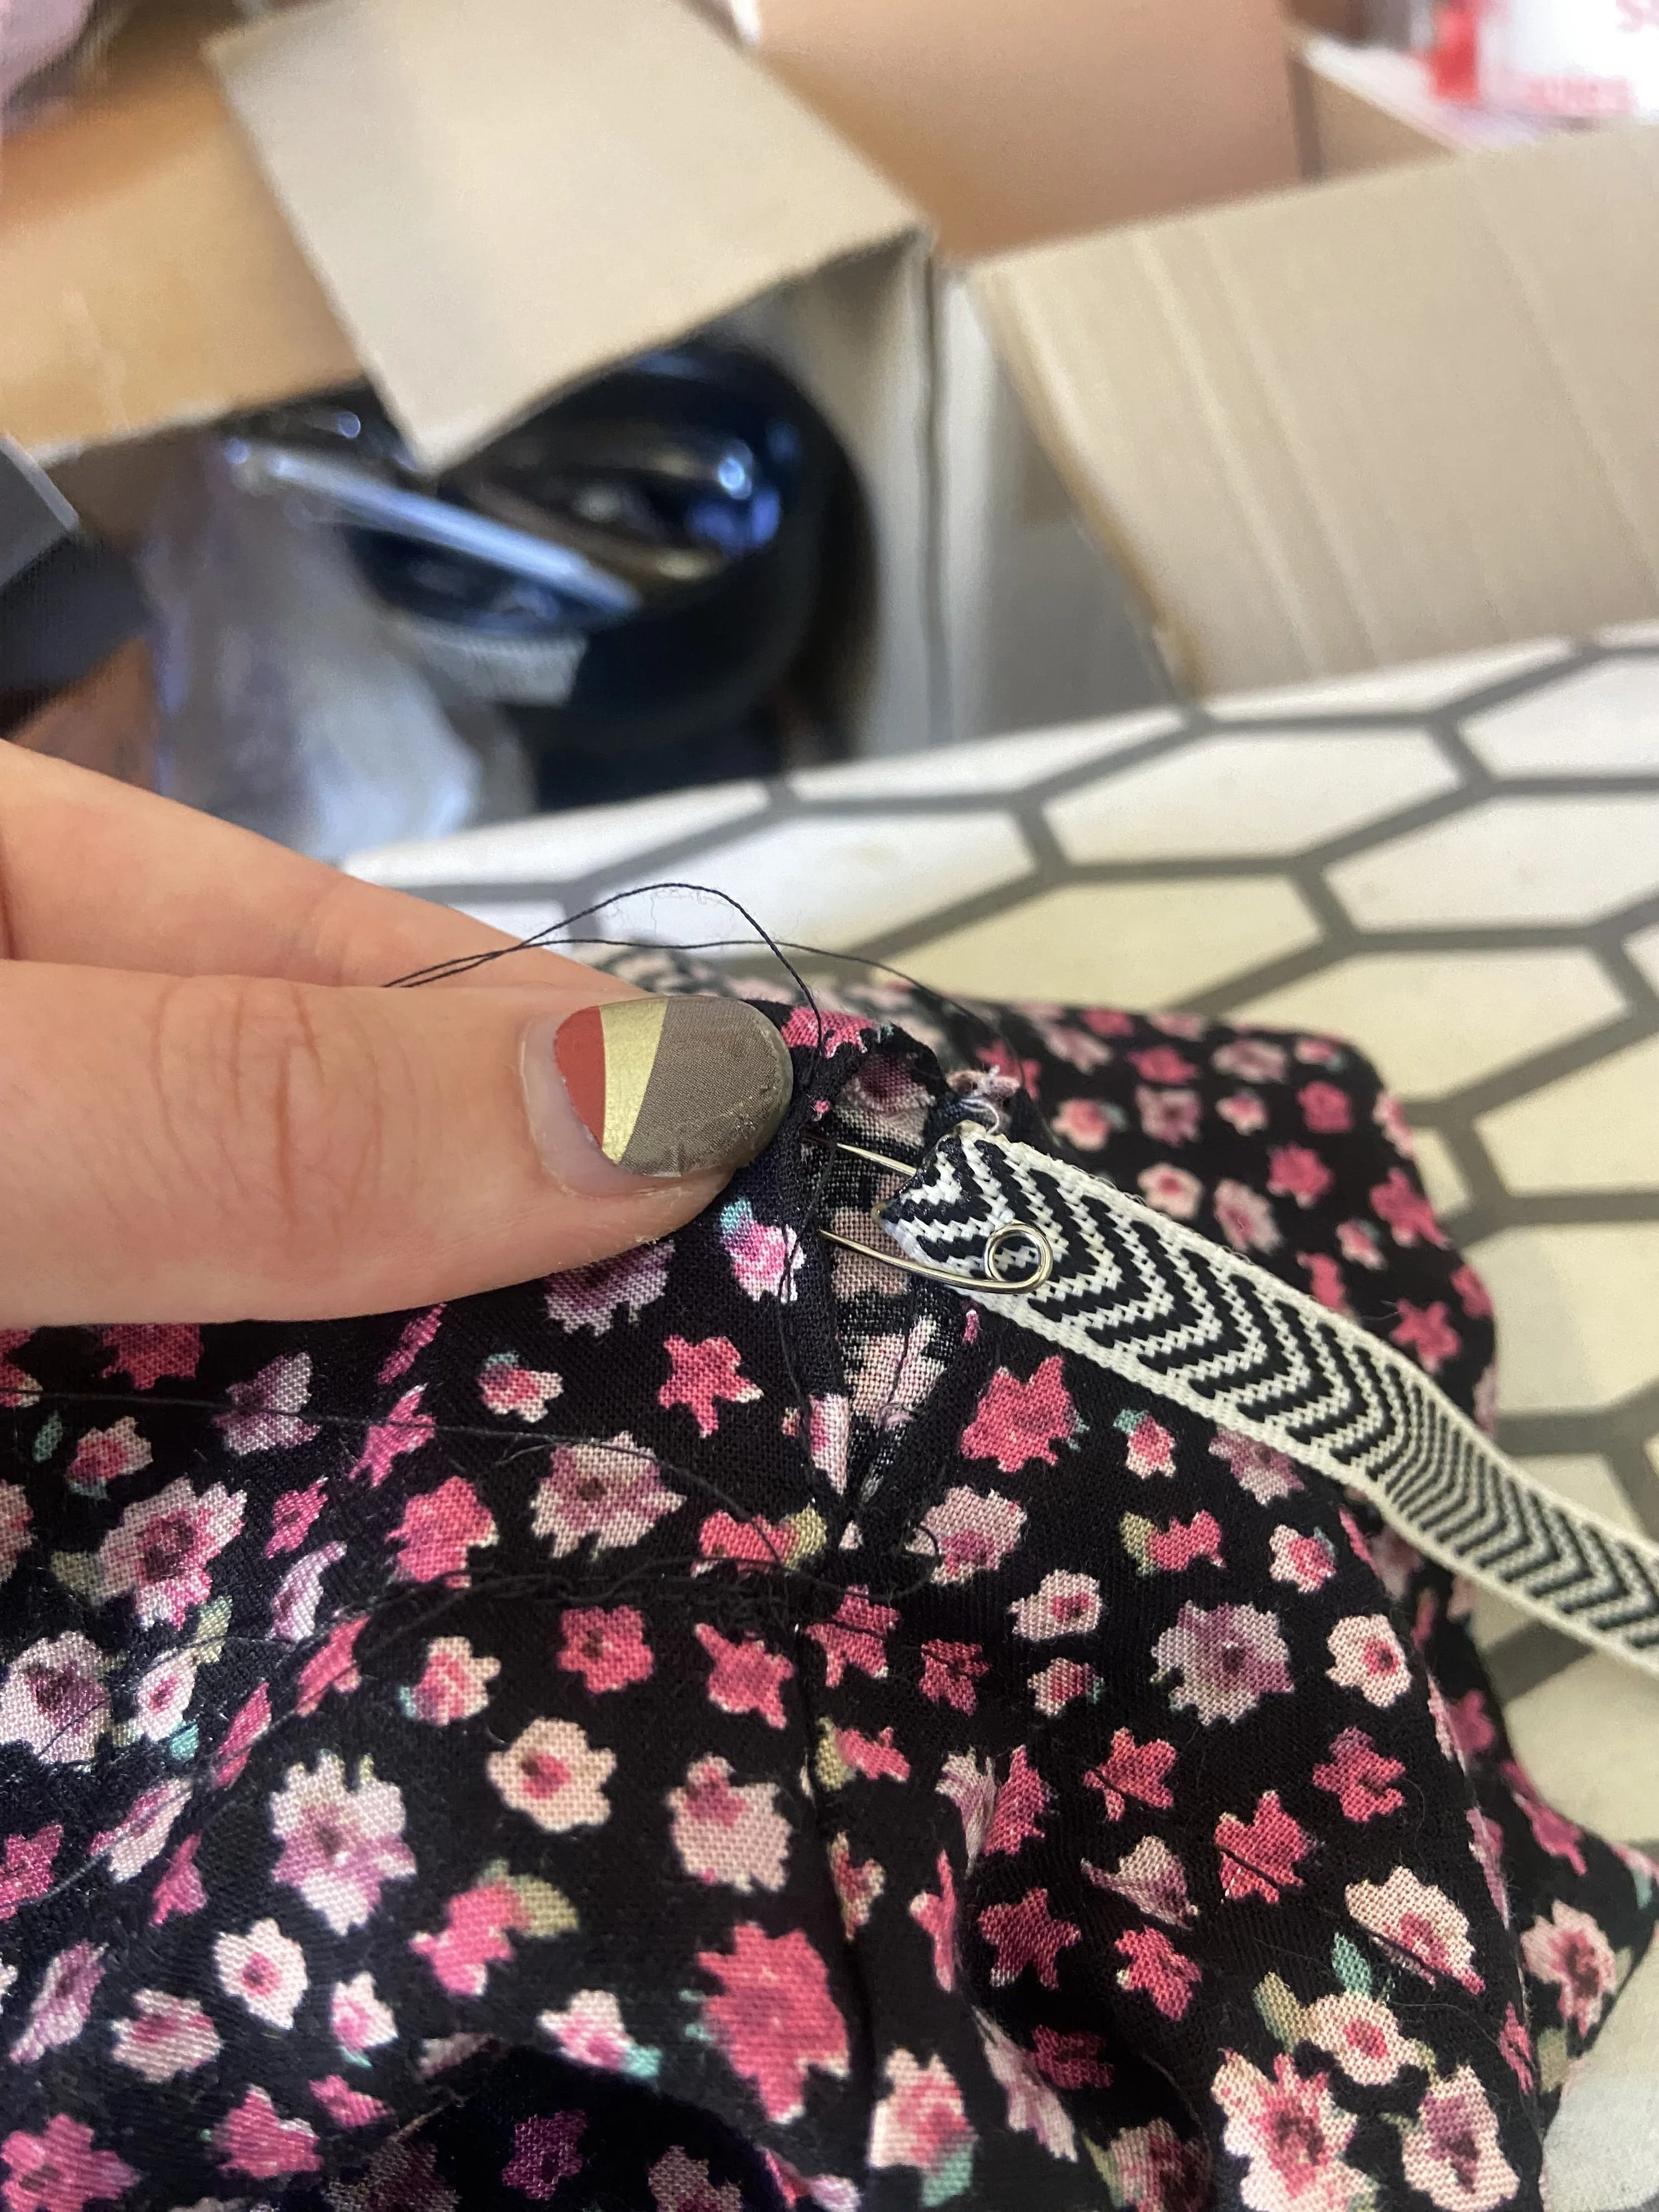
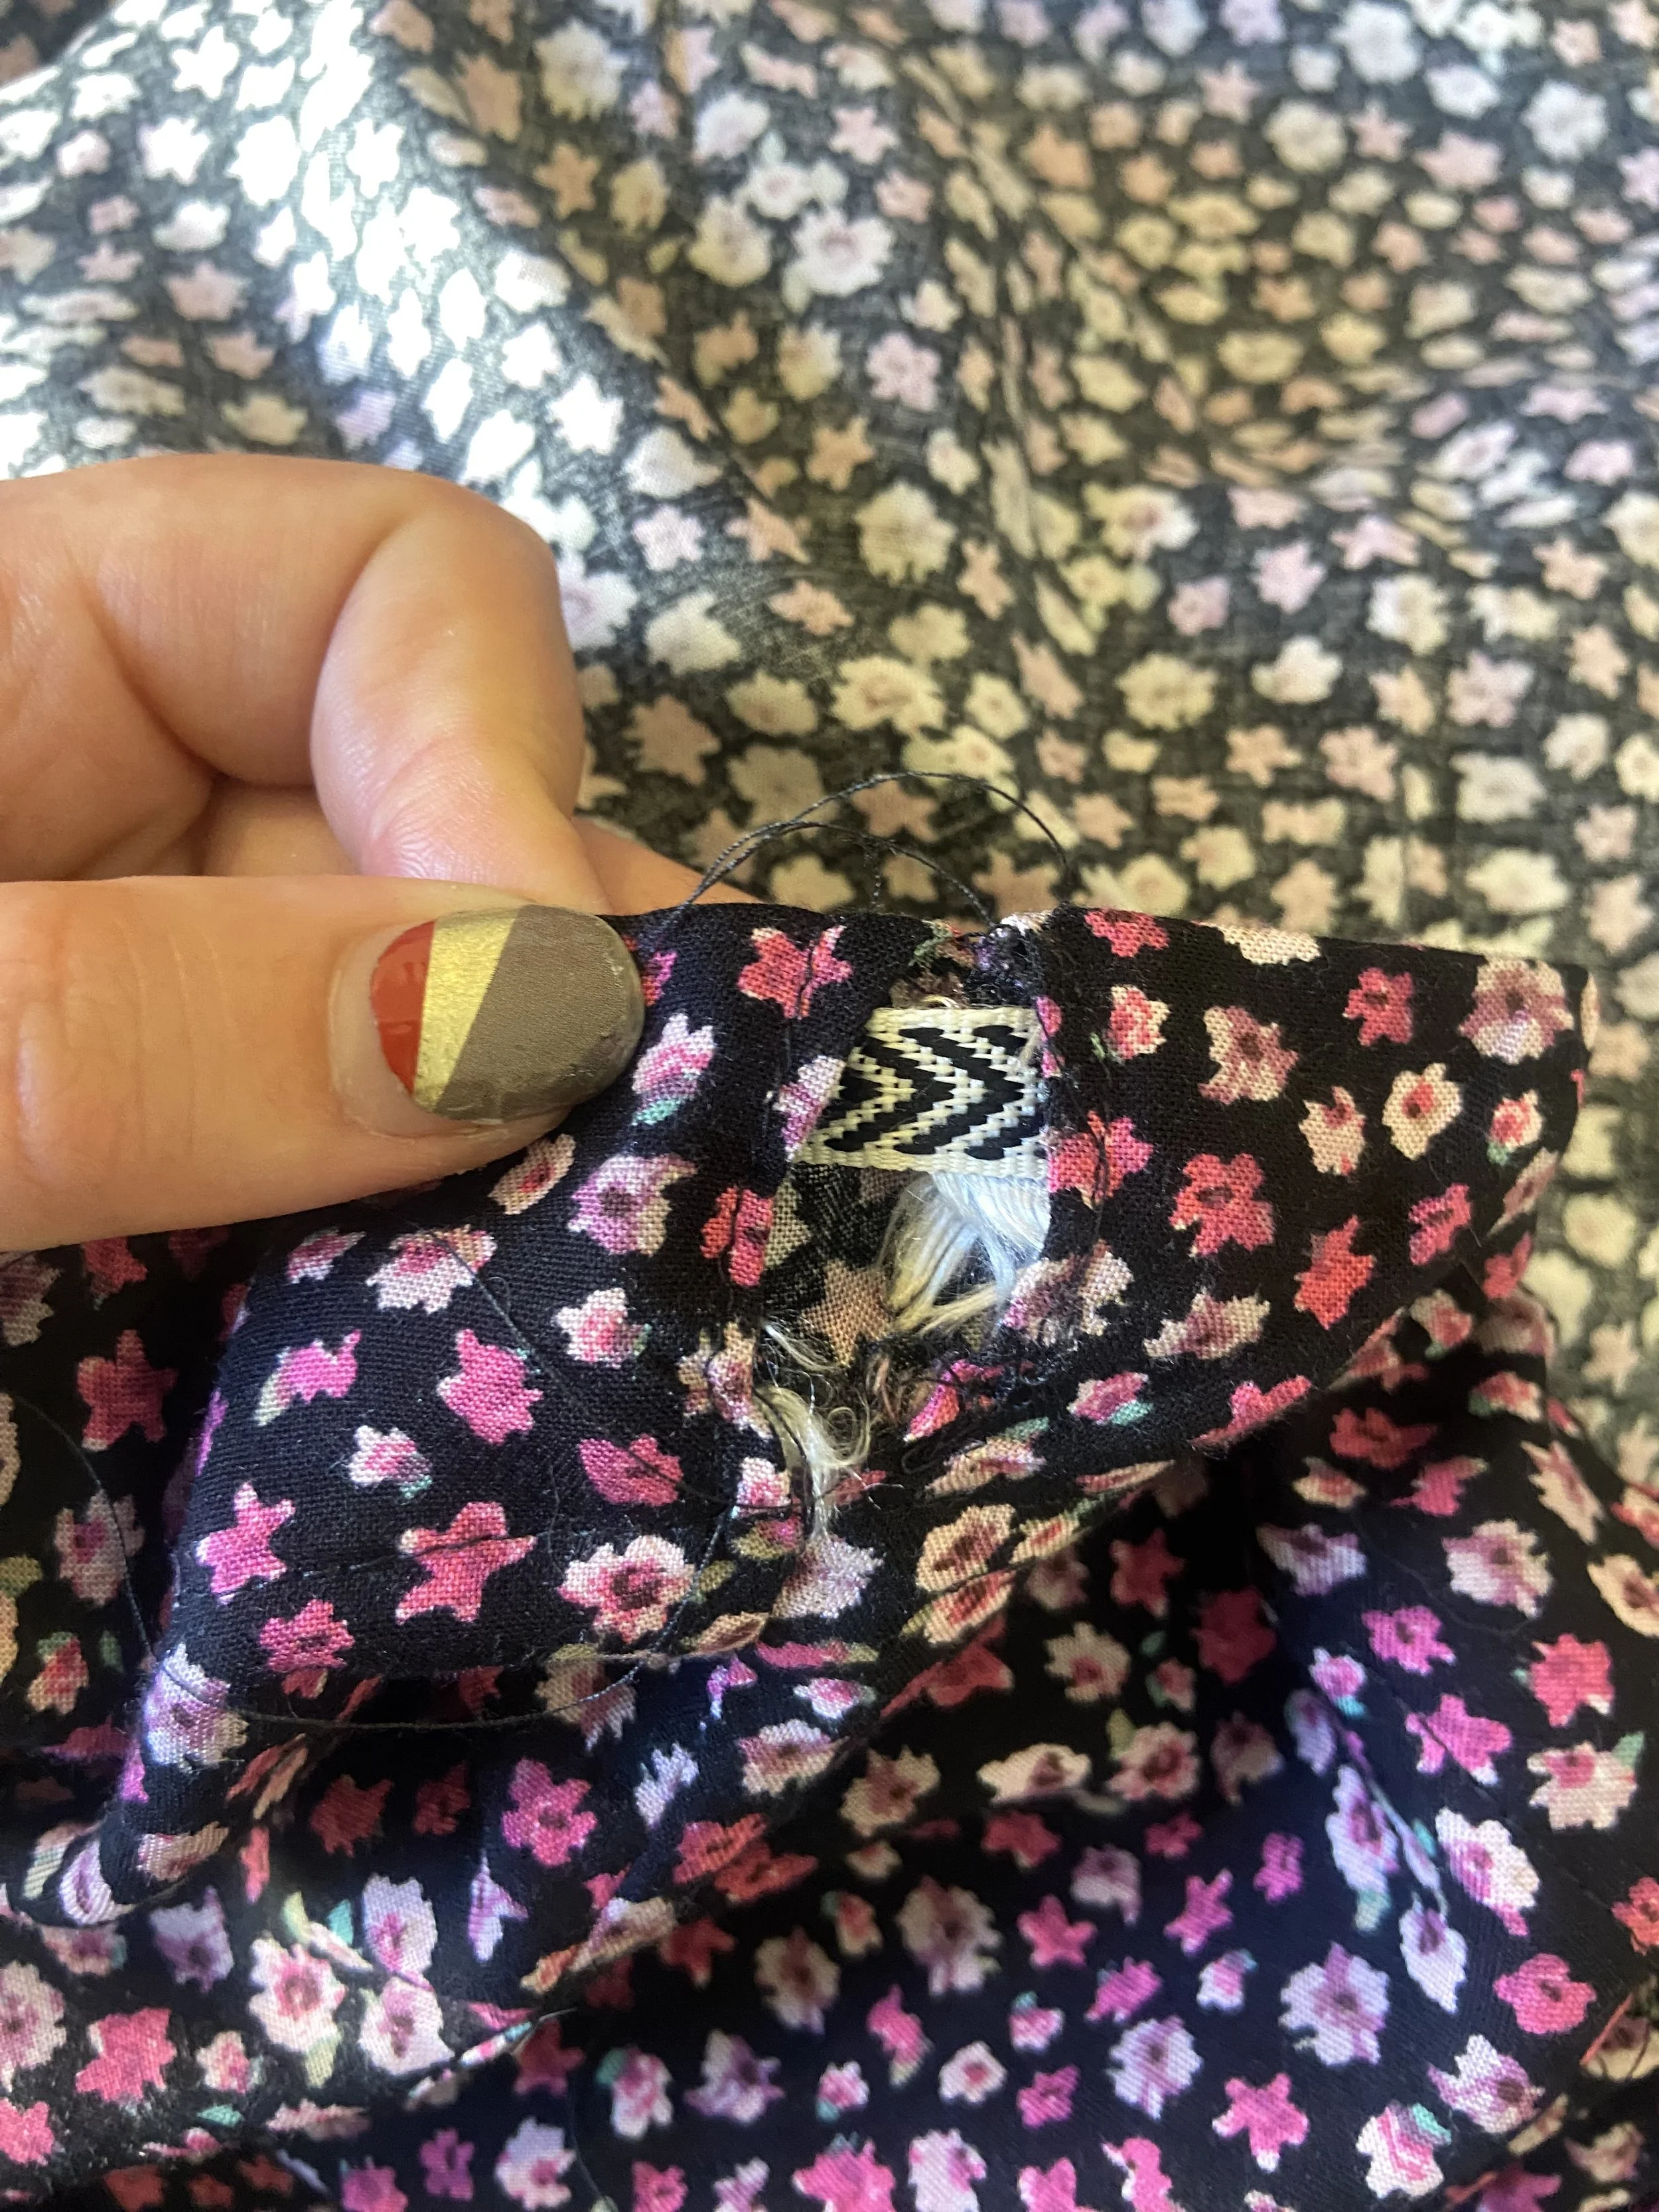

17. Repeat step 15 going the opposite direction
18. Finish the ends of the ribbon to your preference (hem, knot, etc)
19. Go flaunt your new skirt!
Customization Inspo
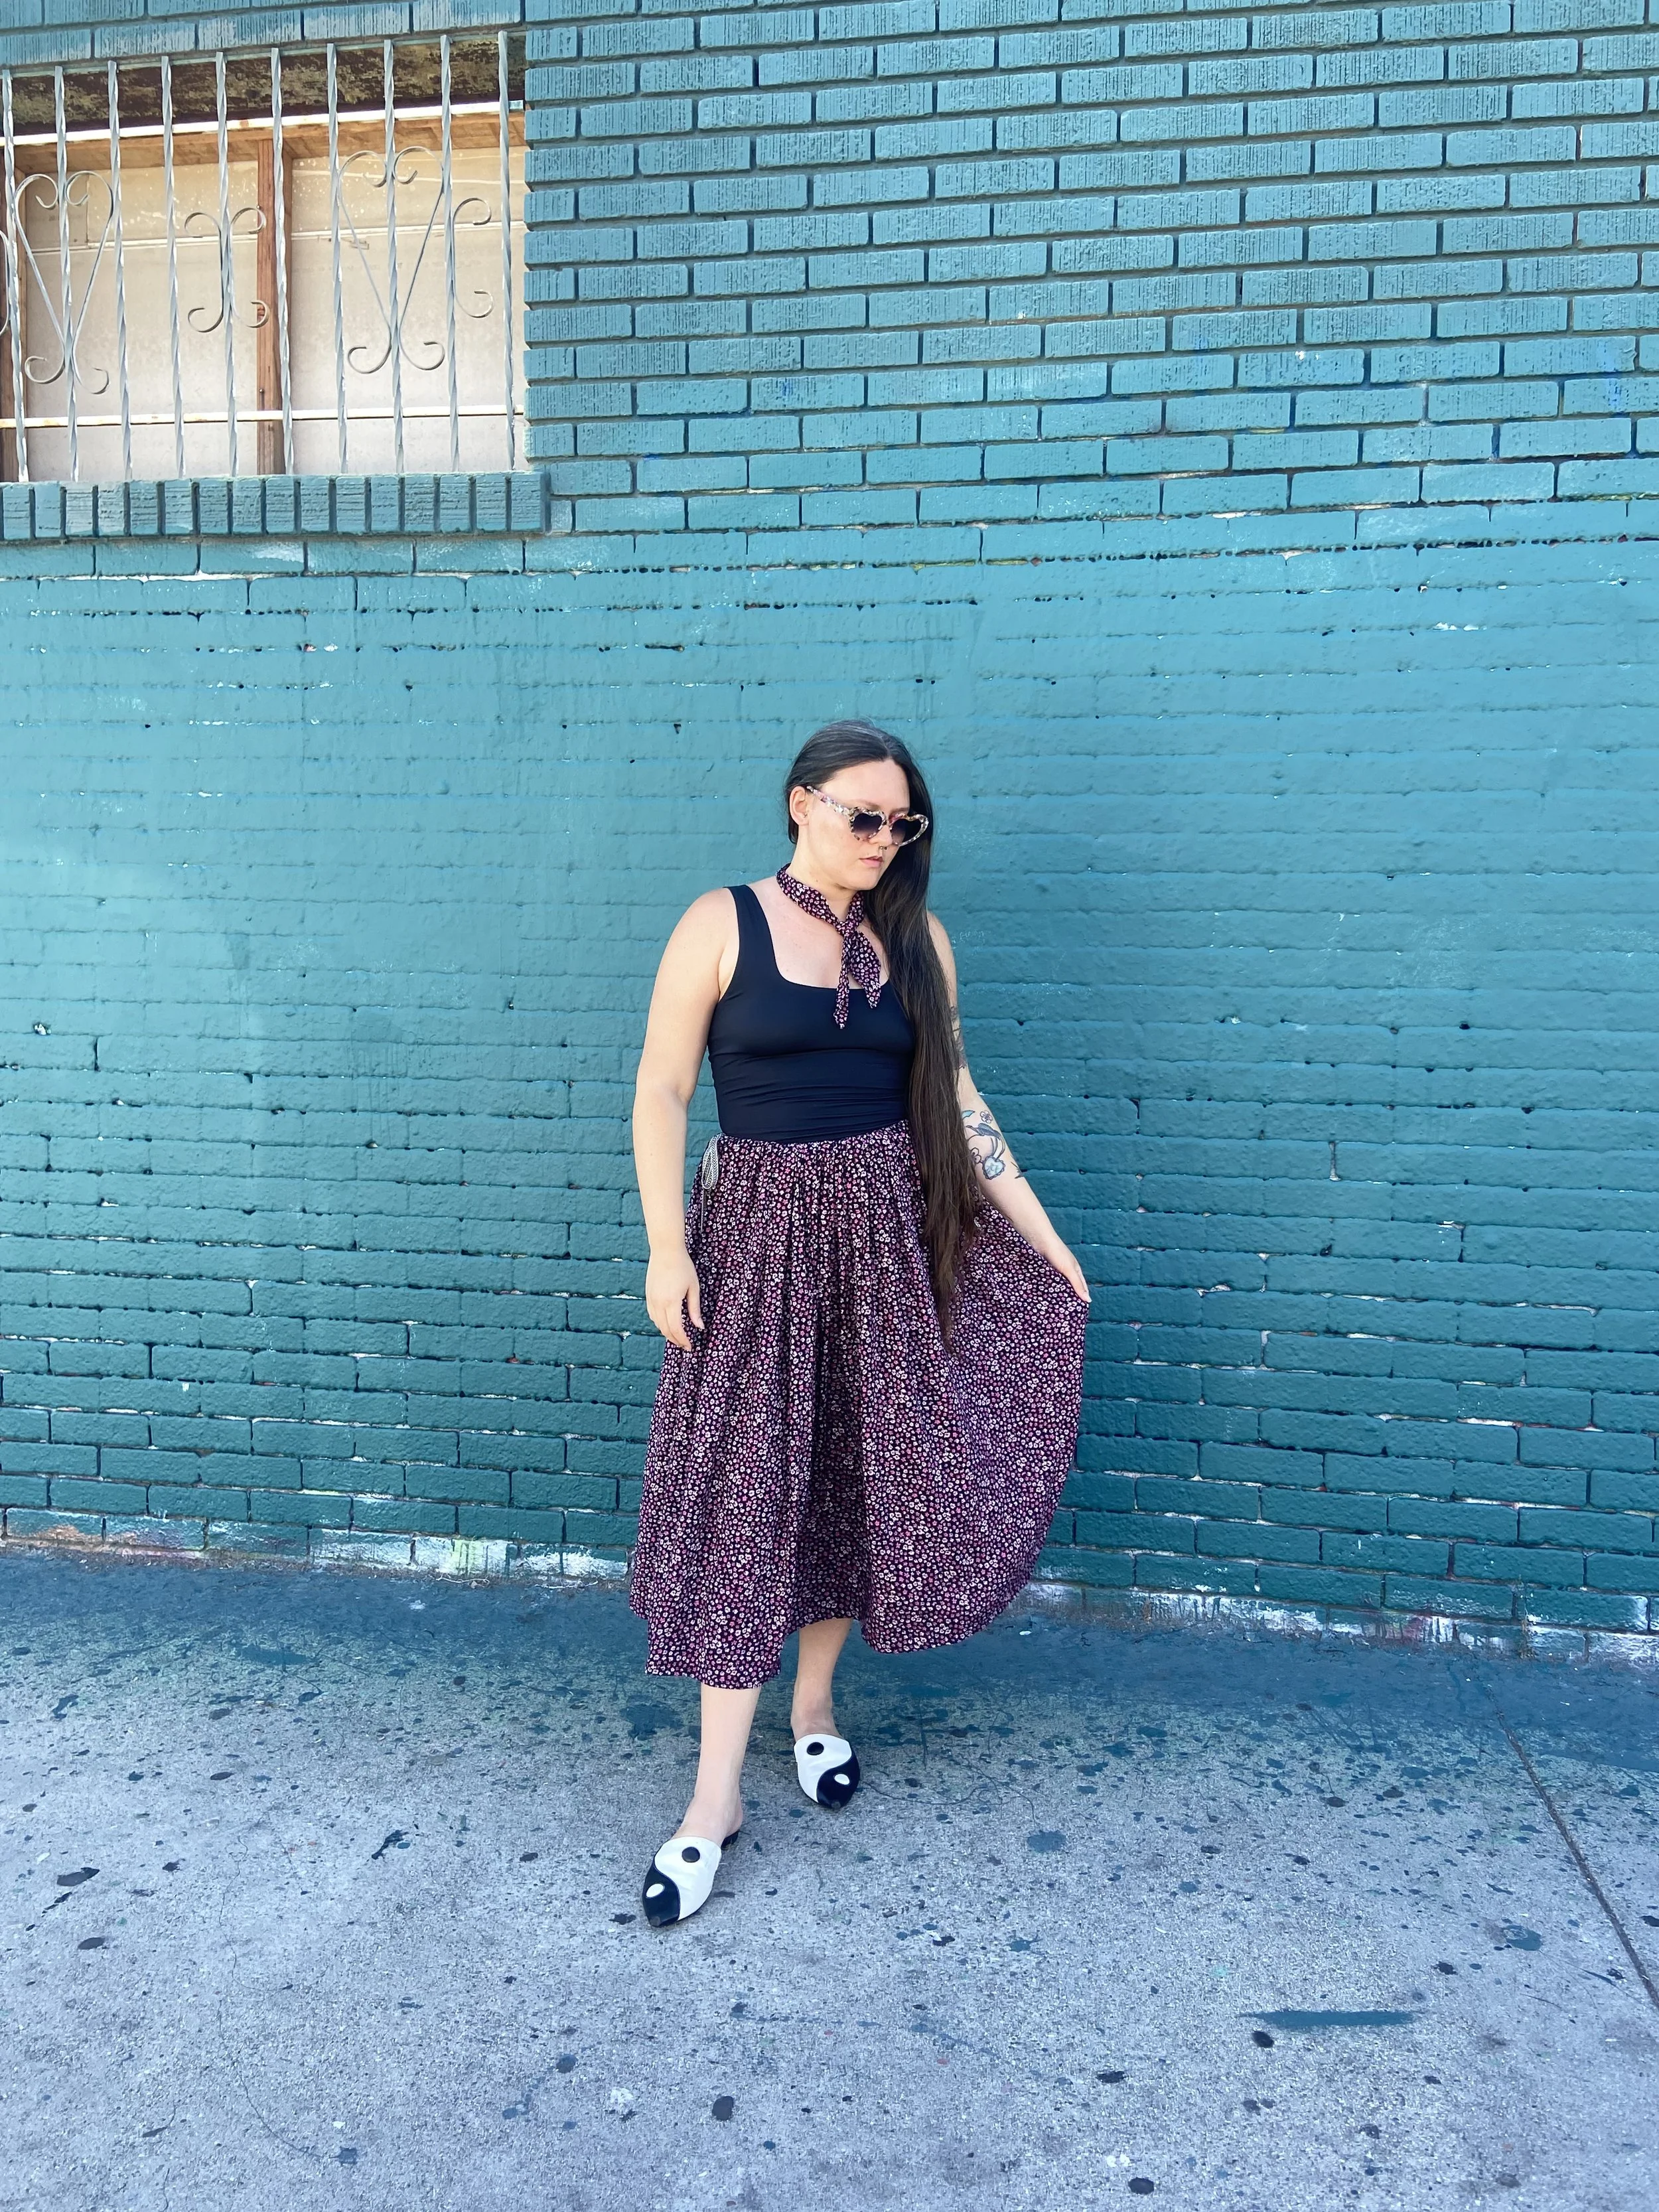
This basic tutorial results in a skirt more or less just like the one in the picture, however, it also serves as a fantastic foundation for further customization:
- Play with length – make a mini, a maxi, anything in between.
- Add tiers/ruffles – Make the first tier 2x your waist measurement, and increase the fullness as you go down
- Colorblocking/Scrap skirt – Piece together scraps or larger cuts of fabric to the size of your skirt panels you need from the “cutting instructions” section, and then jump into the sewing instructions once you’re there
- Add side-seam pockets – This one goes a little bit beyond the basics, but I have a tutorial for adding side seams pockets to ANY garment with side seams and… I mean it.
- Use this same waistband technique on other skirt, pant, or shorts patterns – I have a theory that this can replace any standard elastic or drawstring waistband, does anyone want to help me test it
- Maybe even… a dress? – I don’t know, this one seems like more of a challenge, but… not… impossible?
I hope that you have enjoyed this tutorial, and I would LOVE to see the skirts you make with it!
Be sure to use the tags @victoriaannmeyers and #VAMCottagecoreSkirt when you share your makes on socials so that I can hype you up!
If you would like to support me in my dream (starting with the goal of developing this design into a full pattern release) you can purchase a PDF of a condensed version of this tutorial here on my ko-fi page.
Thank you so much for being a part of this journey!
Oh, if you want to learn to sew with me in person, I’m about to have some REALLY good news for you. But you’ll need to subscribe to my email list to find out first!