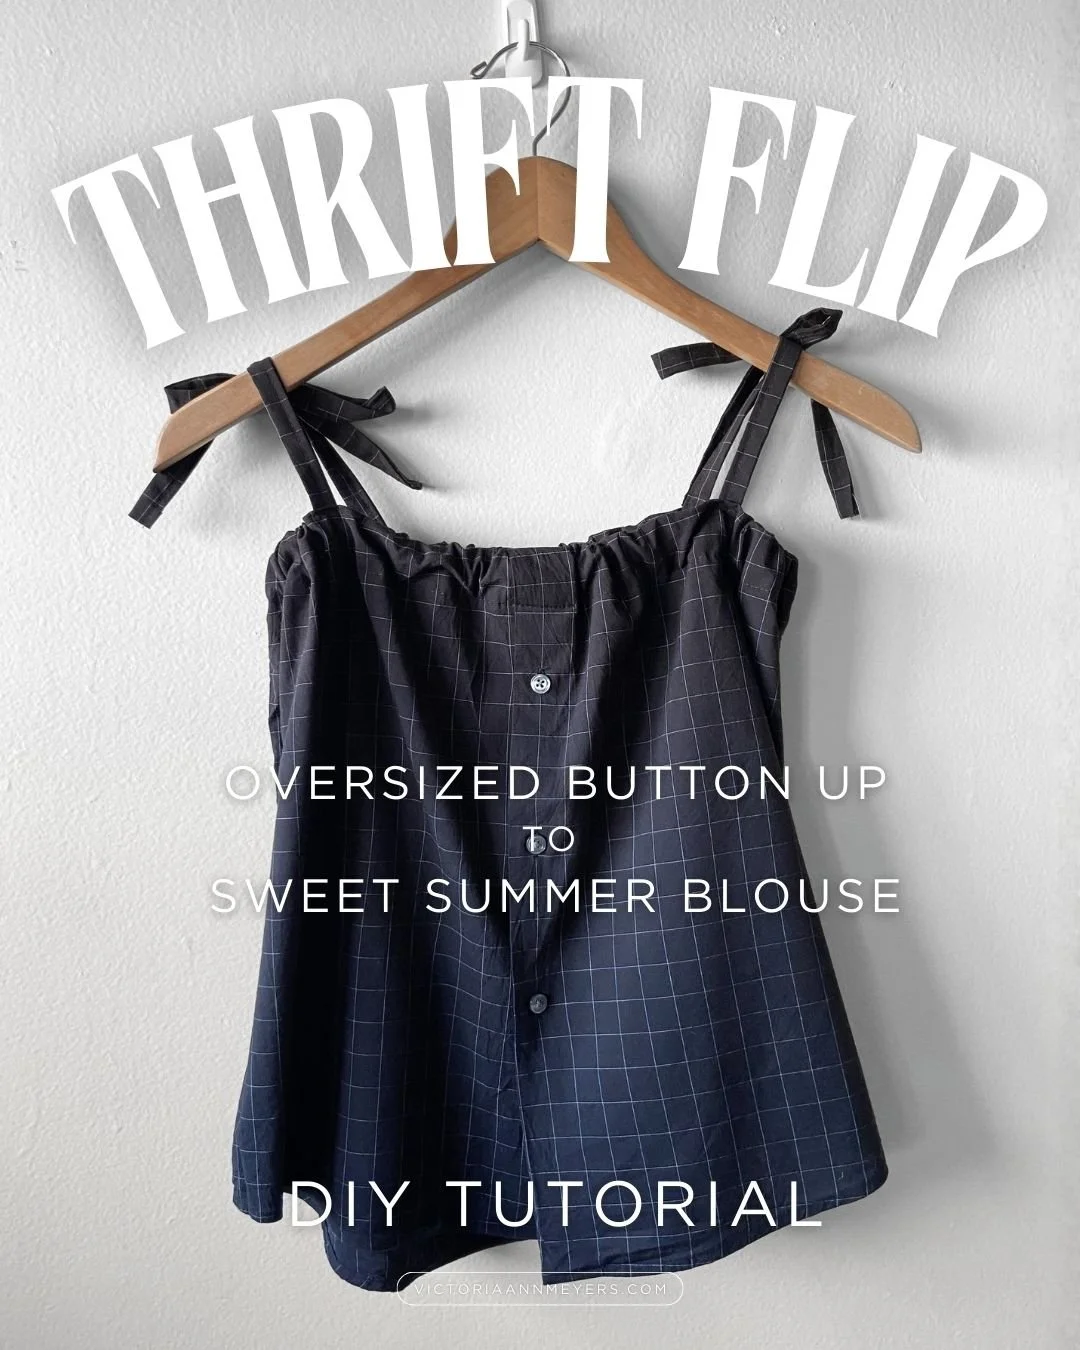
Thrift Flip - Oversized Button-up to Sweet Summer Blouse
YEARS ago, when my kids were tiny (heck, I think it was so long ago I might have still been married?), a tiny thrift store opened on my street. It was very cute, very small, and had INCREDIBLY low prices (if I’m remembering correctly all clothing was $3?). For the few months it lasted, it was a regular stop on our (then once a week) walks to the post office.
One visit I found a BEAUTIFUL 100% men’s silk shirt for THREE DOLLARS. I wanted so badly for it to fit into my wardrobe, but it just… didn’t.
I thought maybe it was because it was a vivid bottle green that not only didn’t coordinate with my other clothes, so I got a bottle of black RIT dye and tried to over-dye it. I didn’t factor in that even though the shirt itself was 100% silk, the thread was polyester. So it turned out a kind of blackish purple… with bright green stitching.
Still, I wanted to love it.
But I could never style it in a way that I loved. I thought, maybe, this beautiful shirt just wasn’t meant for me.
I tried to sell it in a few closet sales, but could never bring myself to donate it with the other unsold items.
It just… lingered.
For YEARS.
But, during those years, a few things happened:
- I taught two (sold out!) workshops for the Solee Top form Daisy Chain patterns at the 2024 Craftcation Conference, and the sample I made became a regular staple in my wardrobe.
- I started seeing some more upcycling content on Instagram and TikTok, which reminded me about how I got started in sewing and small business ownership (my first business was an upcycled clothing brand!)
- Both sewing pattern and ready-to-wear trends were having a moment with a lot of elastic necklines, button plackets, and tie straps
- Finding clothes that aren’t polyester garbage and/or prohibitively expensive is getting harder and harder.
And everything just clicked for me.
This is the perfect moment for a little upcycled-button-up-shirt moment.
AND I HAD THE PERFECT ONE.
When the day finally came that I had the time and energy to do a sewing project, I made it happen.
And it was PERFECT.
Seriously obsessed.
SO much so that I immediately sent in a last-minute Craftcation Proposal (it got accepted!!! I’m teaching two sessions of it this year!!!)
Only… I didn’t take process photos or write detailed instructions as I made it (you know, because it was “just for me”). And now that I’m going to be teaching it, AT CRAFTCATION, I need to have this TESTED.
And why do all of this work without putting it together into a tutorial that everyone can use?
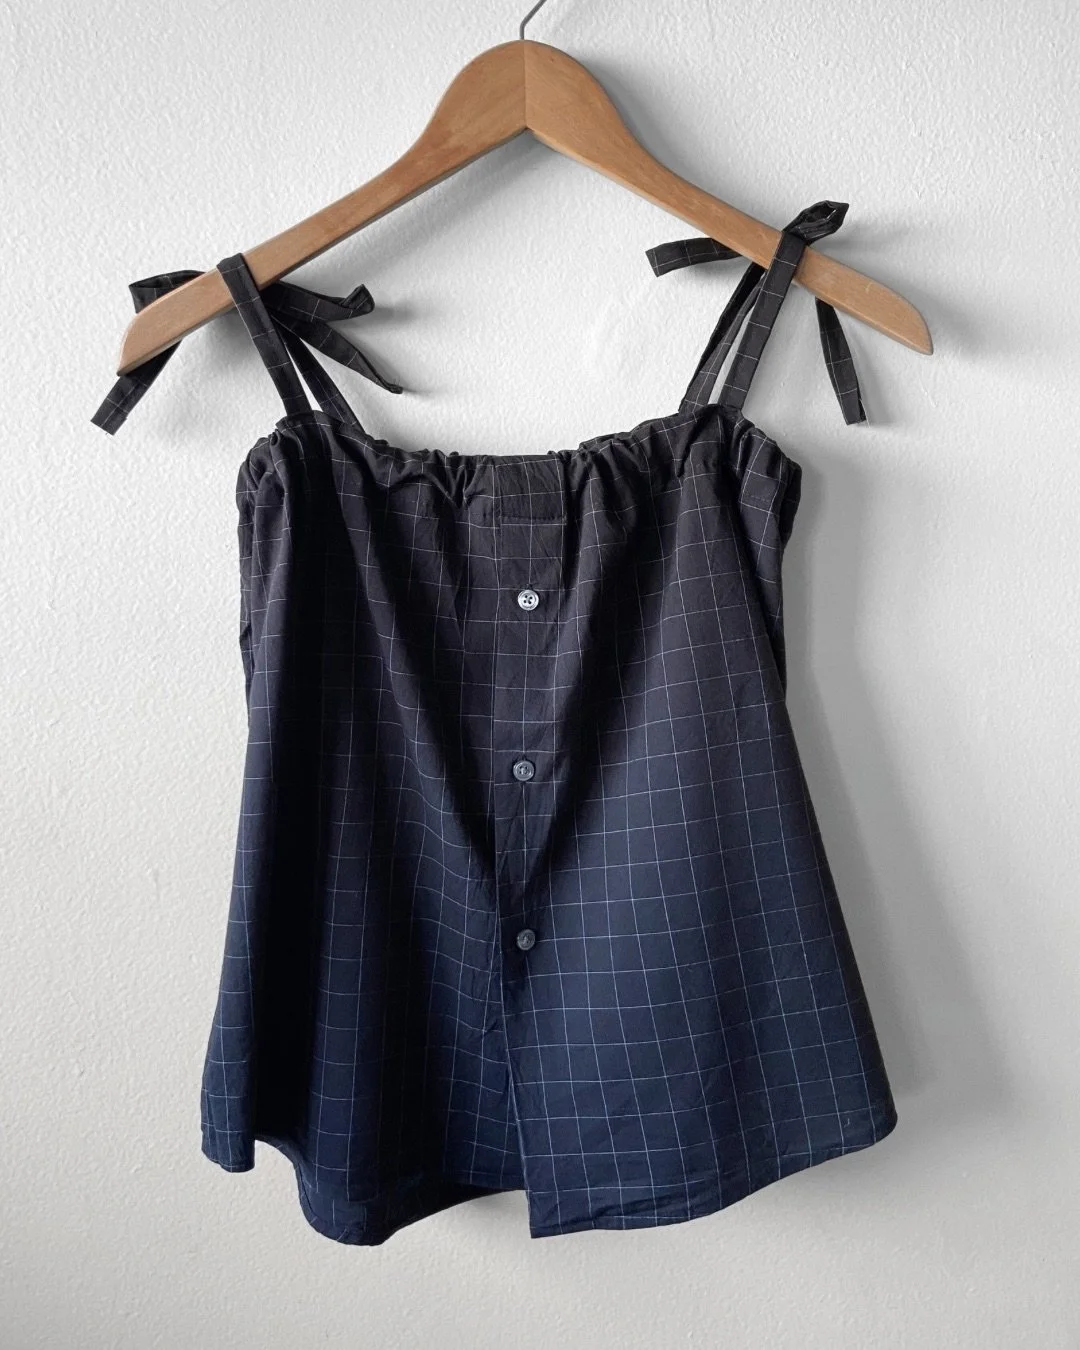
So… Let’s take an oversized thrifted button up shirt and flip it into a sweet little summer blouse!
Materials -
A thrifted button-up shirt – One that’s at least a couple sizes too big, you’ll know it’s the right size when you try it on and there is significant ease around the bust/widest part of your body
½” elastic – Enough to go around the upper part of your ribcage, 1-1.5 yards will be sufficient for most sizes
Sewing Machine – While I do think this project technically could be entirely sewn by hand, I am far too lazy to find that out for myself, and have only included machine sewing instructions. We won’t be doing anything fancy so a basic mechanical machine is all you will need.
Thread – Matching or contrast, it doesn’t really matter with this project
Hand-sewing needles – Ok just kidding about what I just said about hand-sewing, we DO have to do a tiny bit of hand-basting for this project.
Iron and Ironing Surface – The iron itself is an absolute non-negotiable, HOWEVER, the surface that you iron on is up to you: ironing board, ironing mat, table with a towel on it… I don’t care, we are doing very little ironing for this project.
Pins – Just a reminder that I am lazy and I love glass-head pins that will not melt if you iron over them.
Fabric Scissors – Yes, we will need to use the good fabric scissors to cut our shirts
Clear ruler – If you don’t already have a big quilting ruler, a smaller one like this will work just as well
Tailor’s Chalk or Heat-erasable Pens – We WILL need to mark some cutting lines, but what exactly we use doesn’t really matter. Personally, I like tailor’s chalk for dark fabrics and Pilot Frixion pens for light colored fabric
Thread Snips – Yes, technically you can use your scissors, but I am lazy
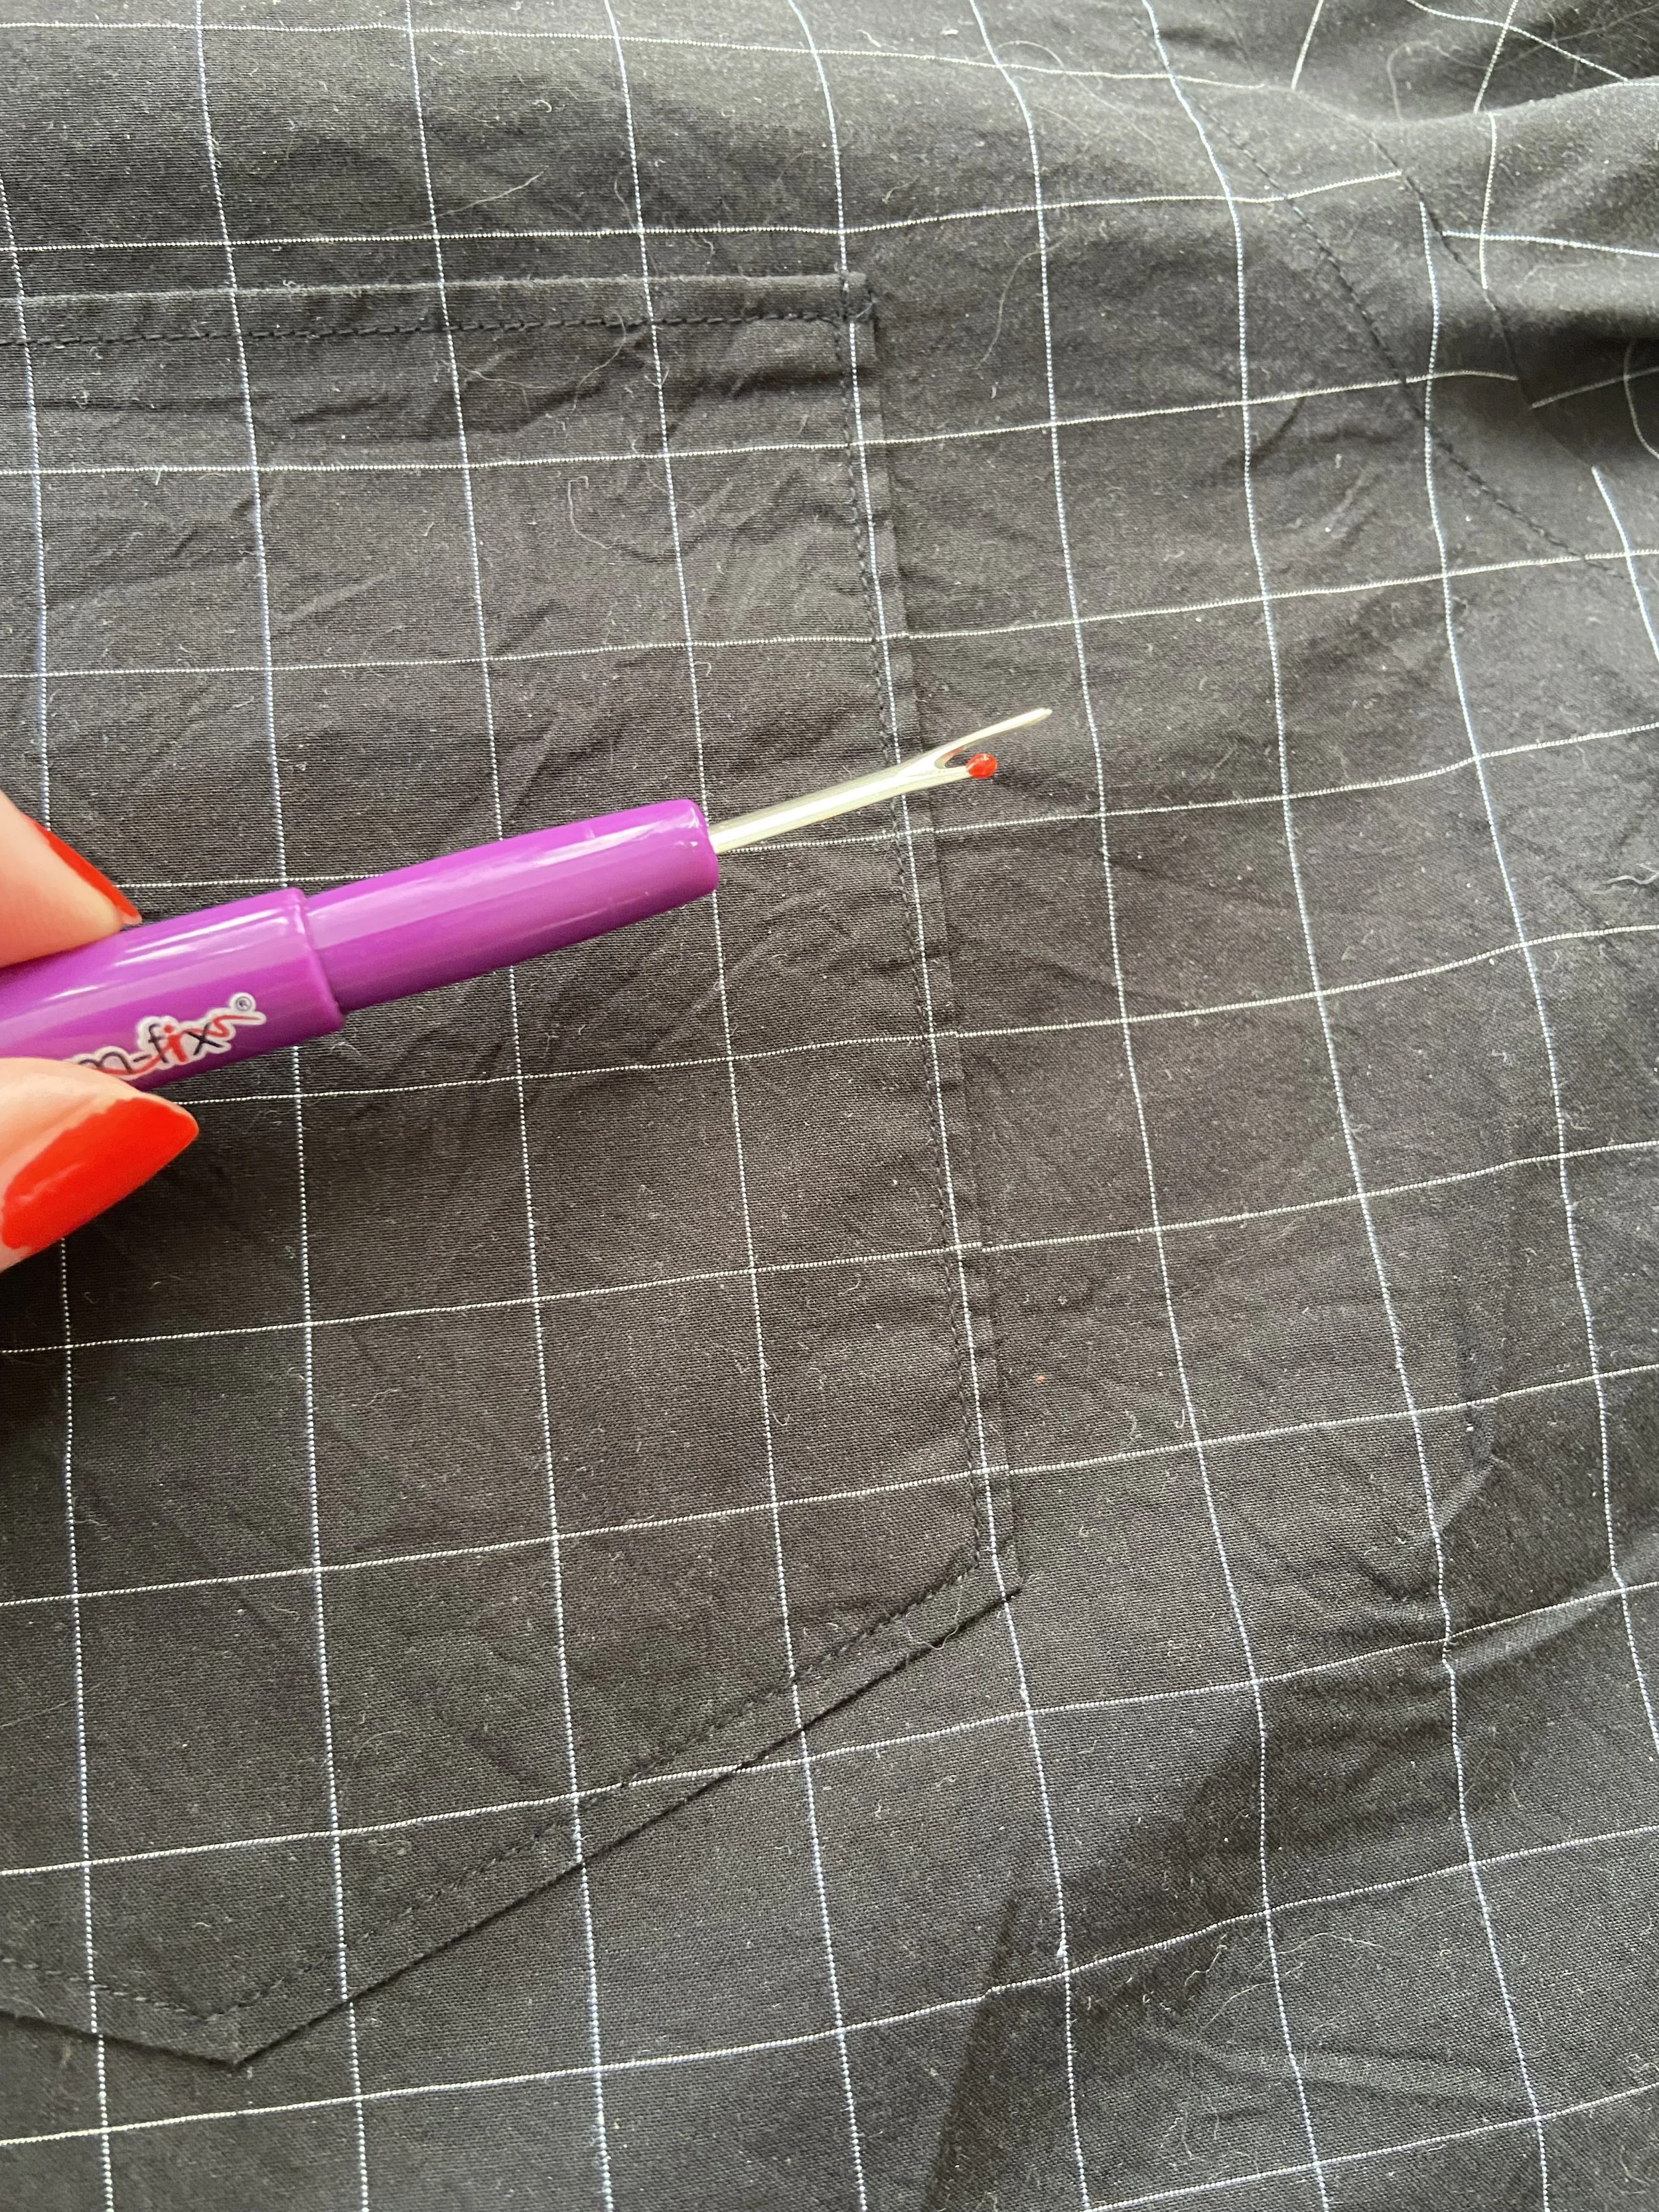
Seam Ripper – Not just in case you make a mistake (which you won’t!), we’ll actually use it for step one!
Large Safety Pin – Just one, we’re going to use it for 5 minutes on the elastic but I’m letting you know right now that you will need it so you’re not scrambling later. Actually, maybe get out two of them.
(Note: this materials list does include affiliate links, which generate a tiny if you order through them, HOWEVER, do not feel that you need to purchase all-new supplies for this project, use what you have wherever possible)
Instructions:
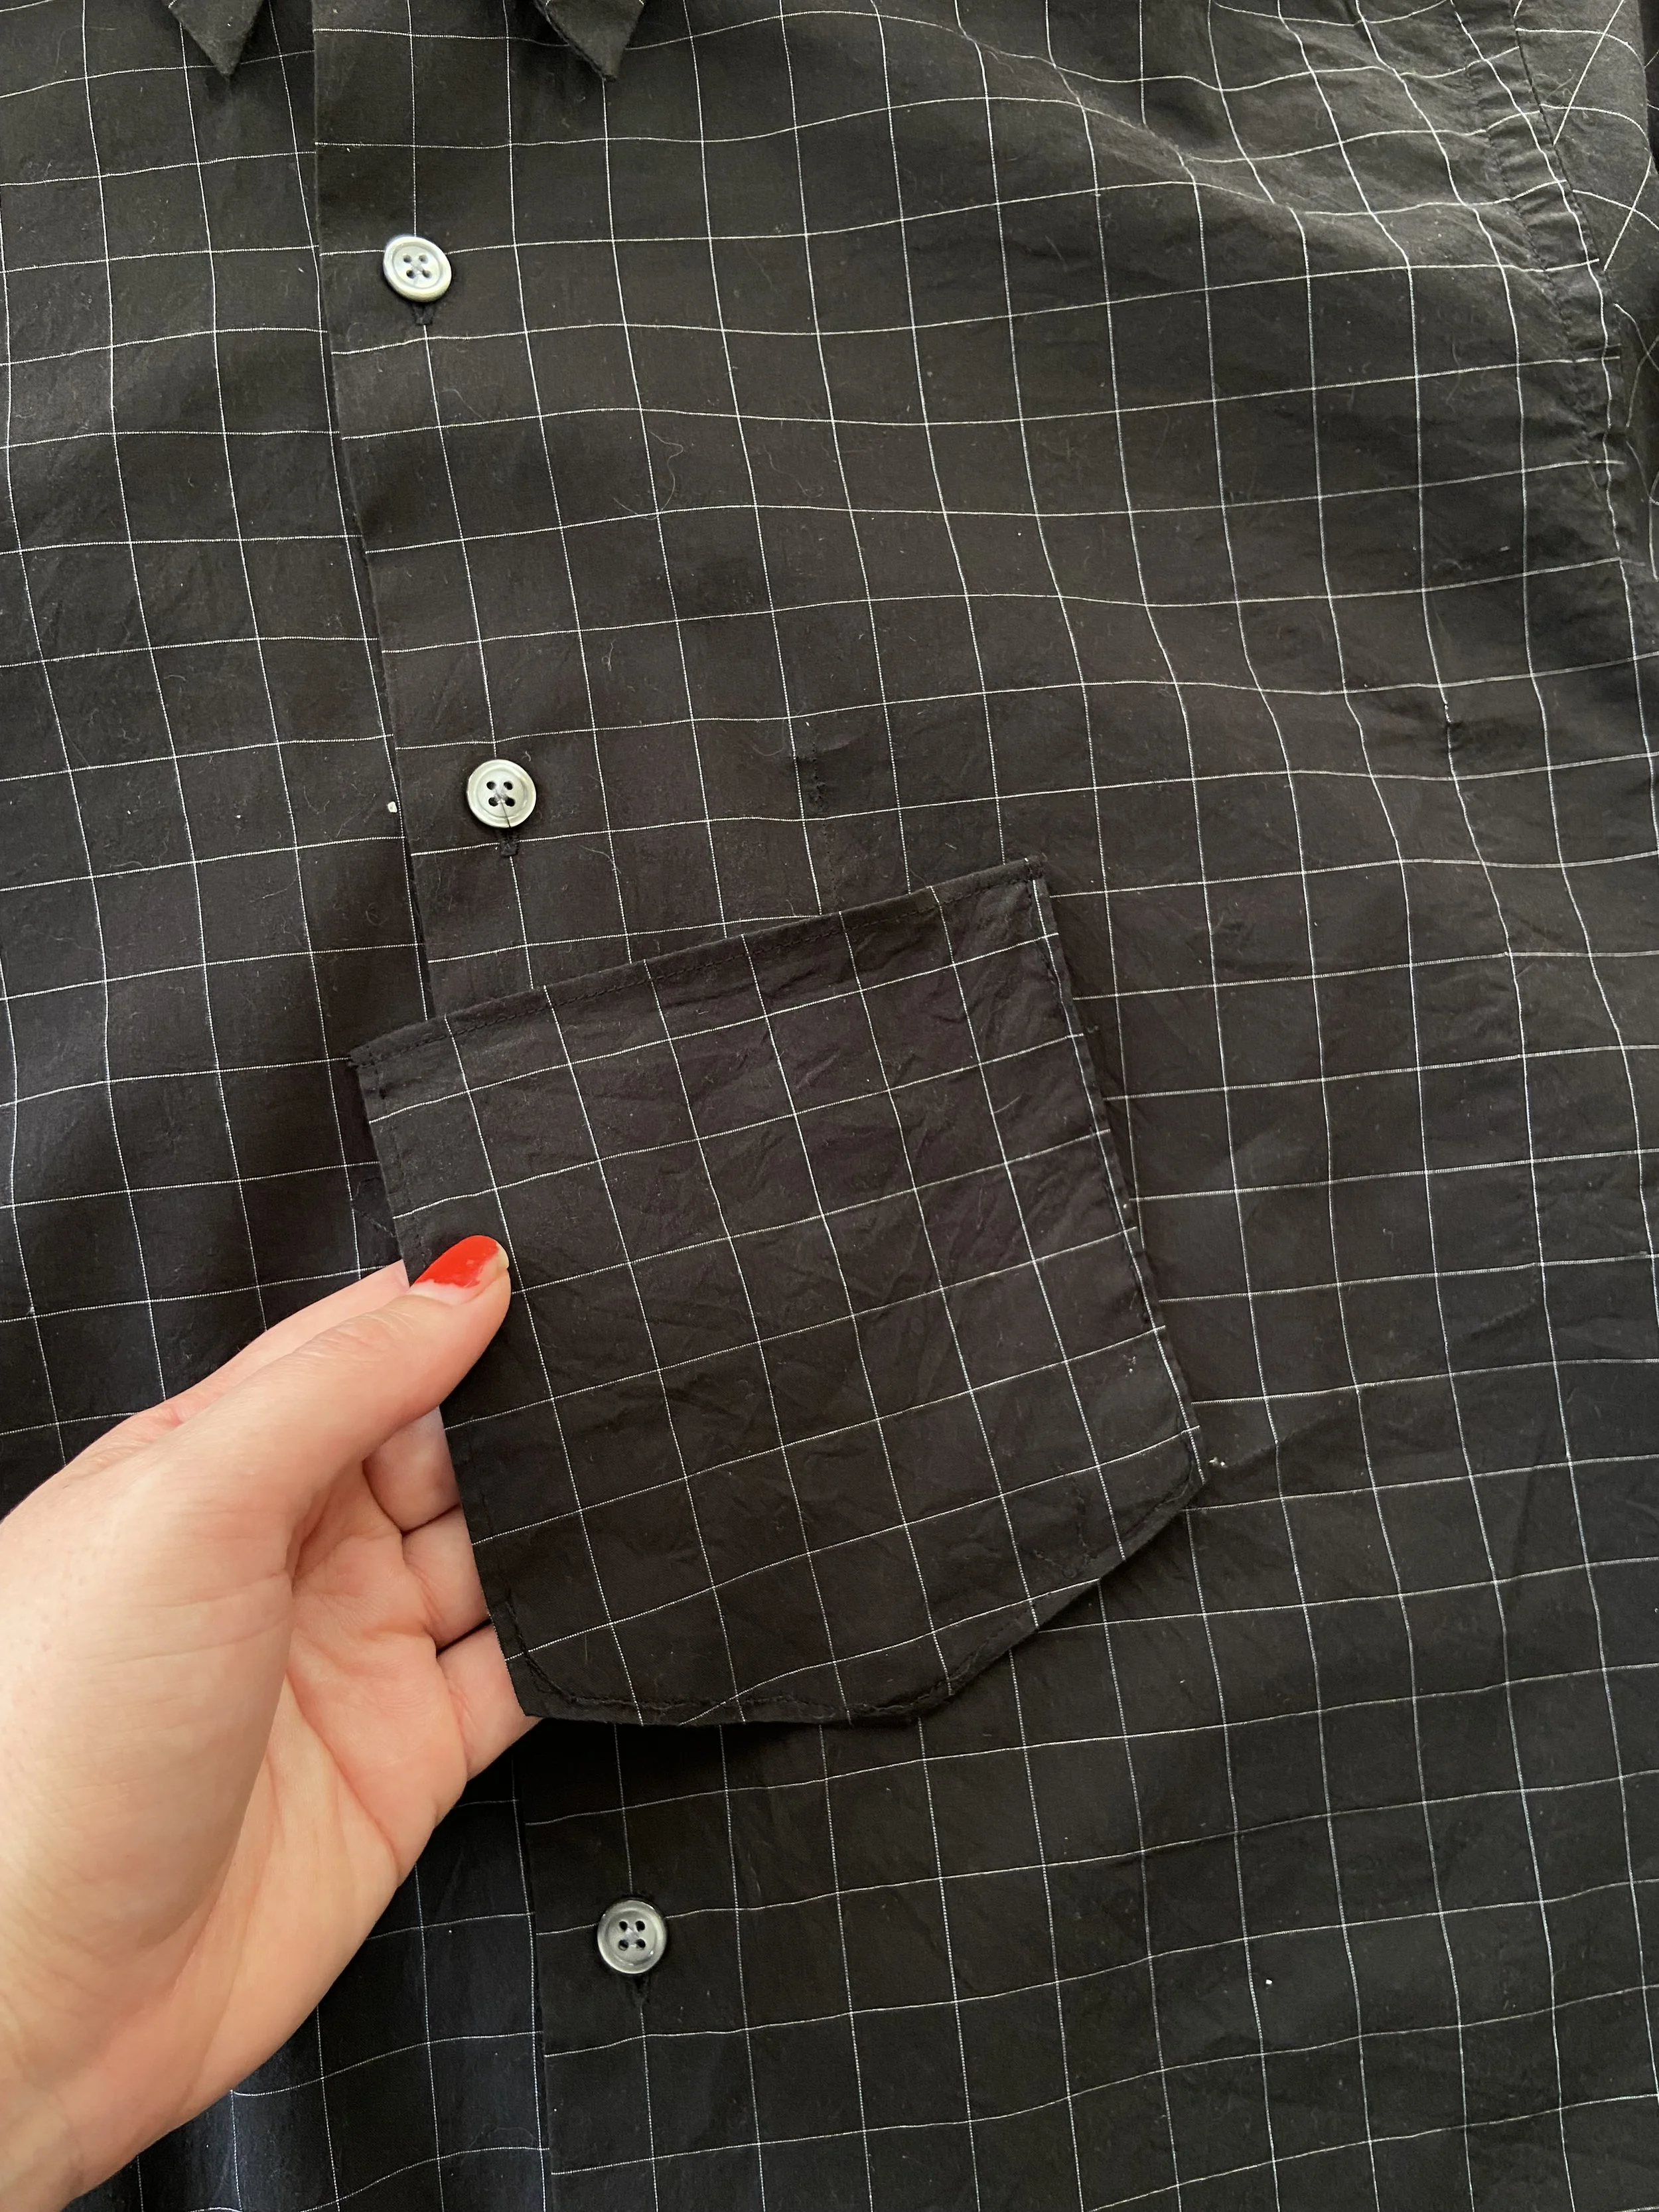
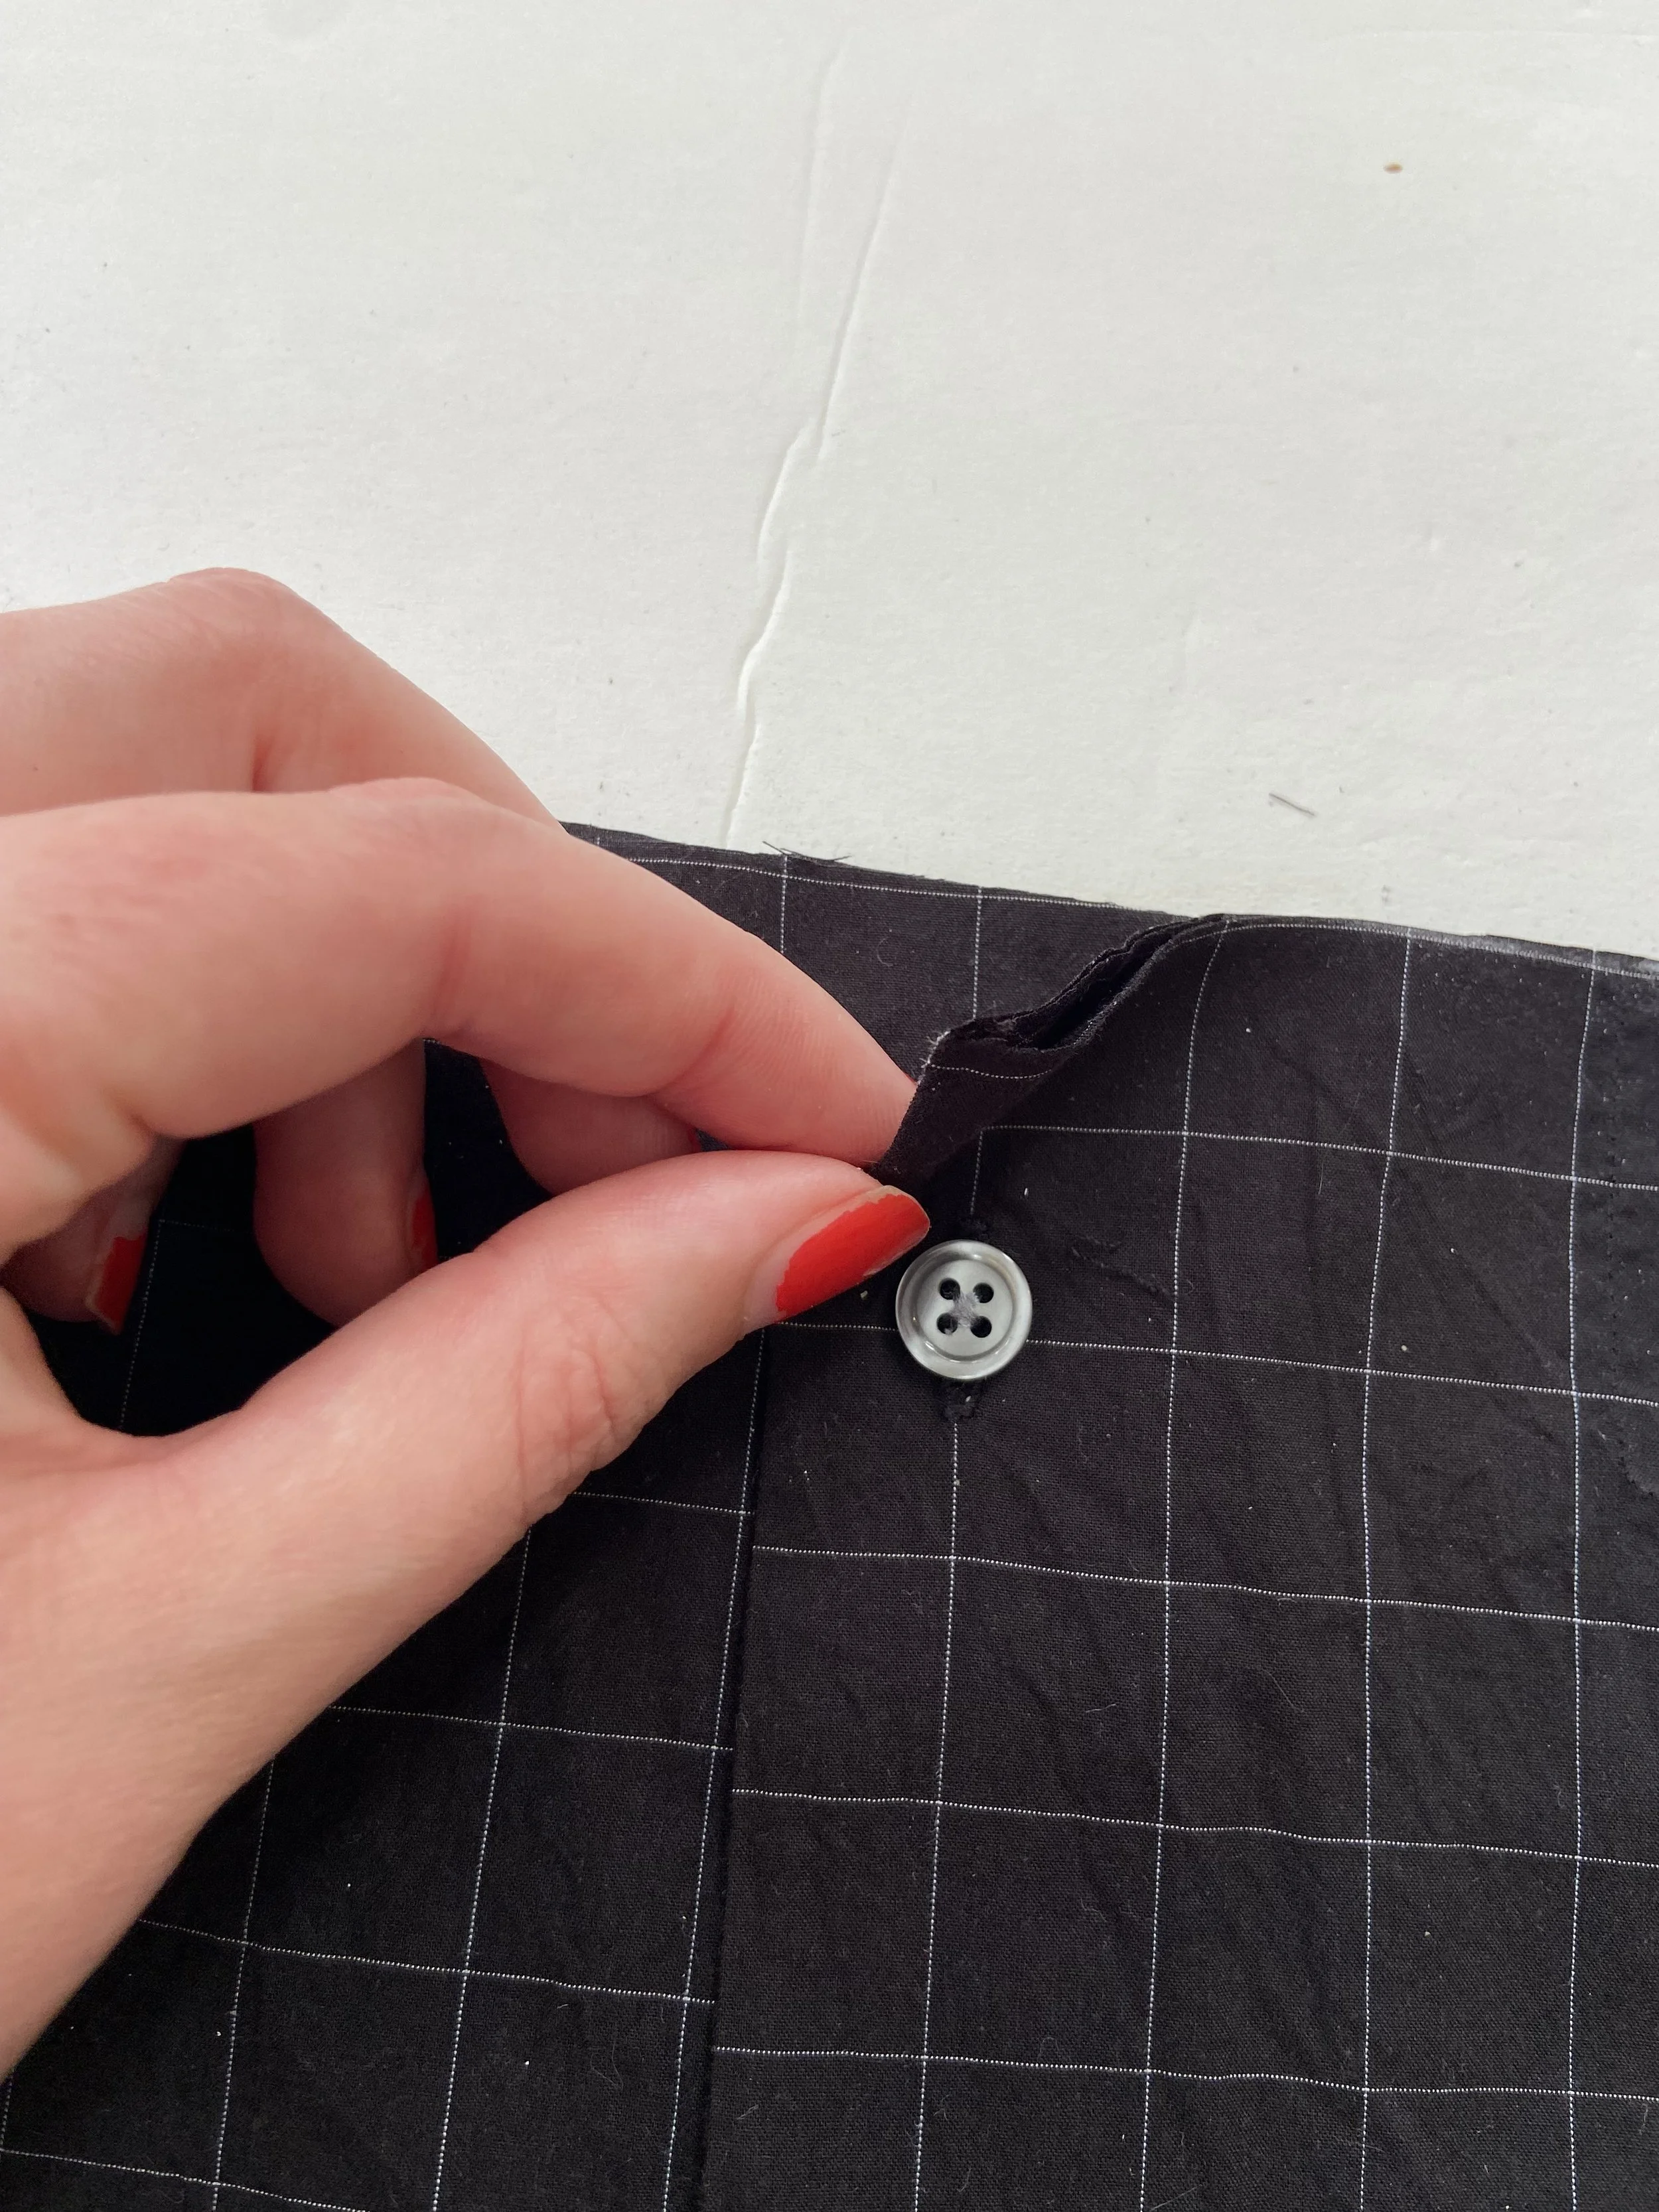
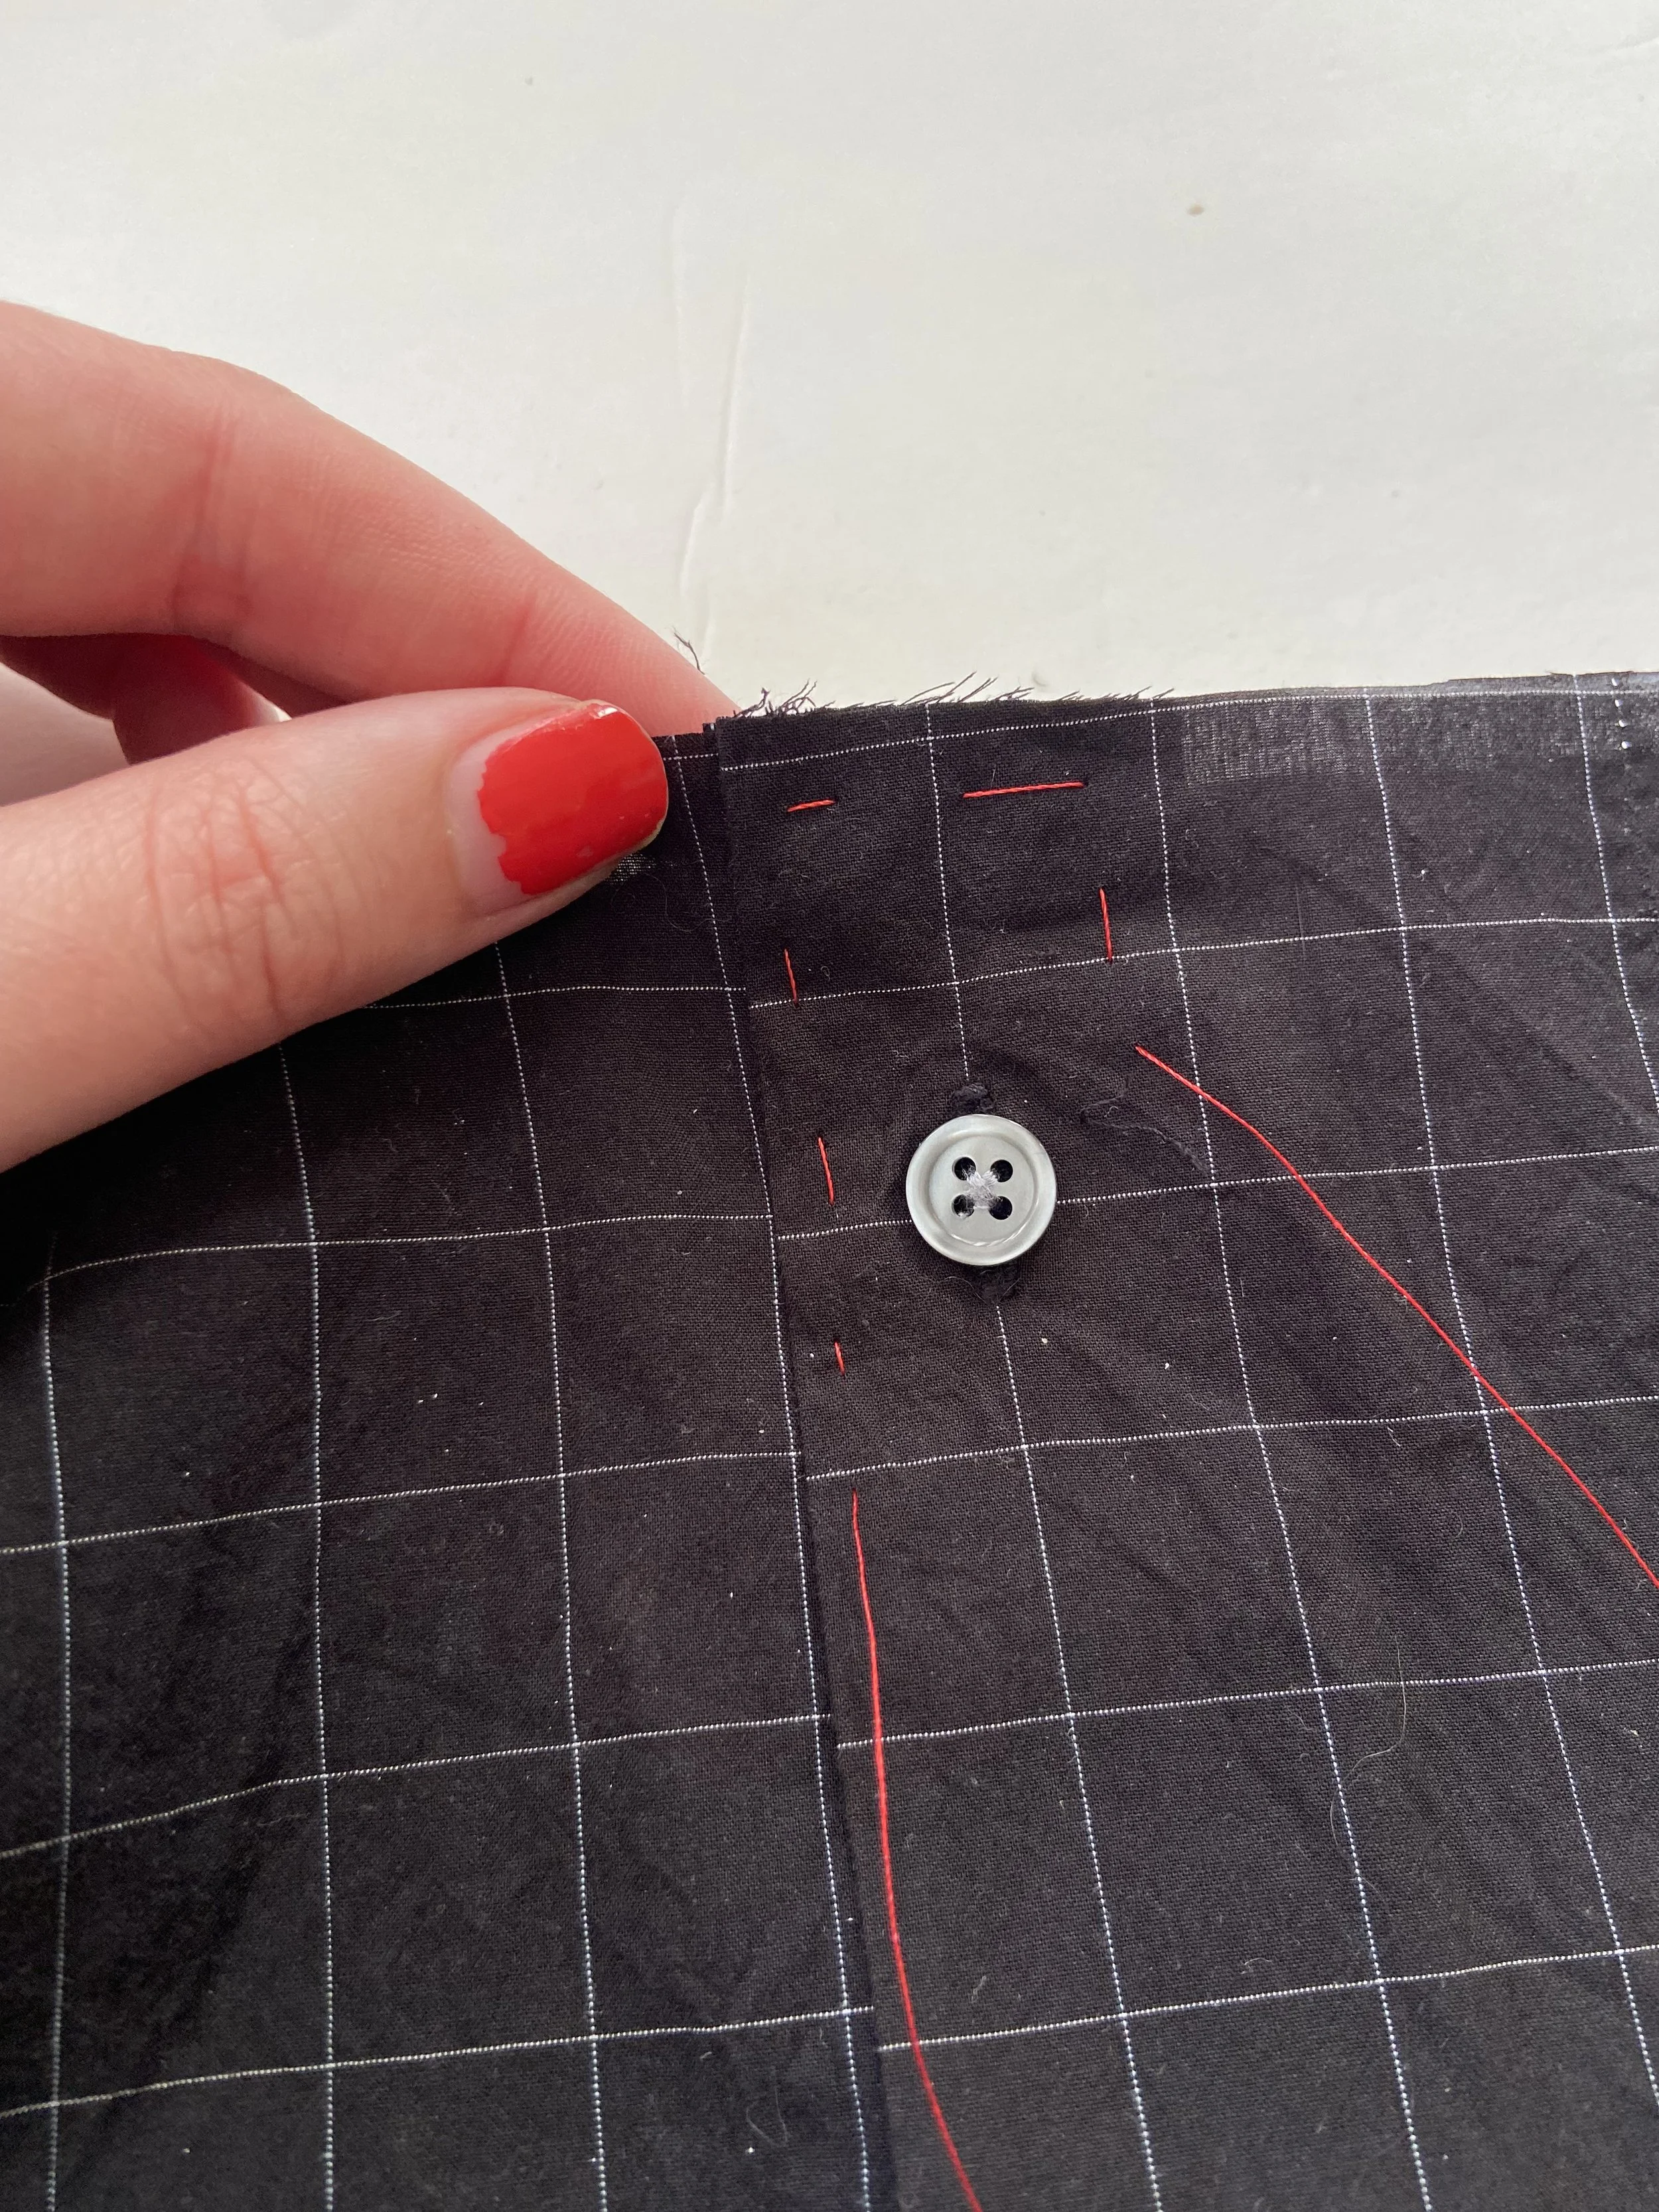
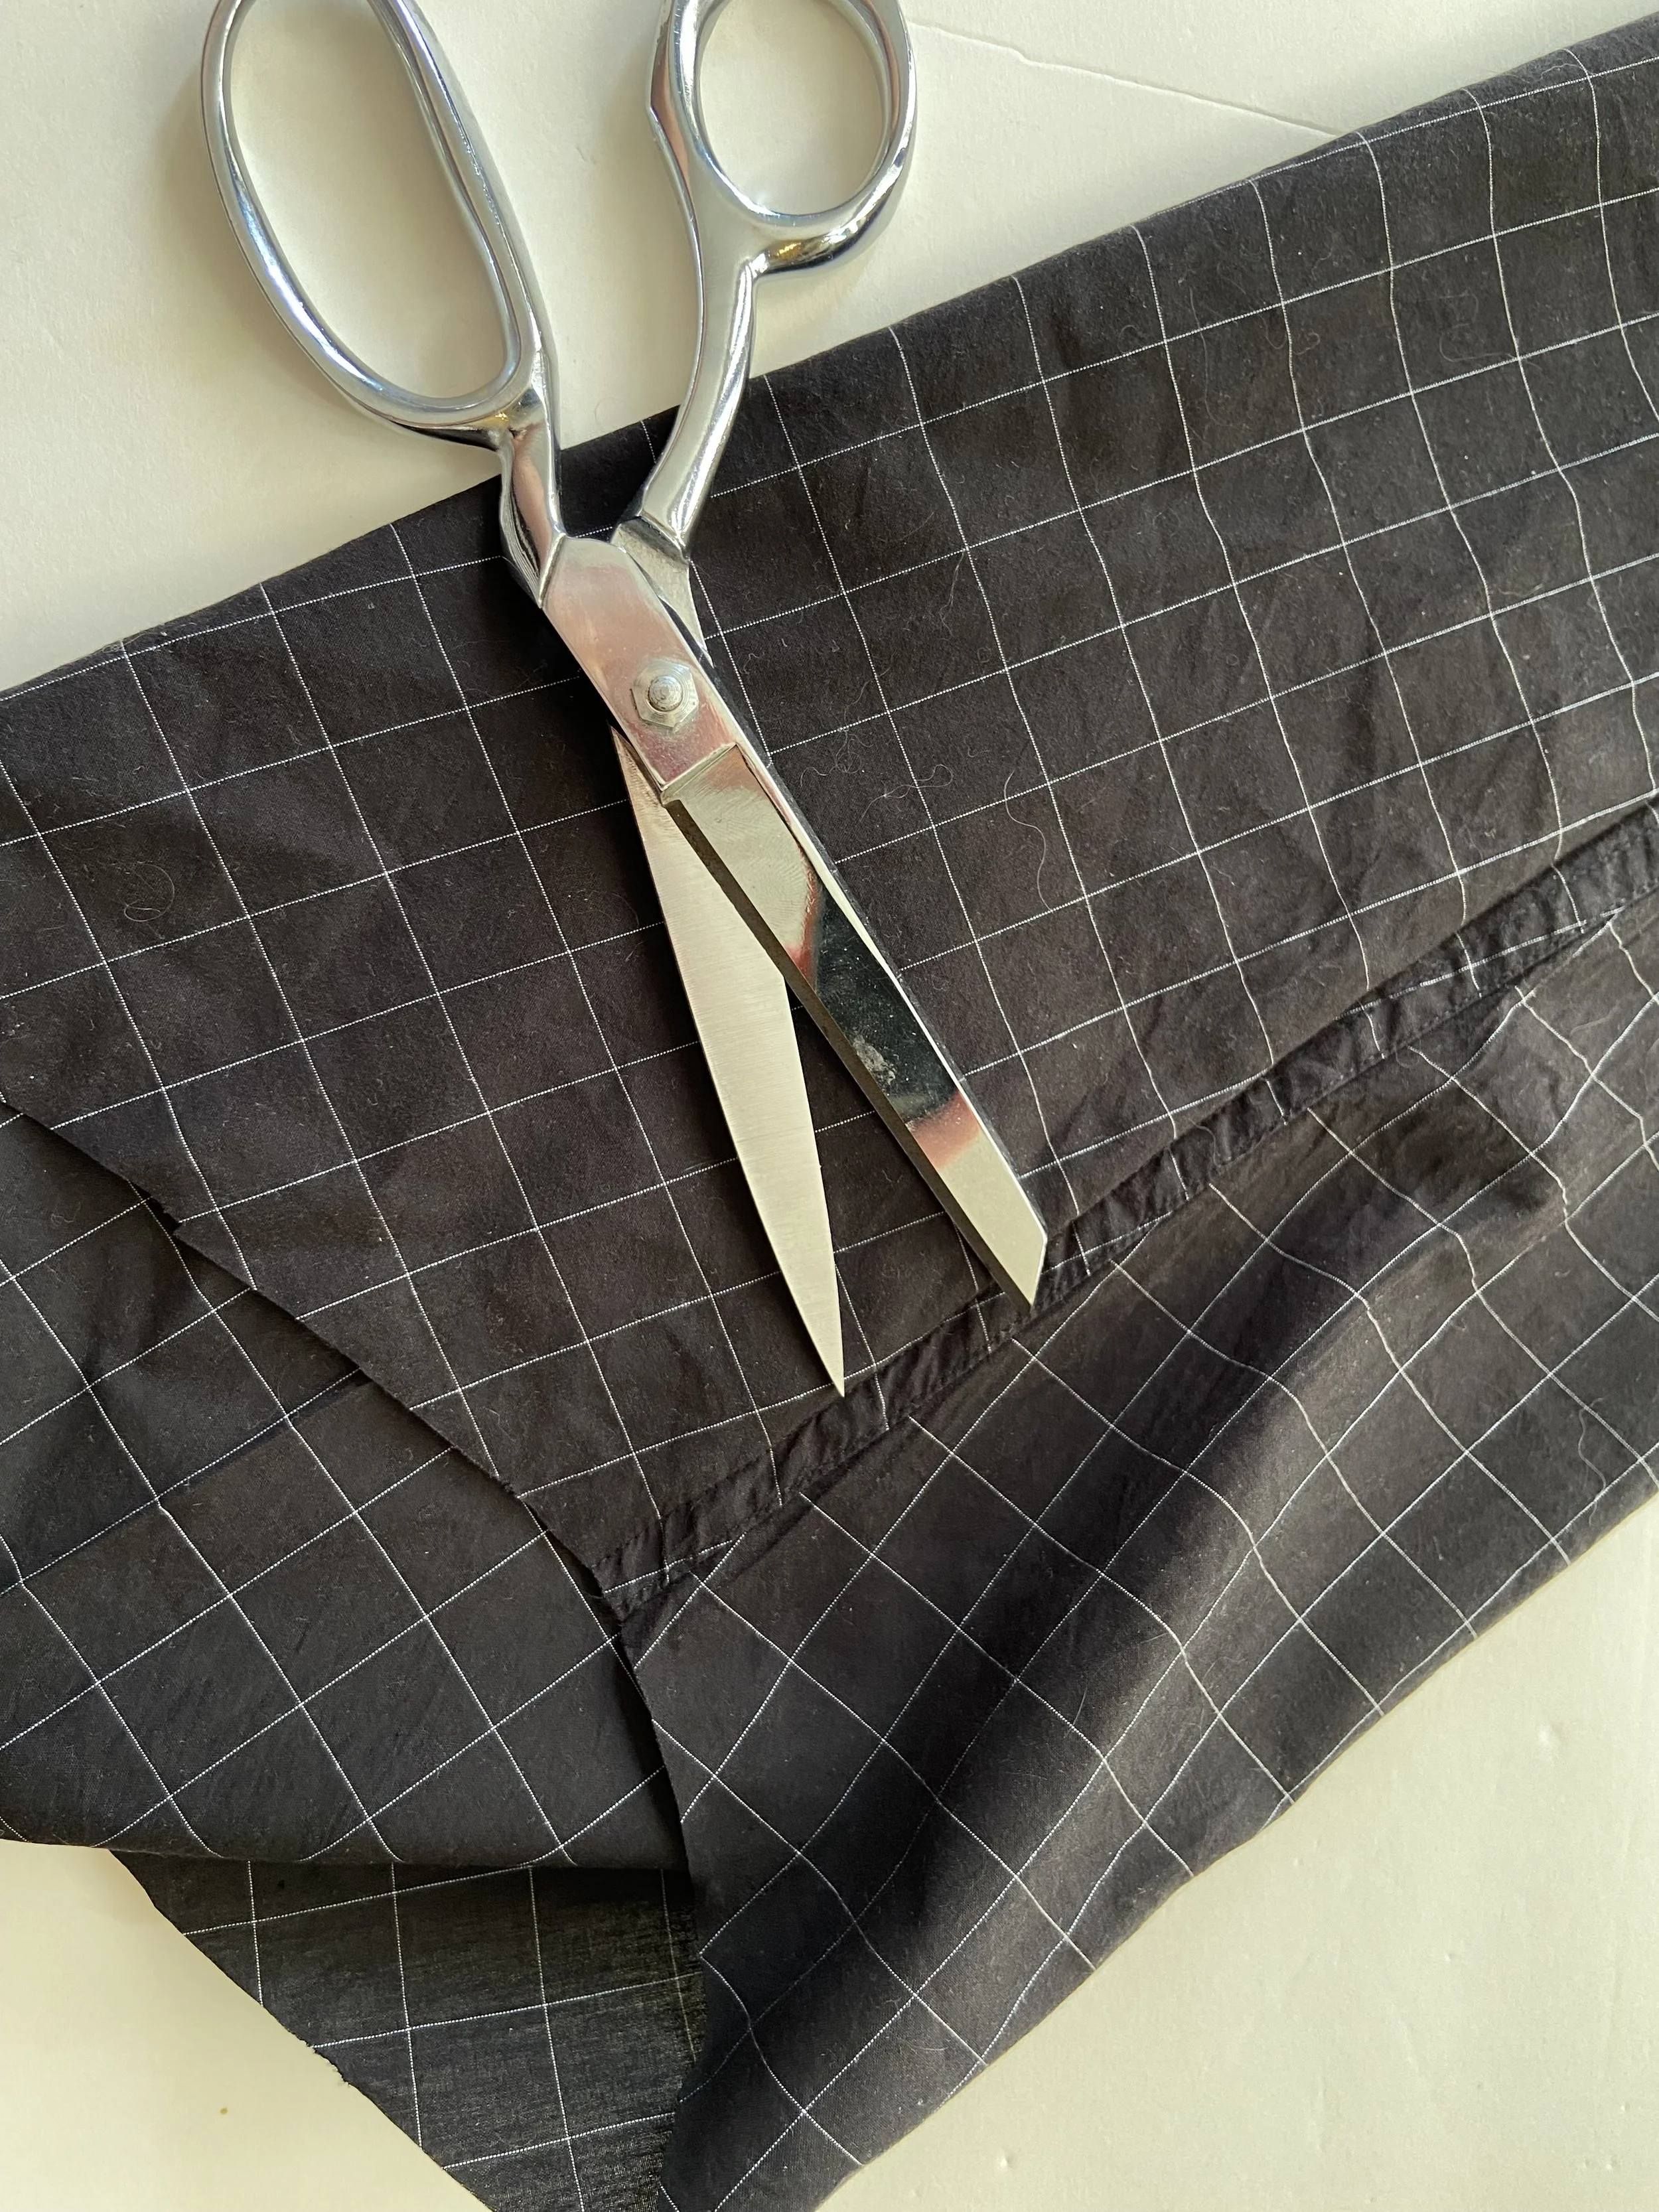
Using a seam ripper, carefully remove any front pockets. Don’t worry if there are some pinholes left in the fabric, most of this will be hidden in the elastic casing anyway.
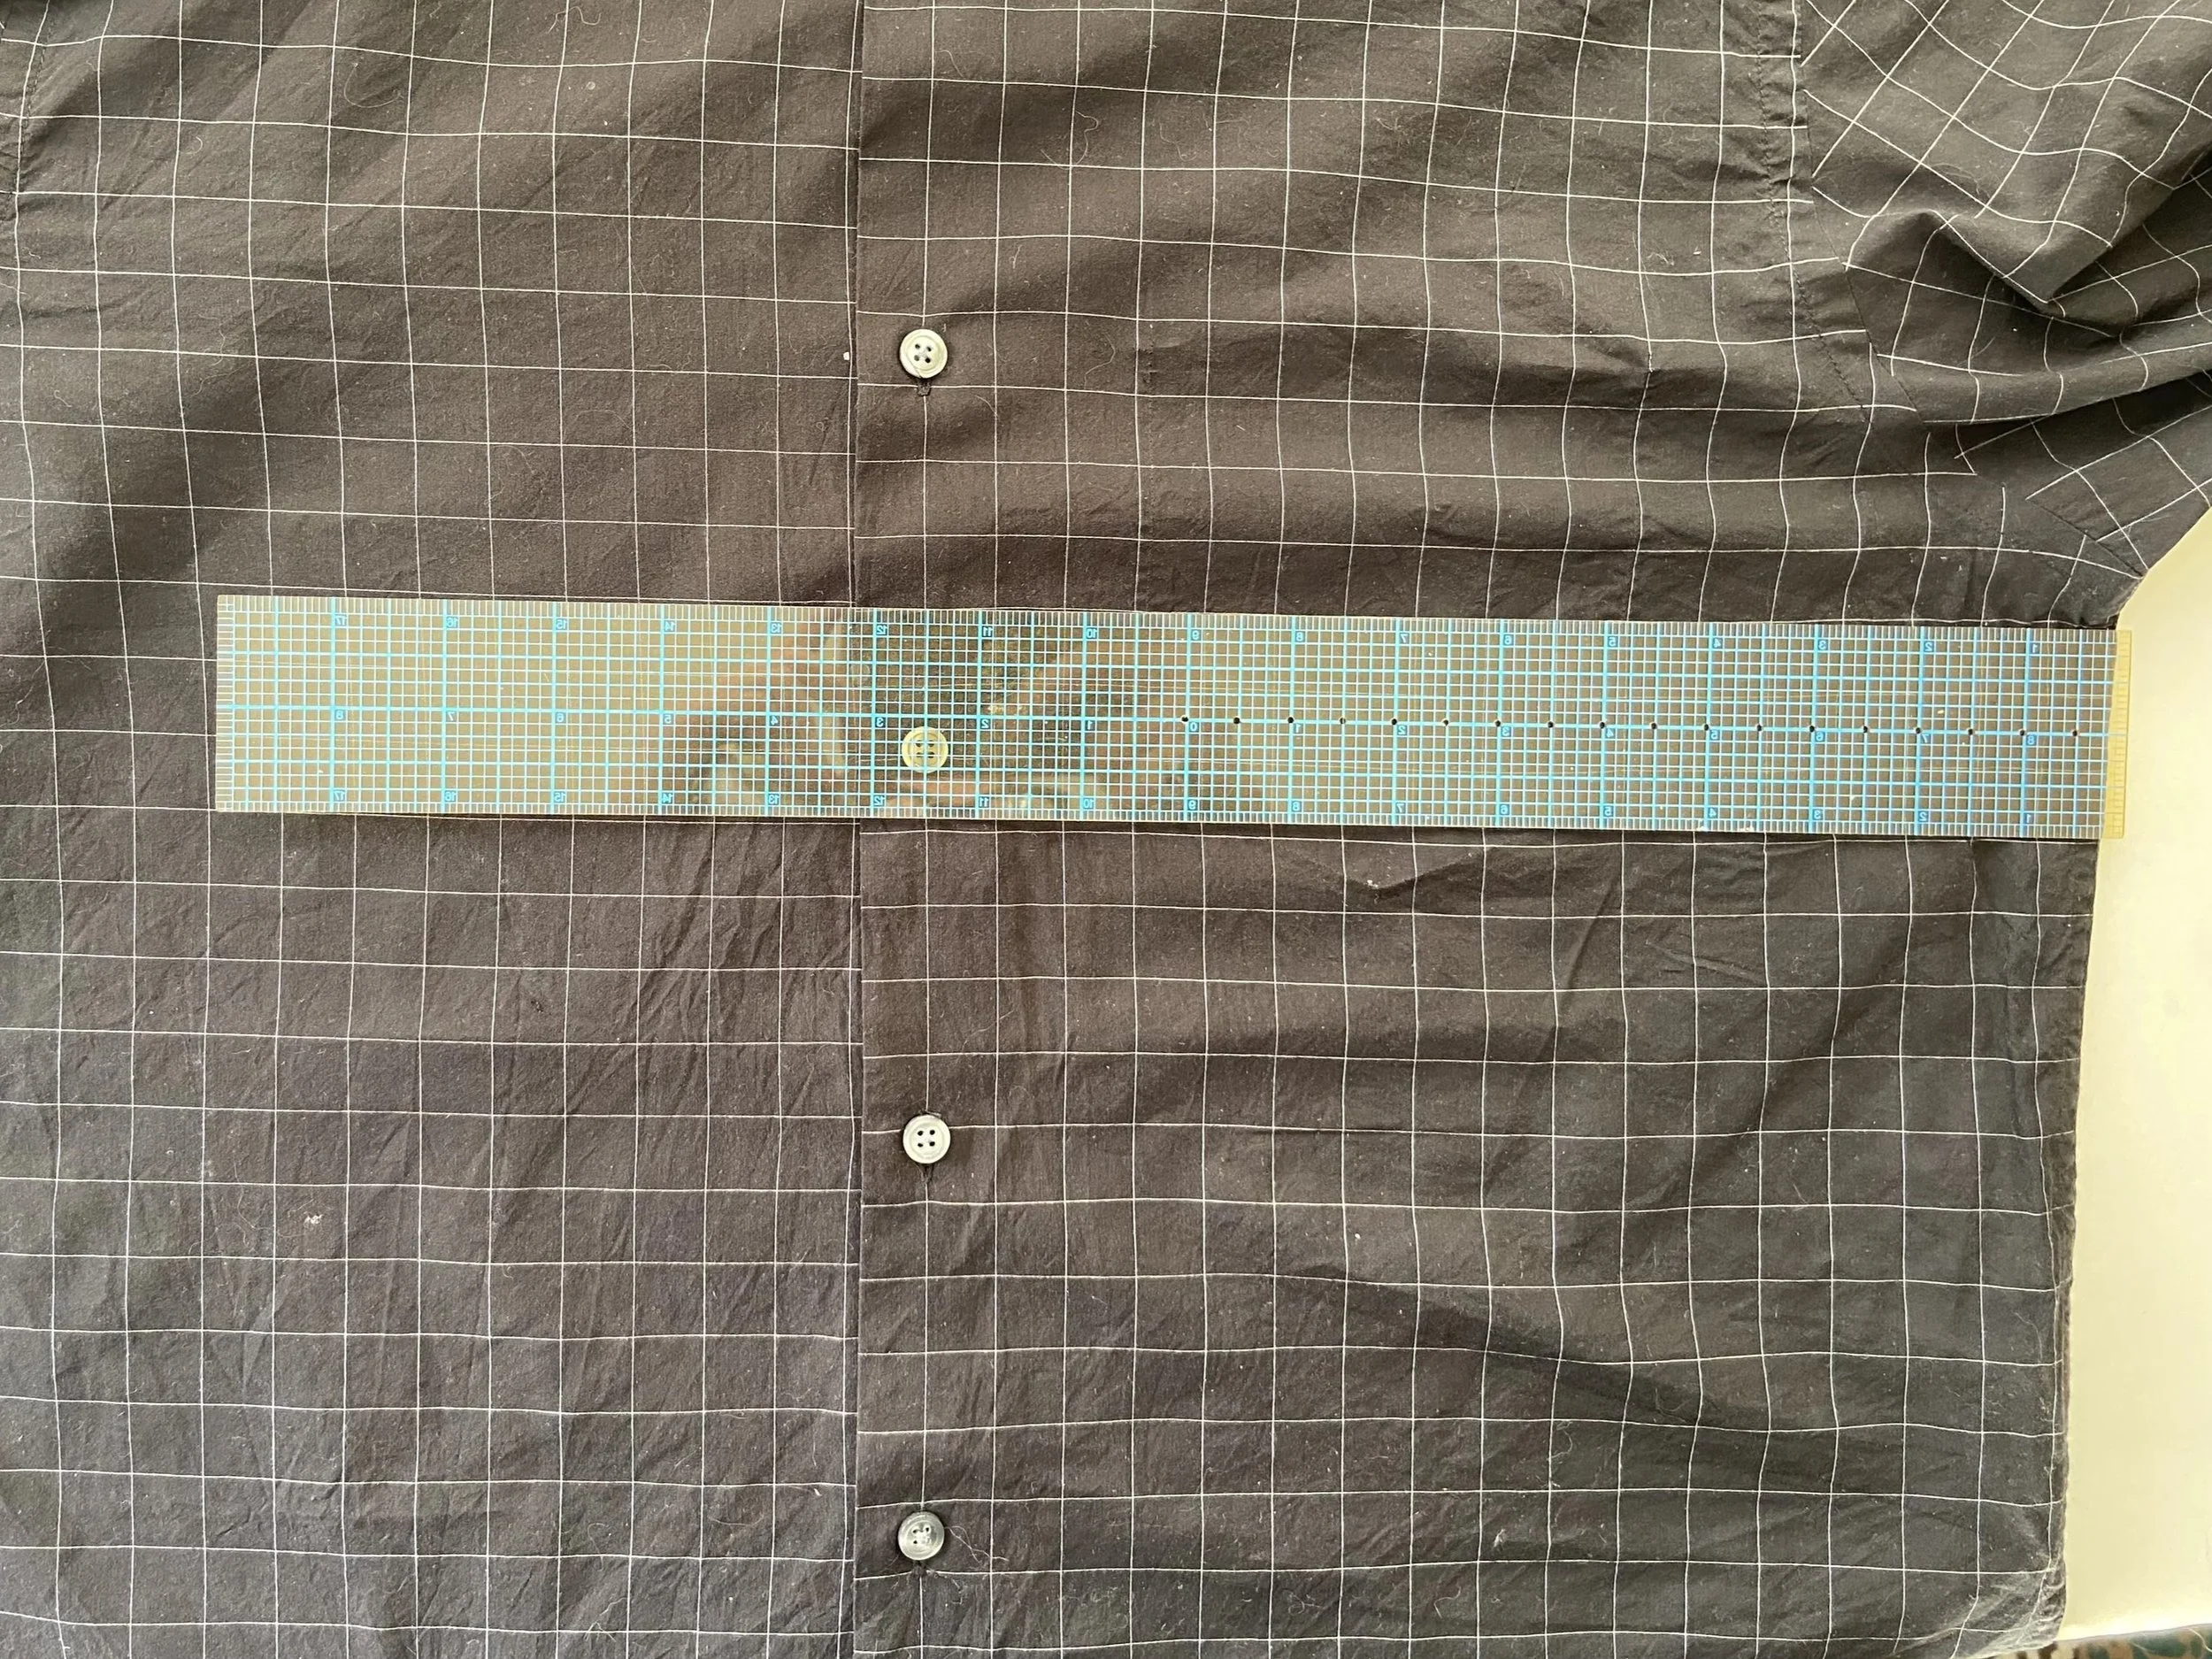
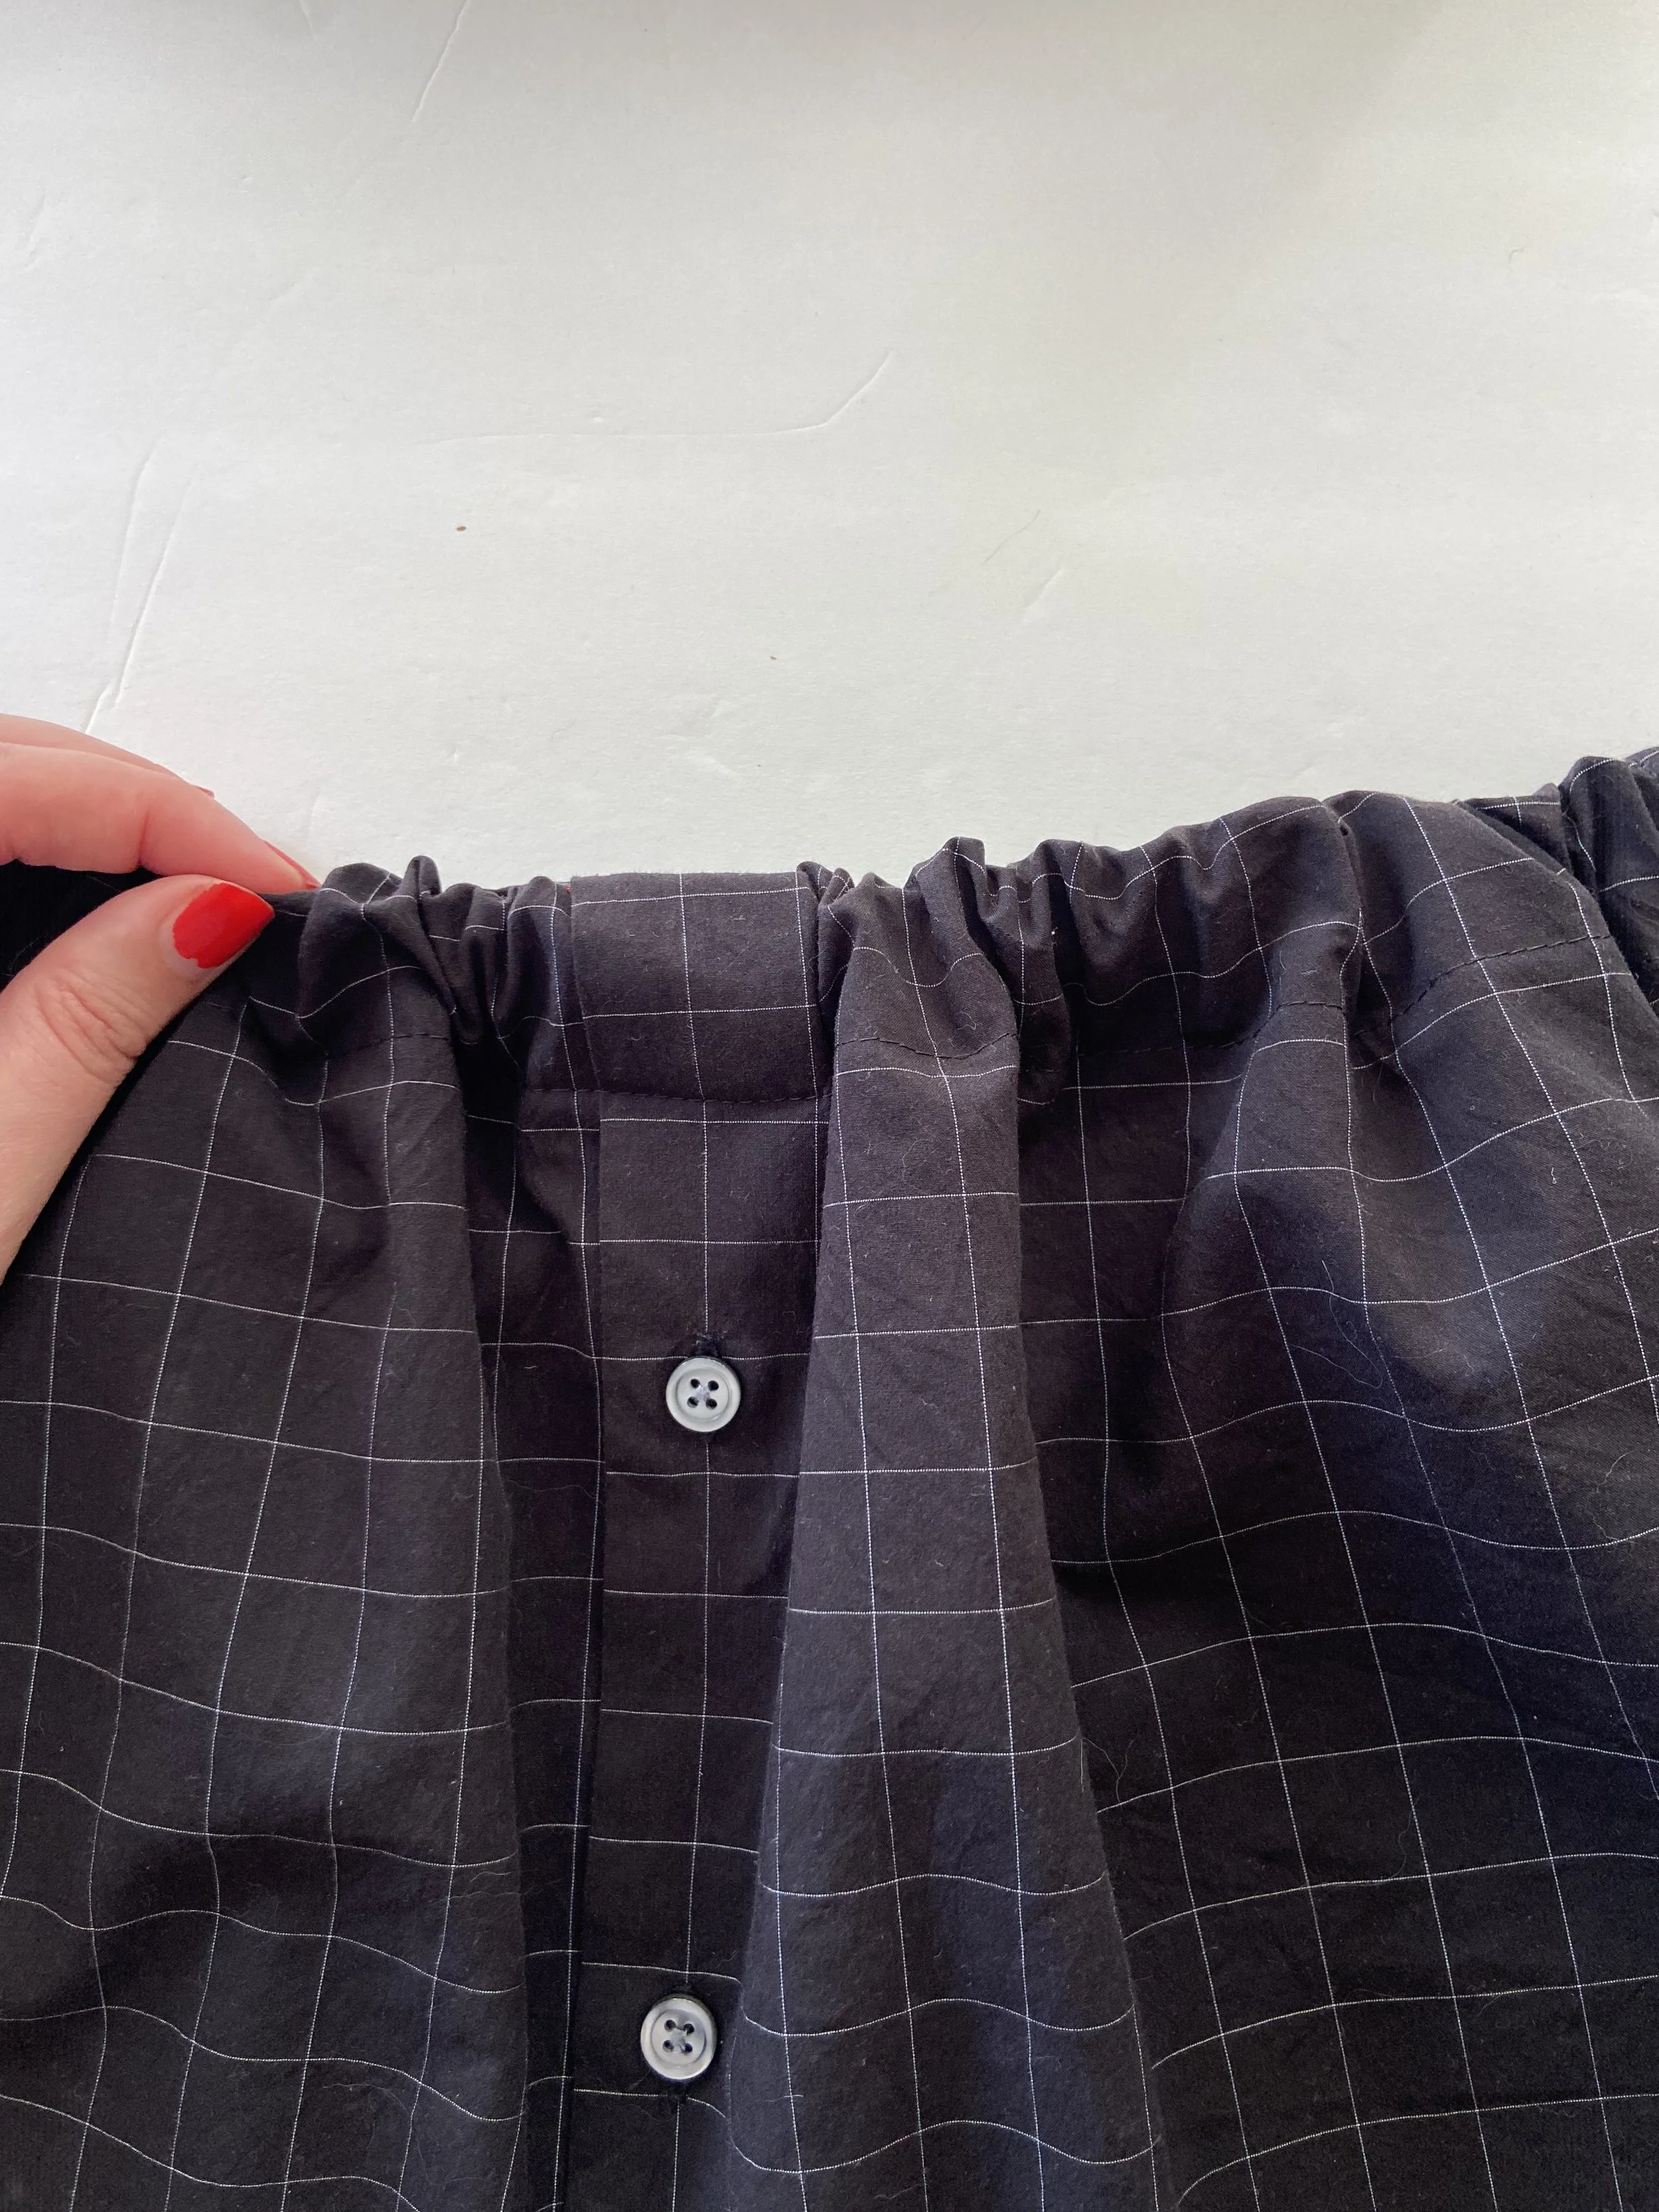
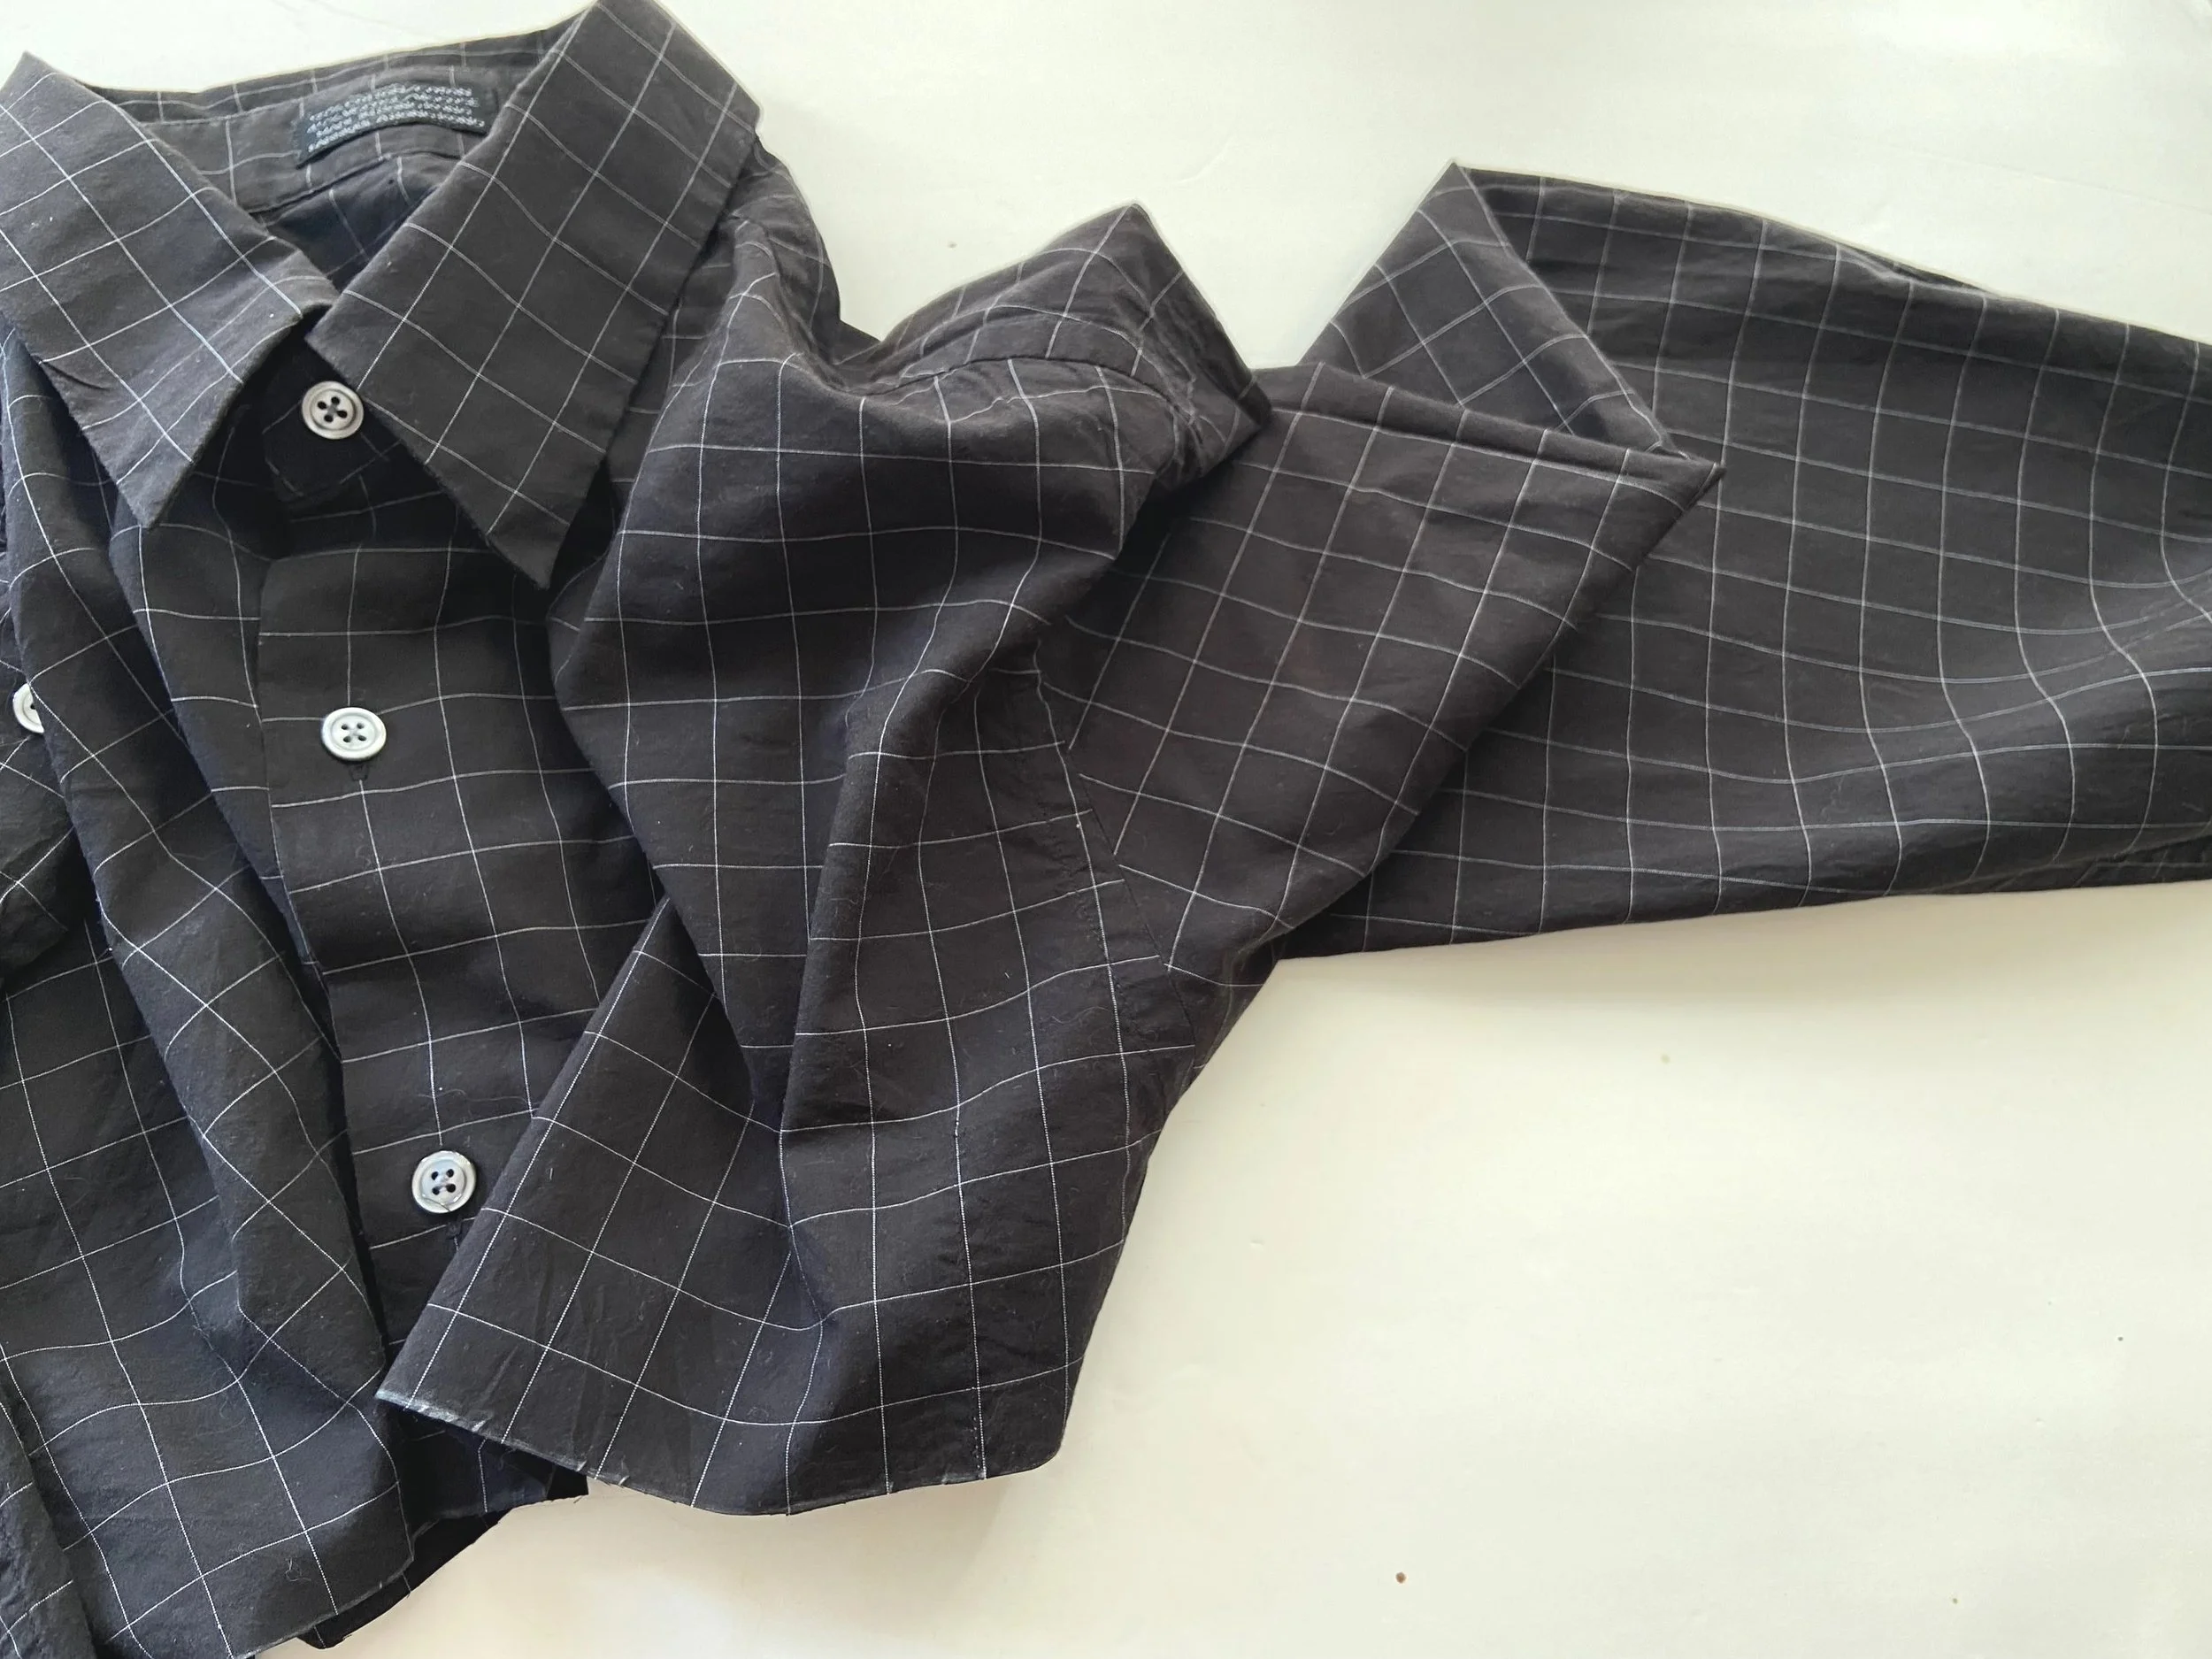
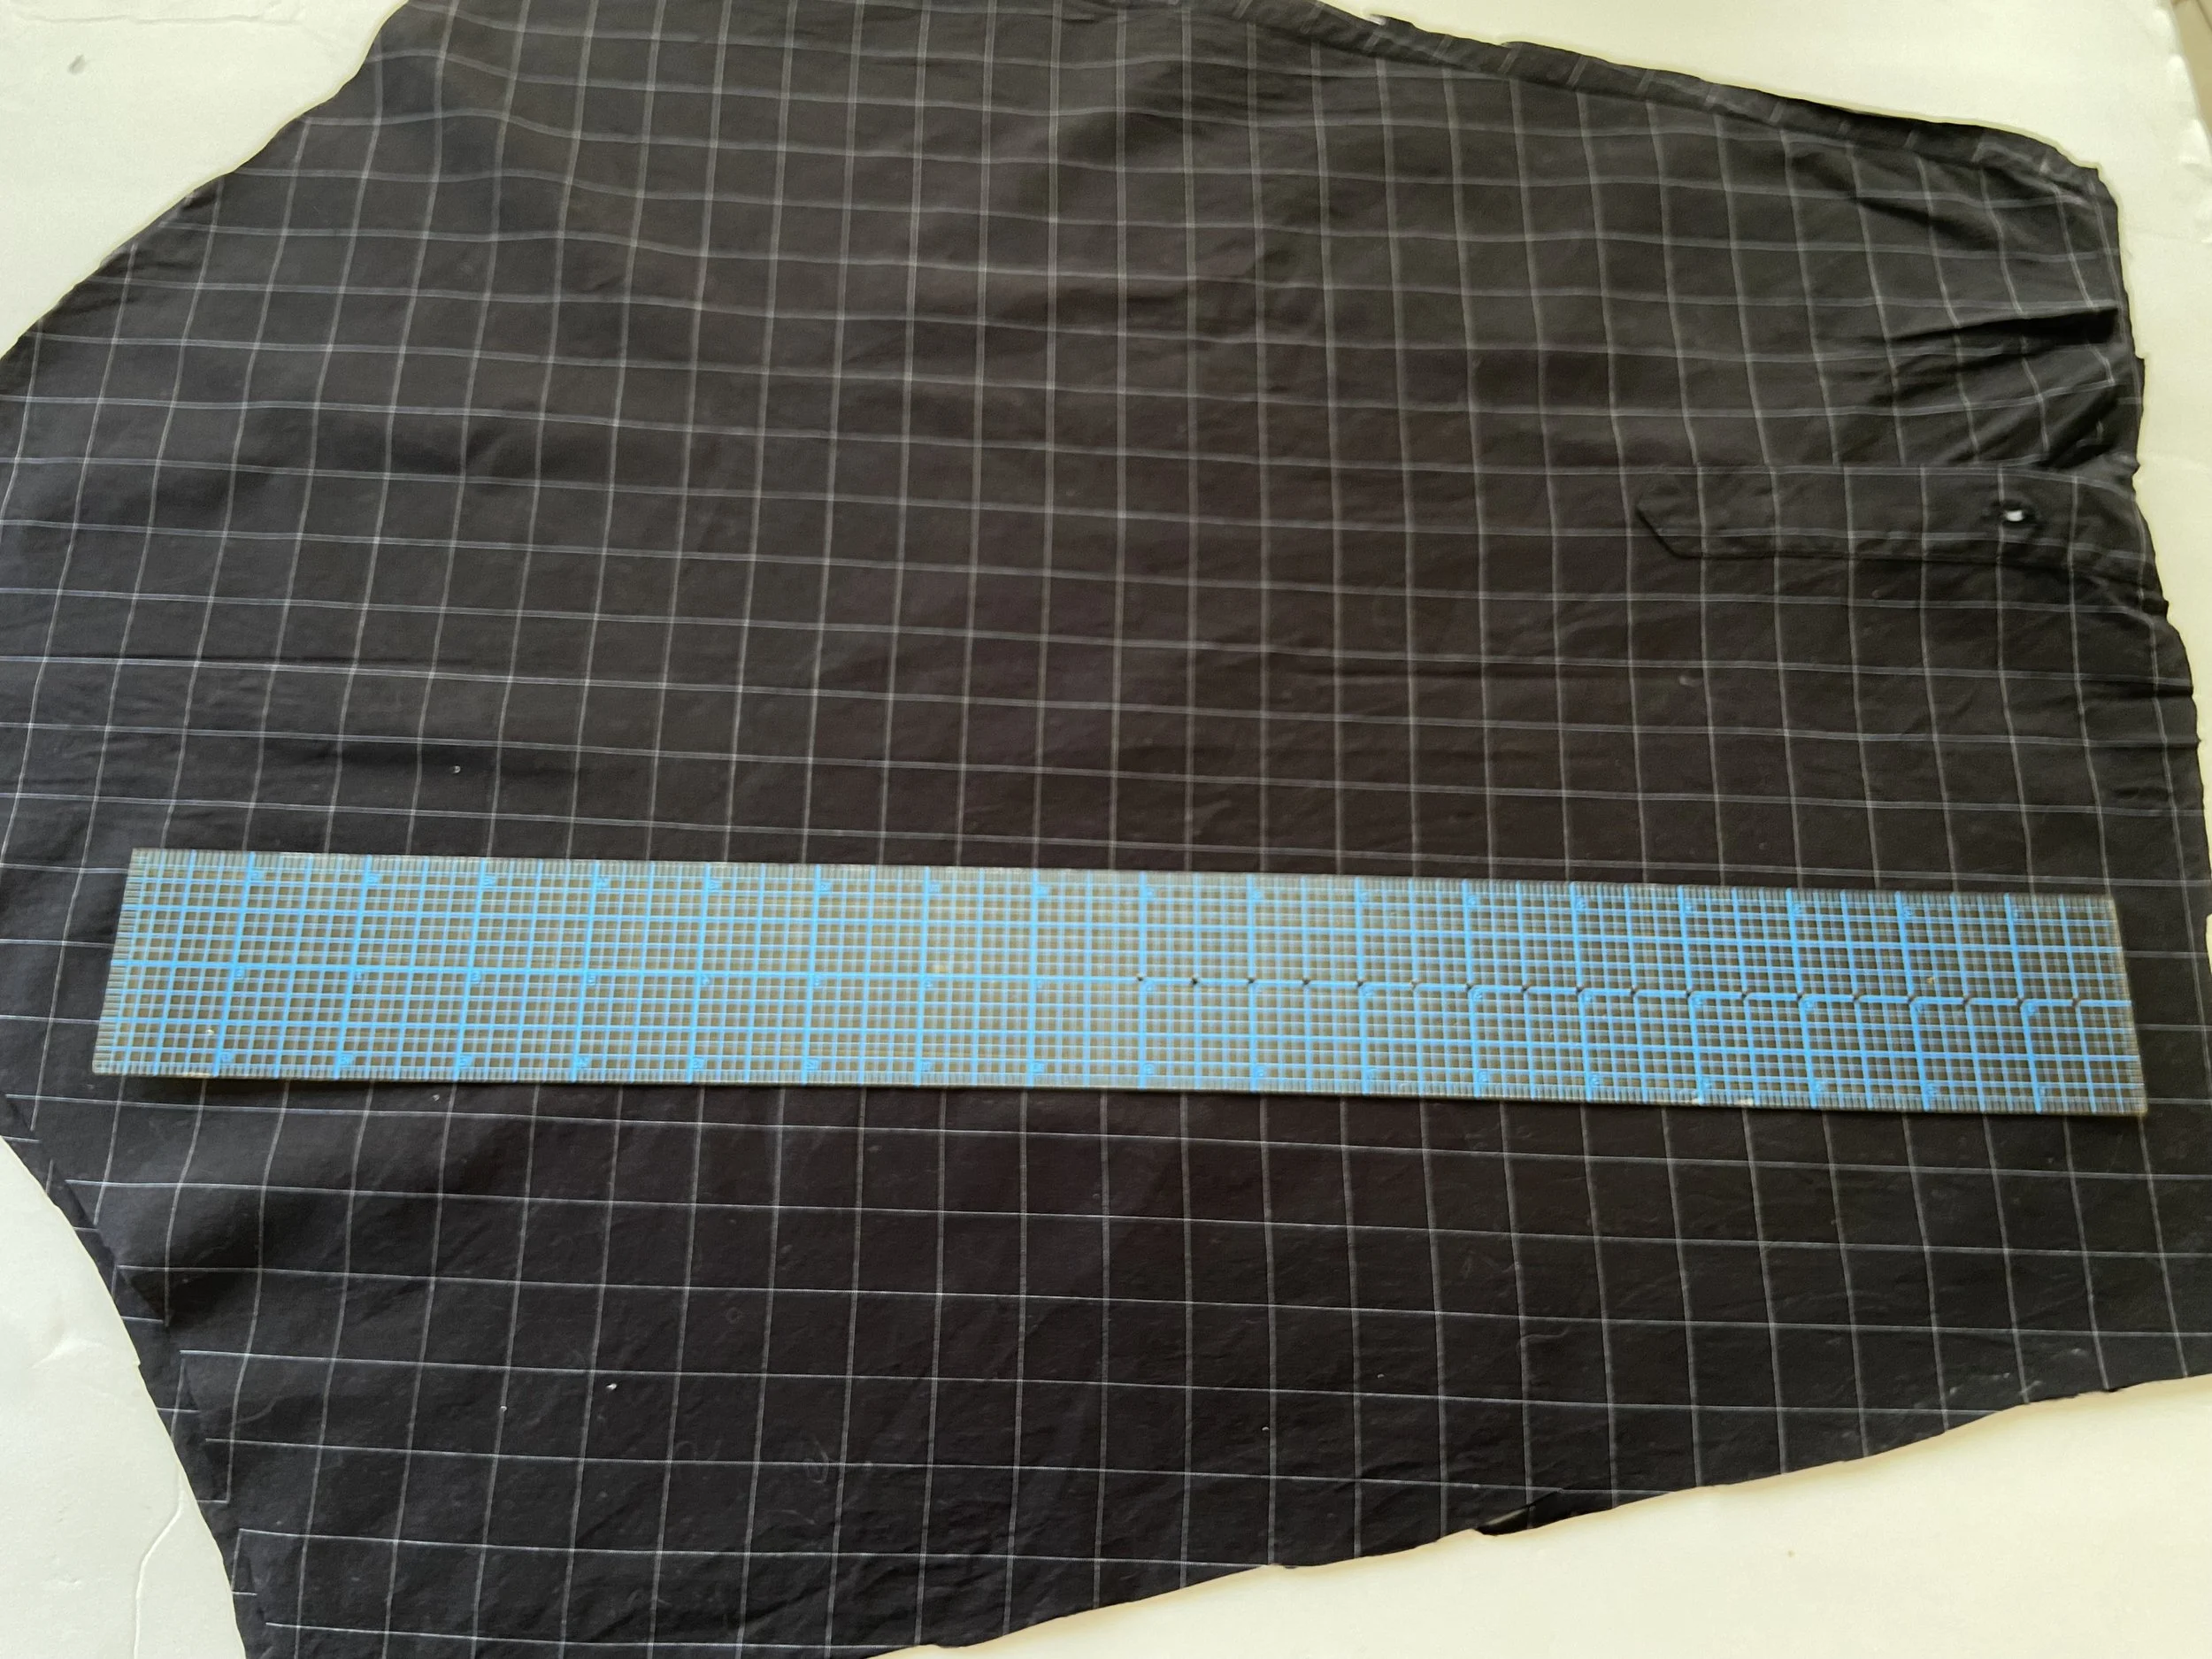
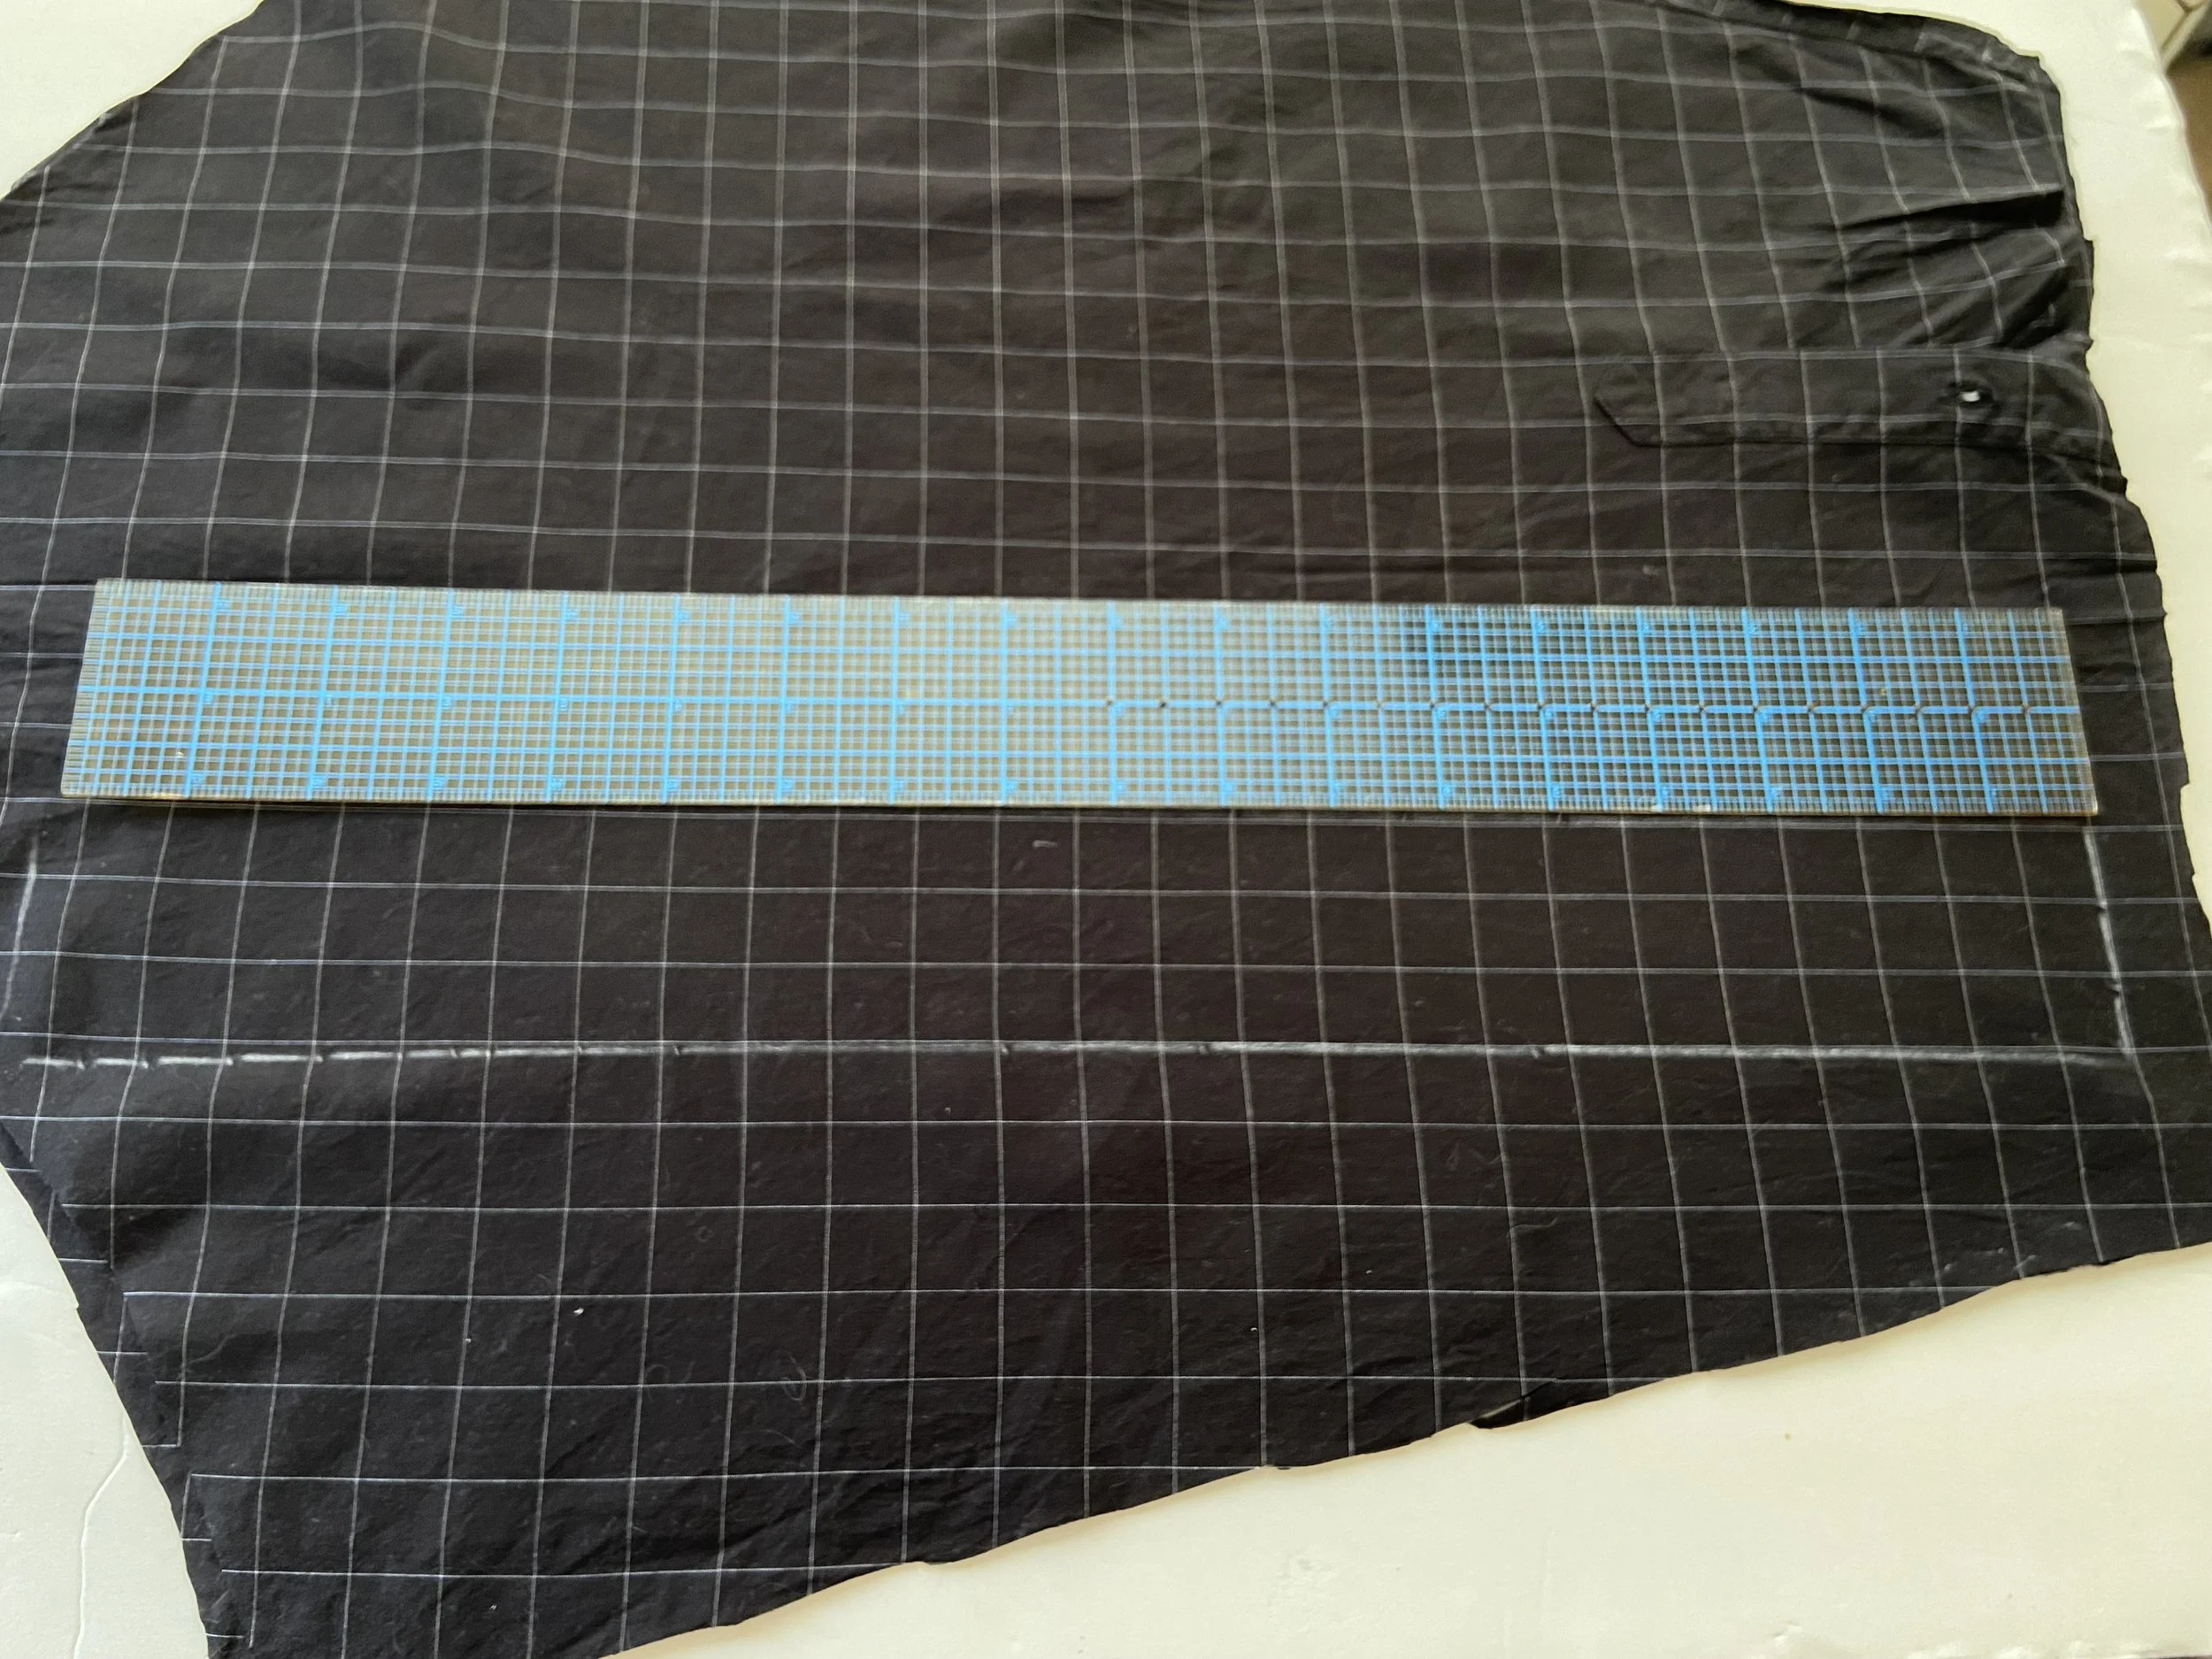
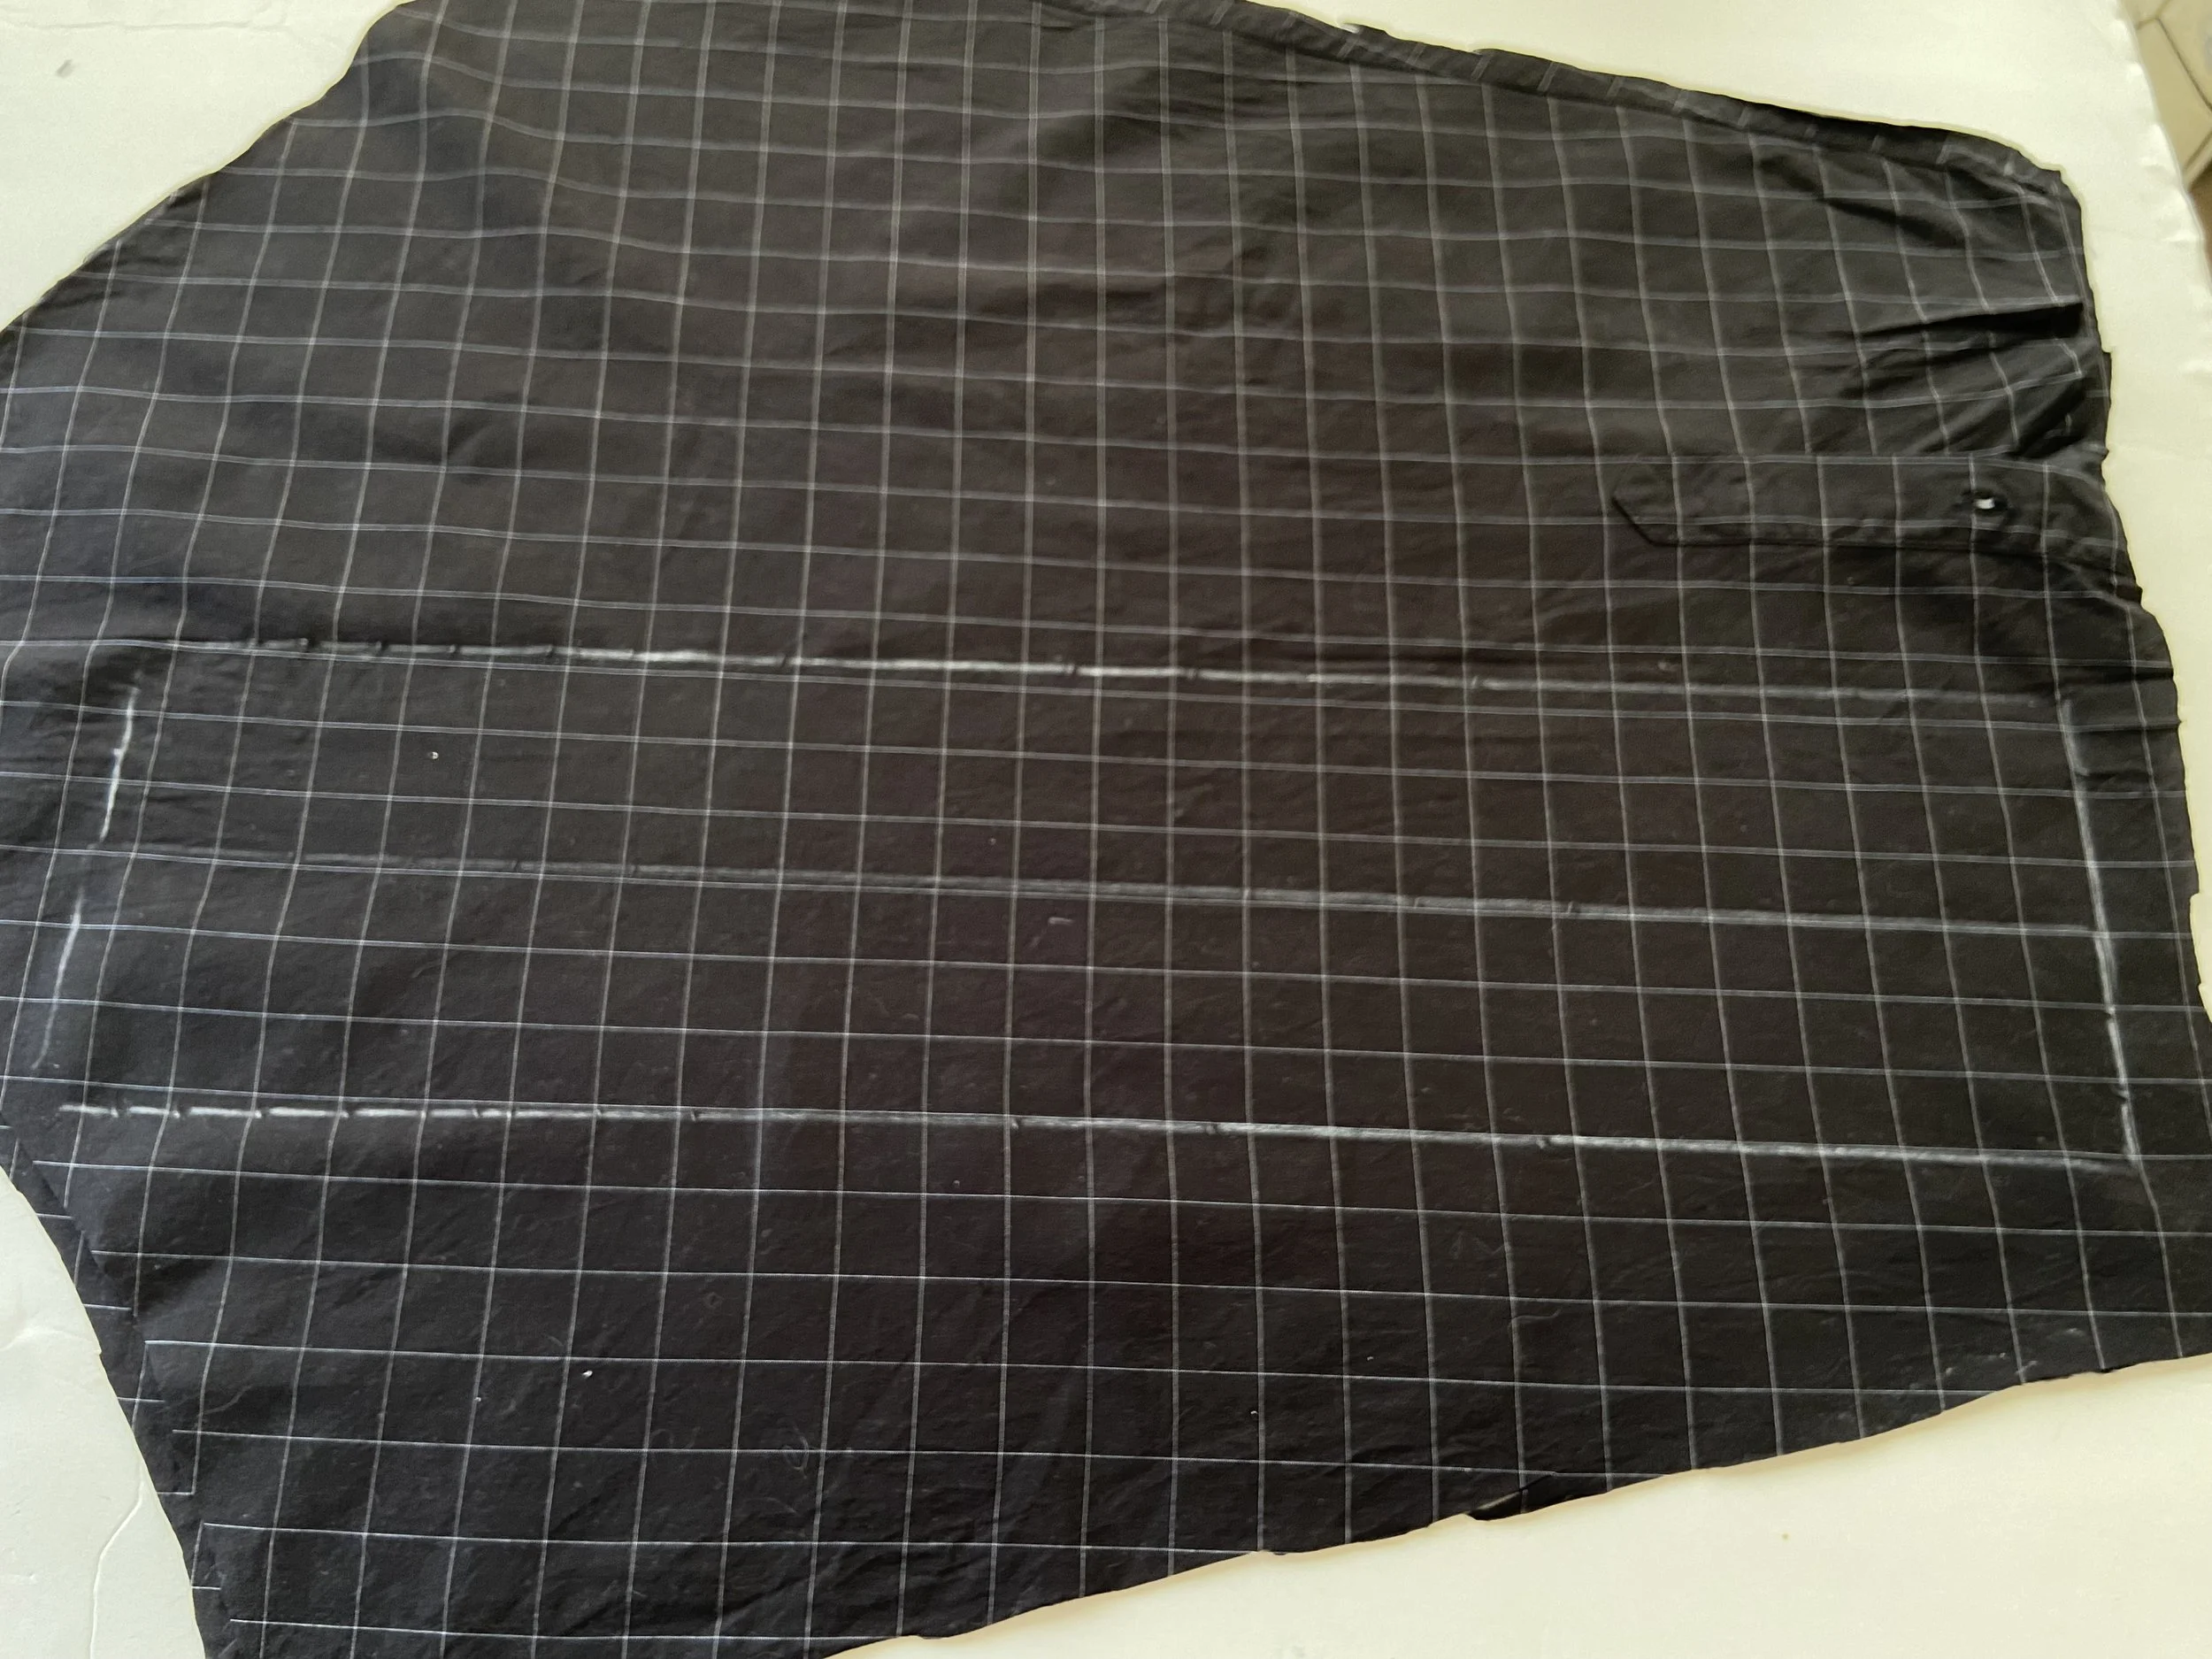
2. Wash and iron your shirt, and lay it out completely flat, button side up, like you’re taking a picture for a catalog. Make sure that the side seams are completely straight and no fabric is bunched up underneath
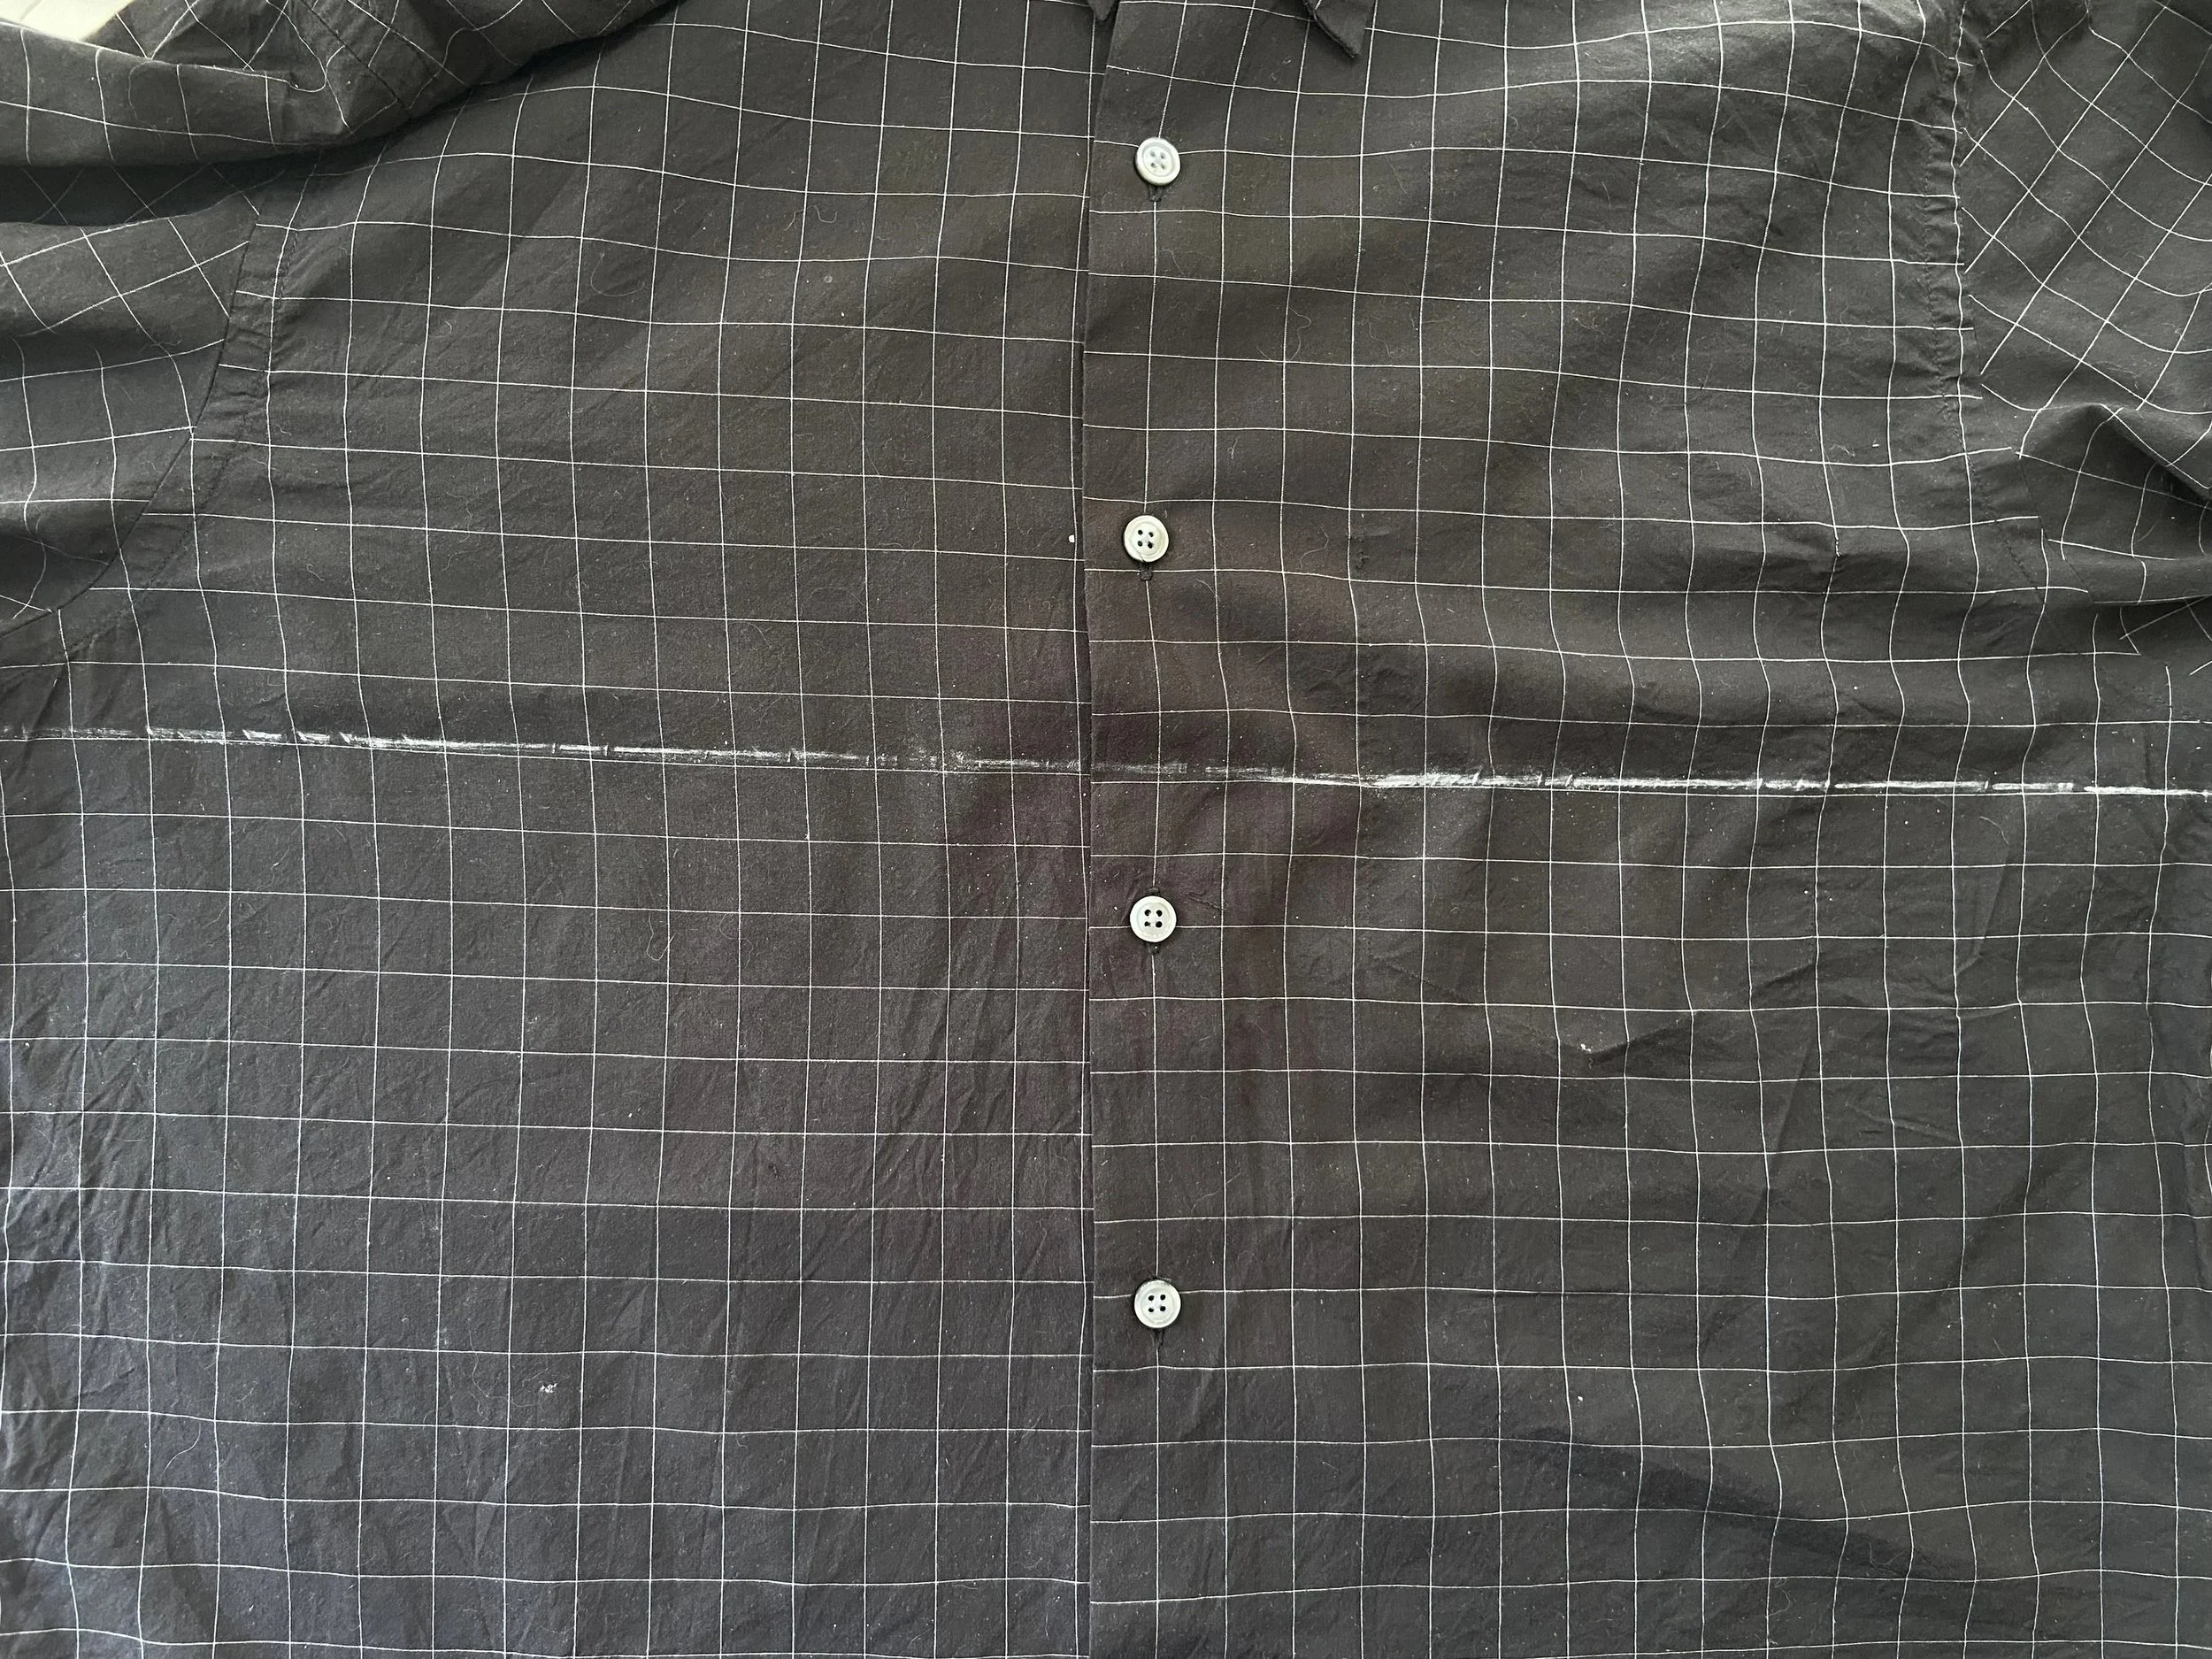
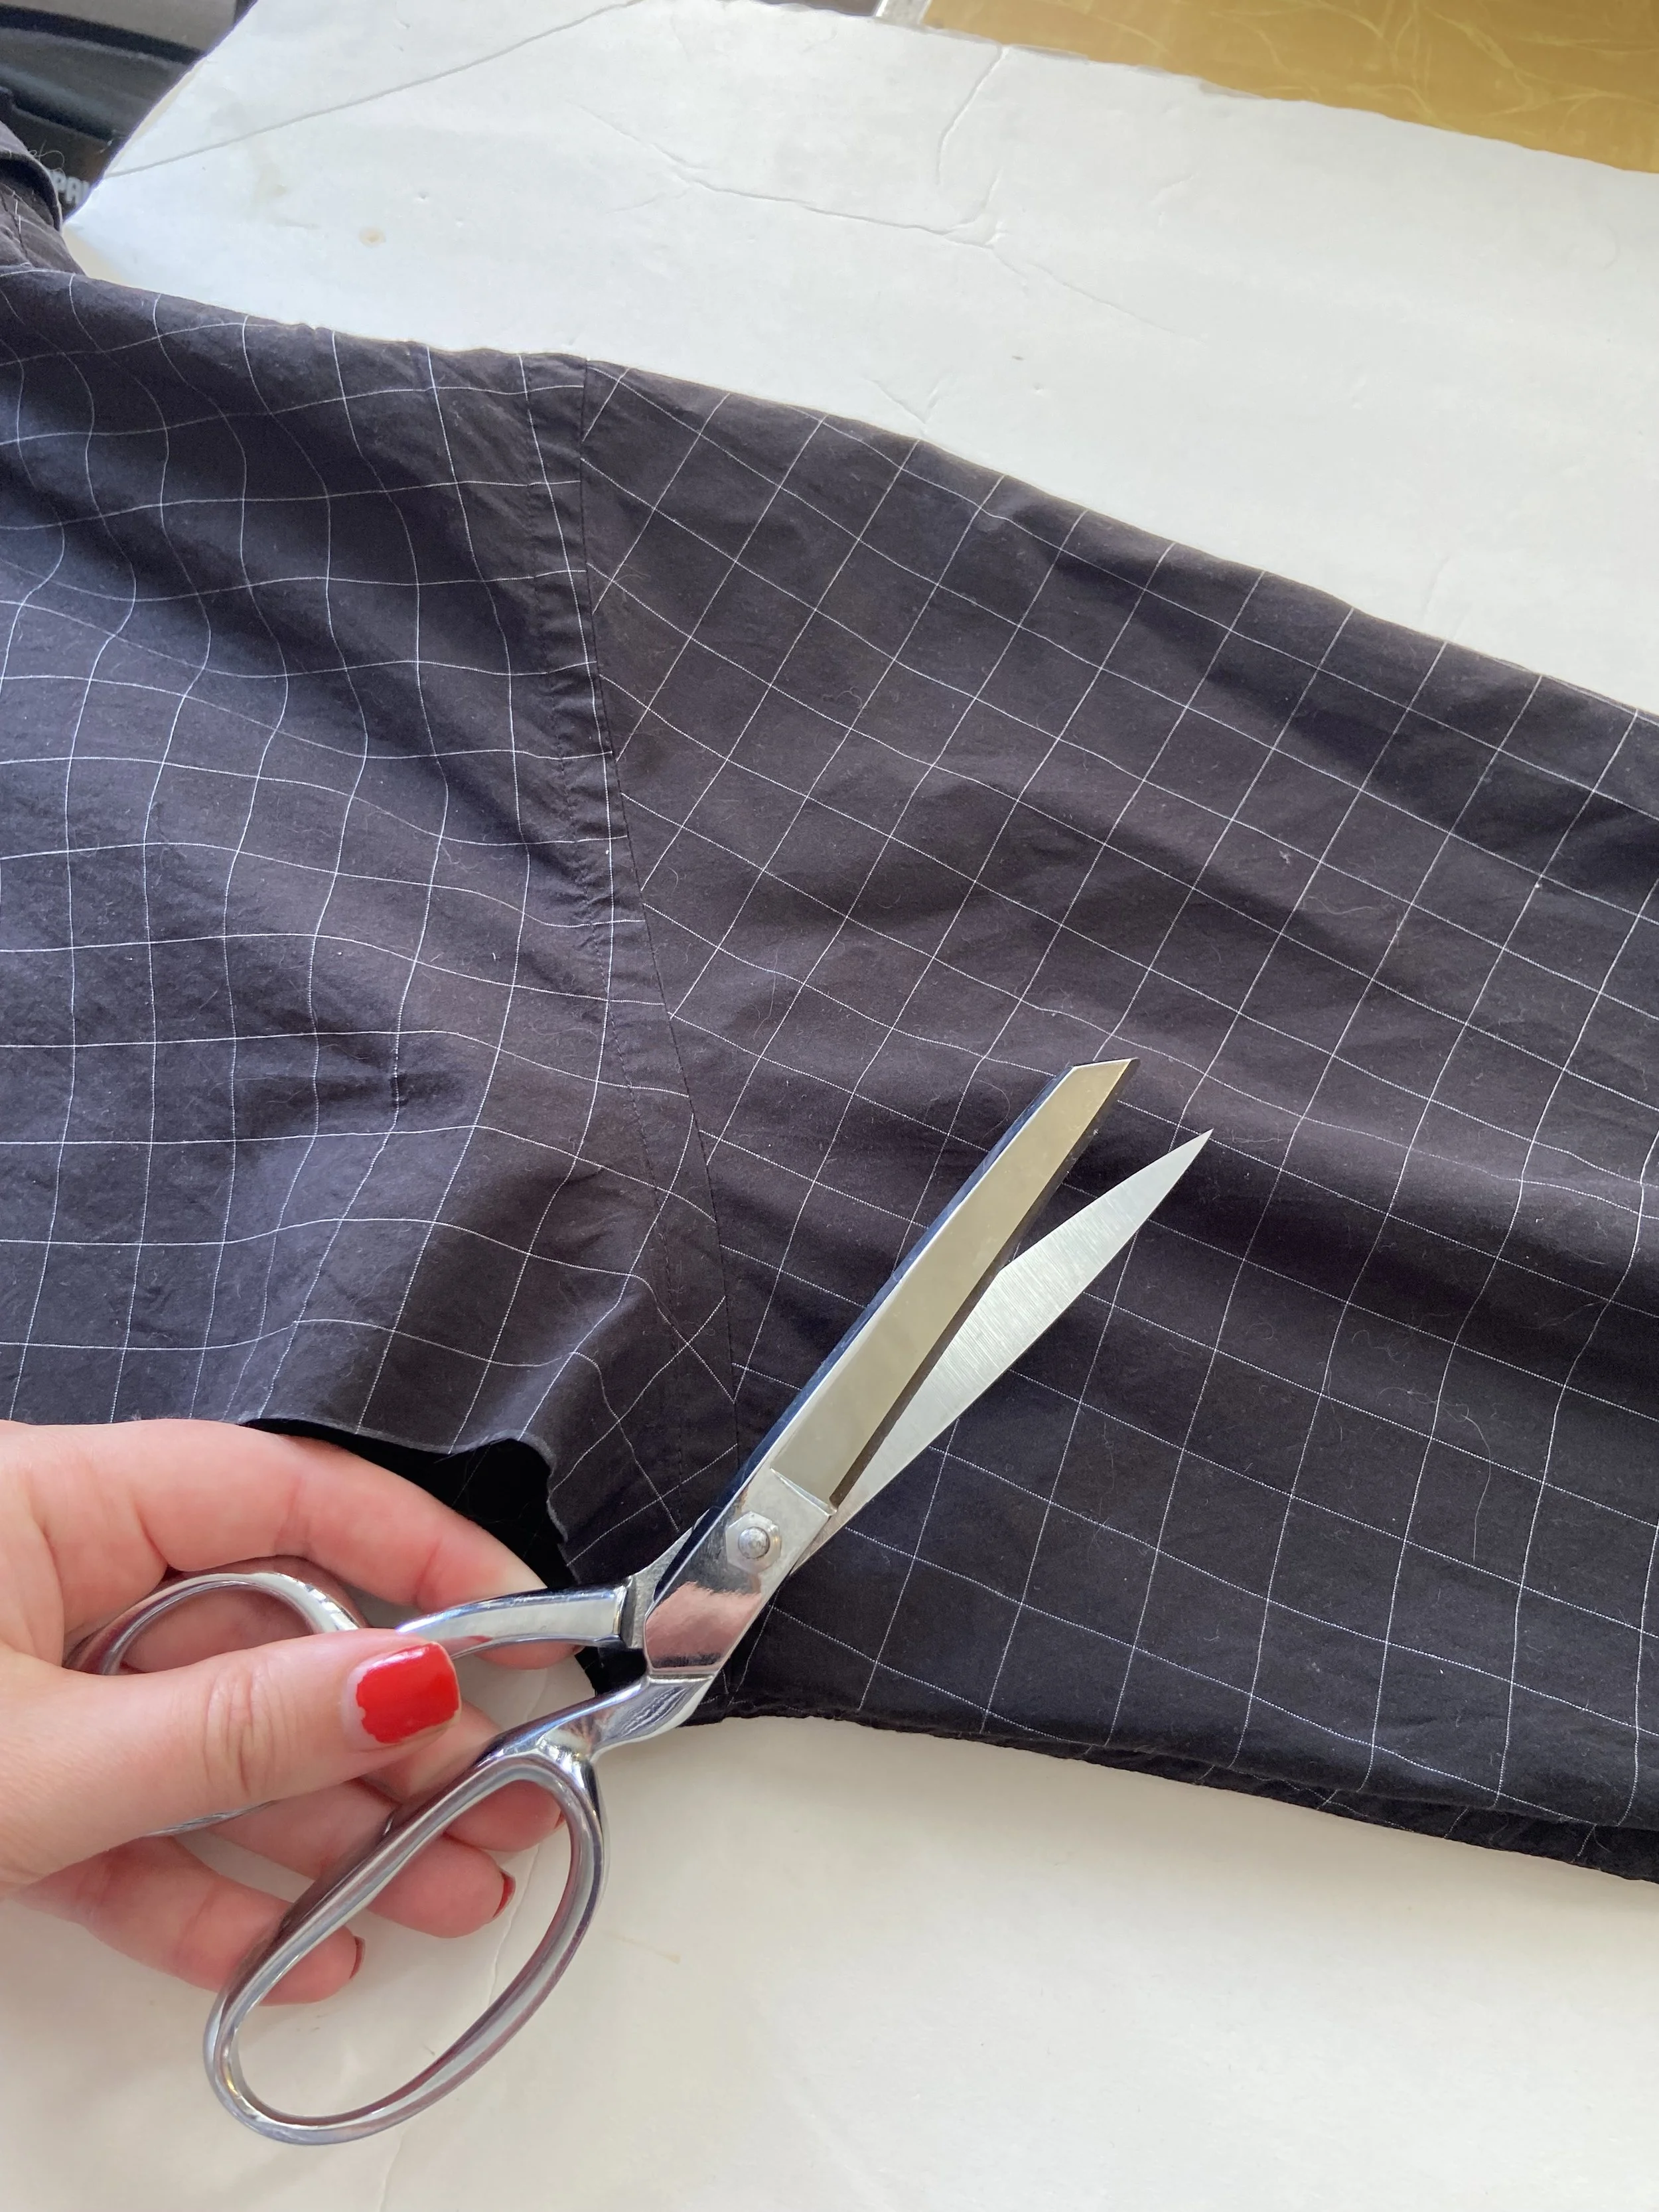
3. Using the grid ruler and tailor’s chalk, mark a straight line at the top of the side seams right where the sleeves attach.
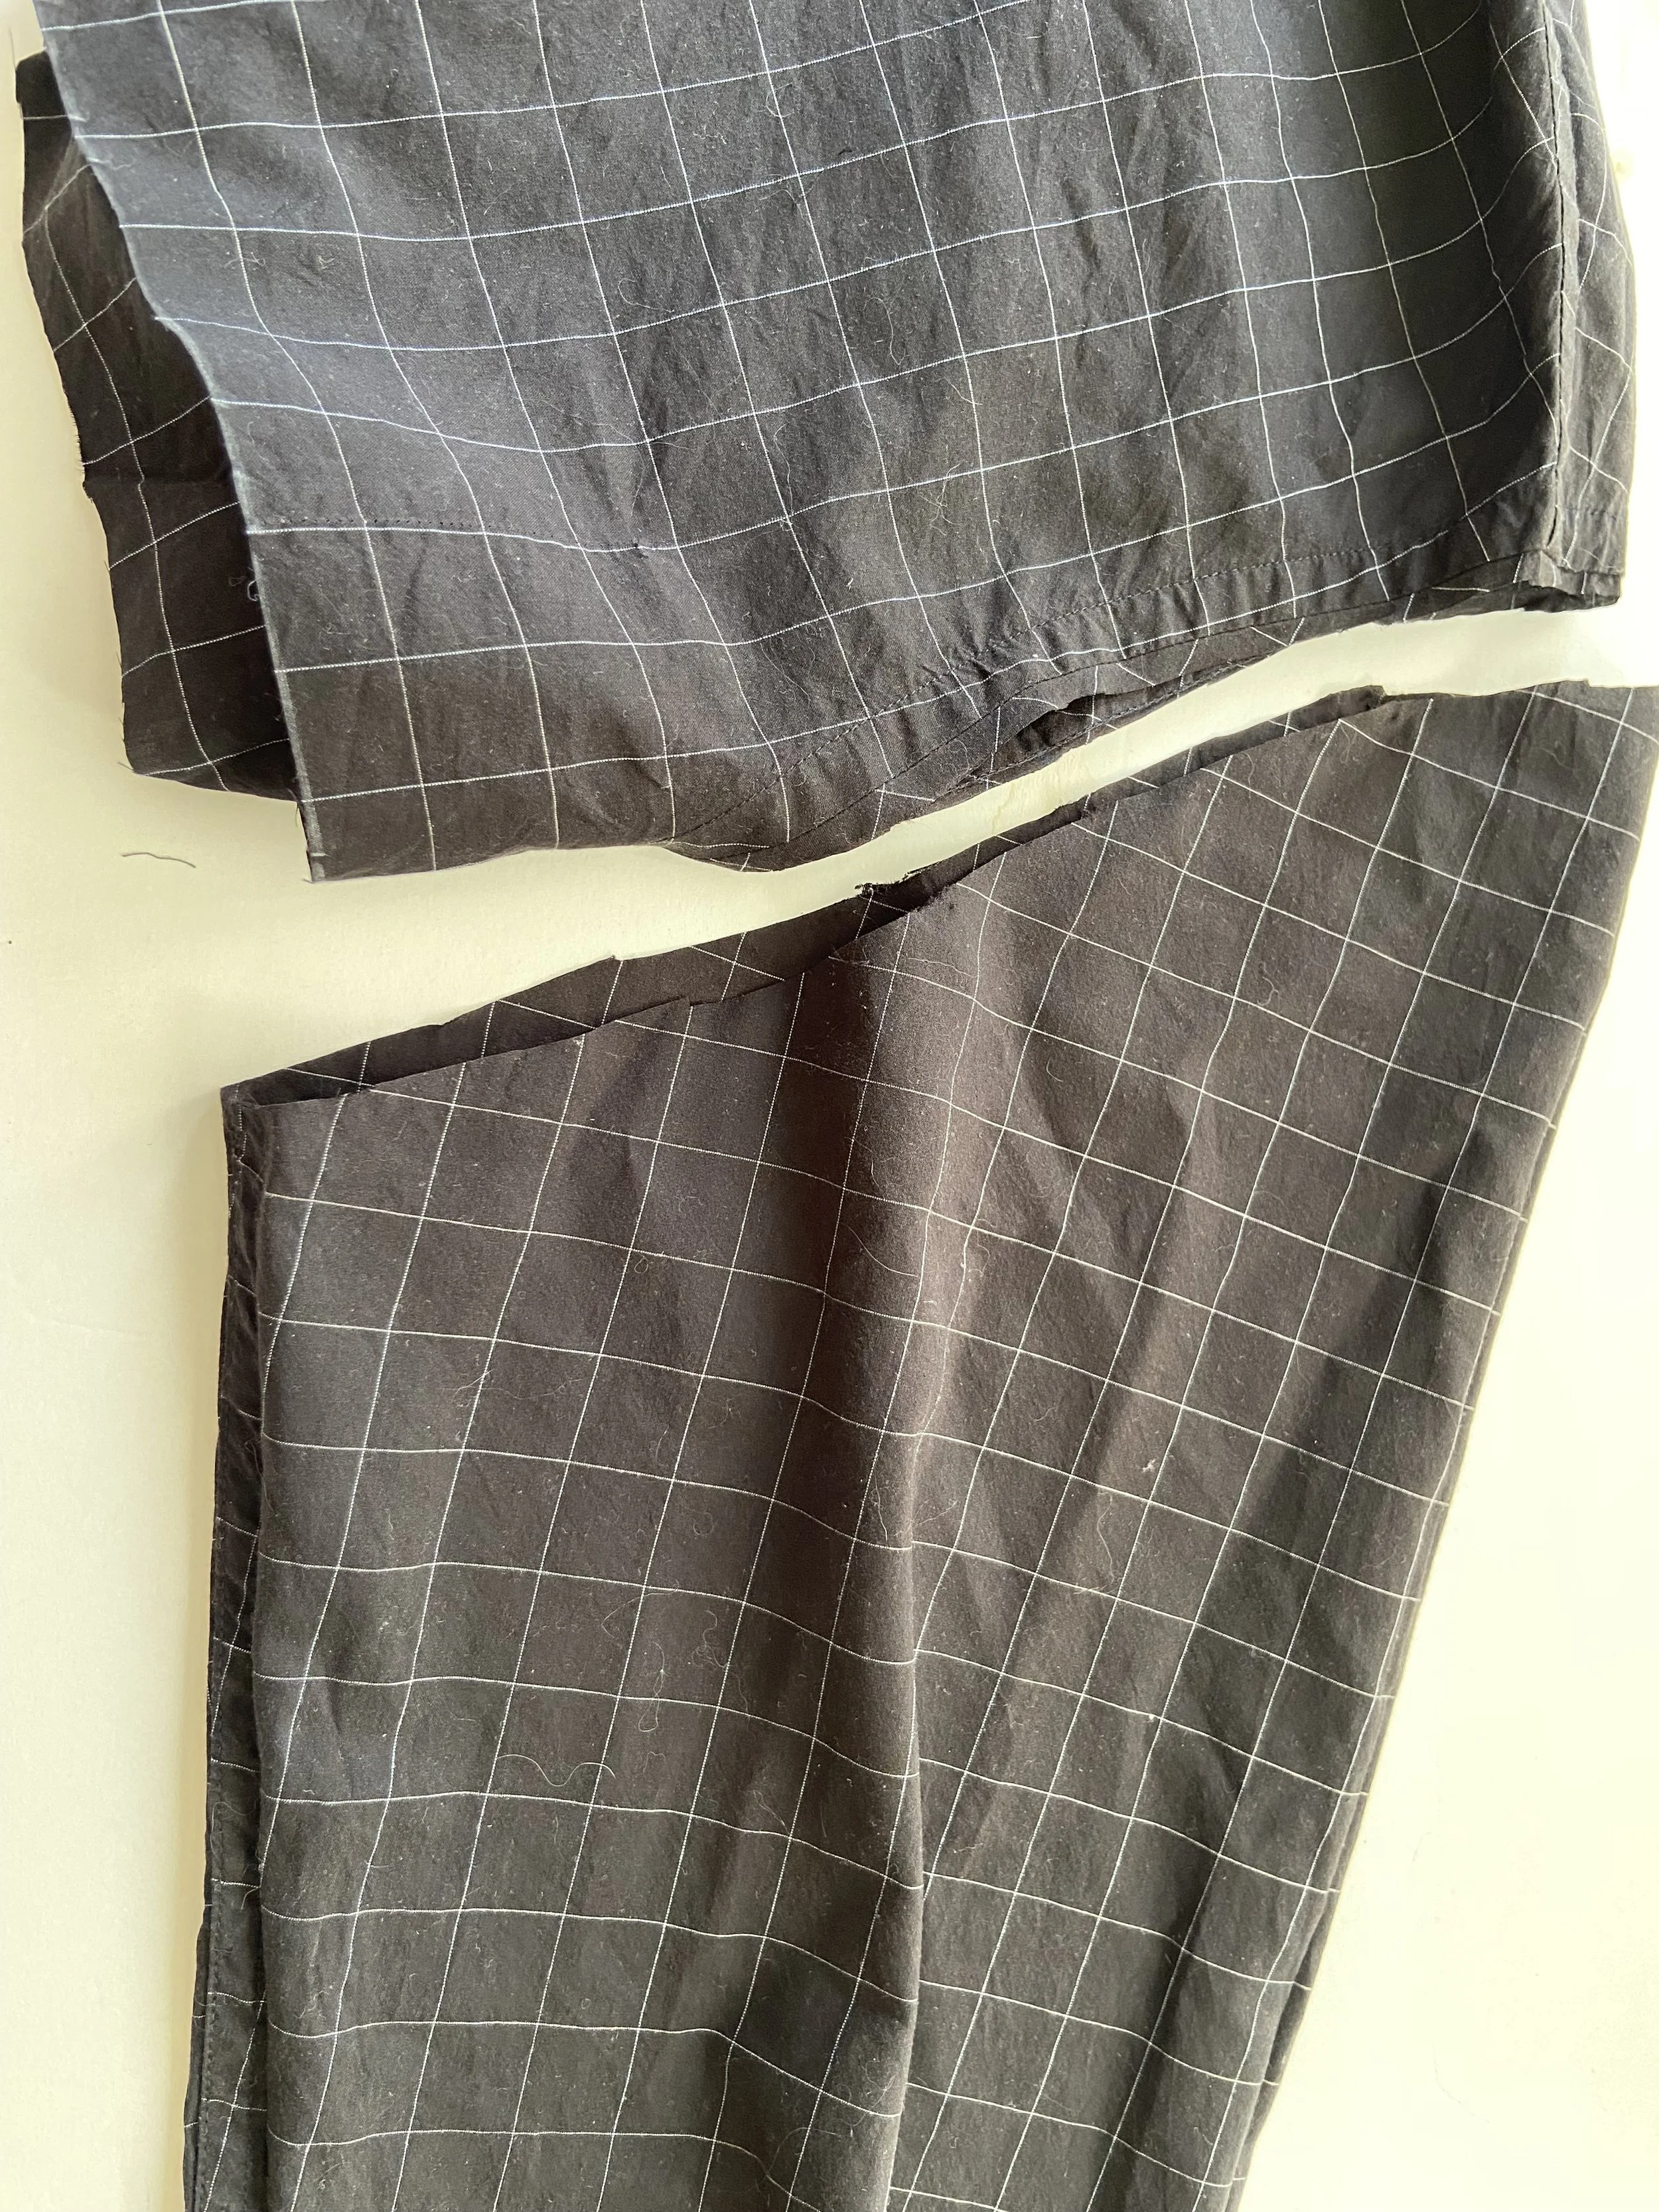
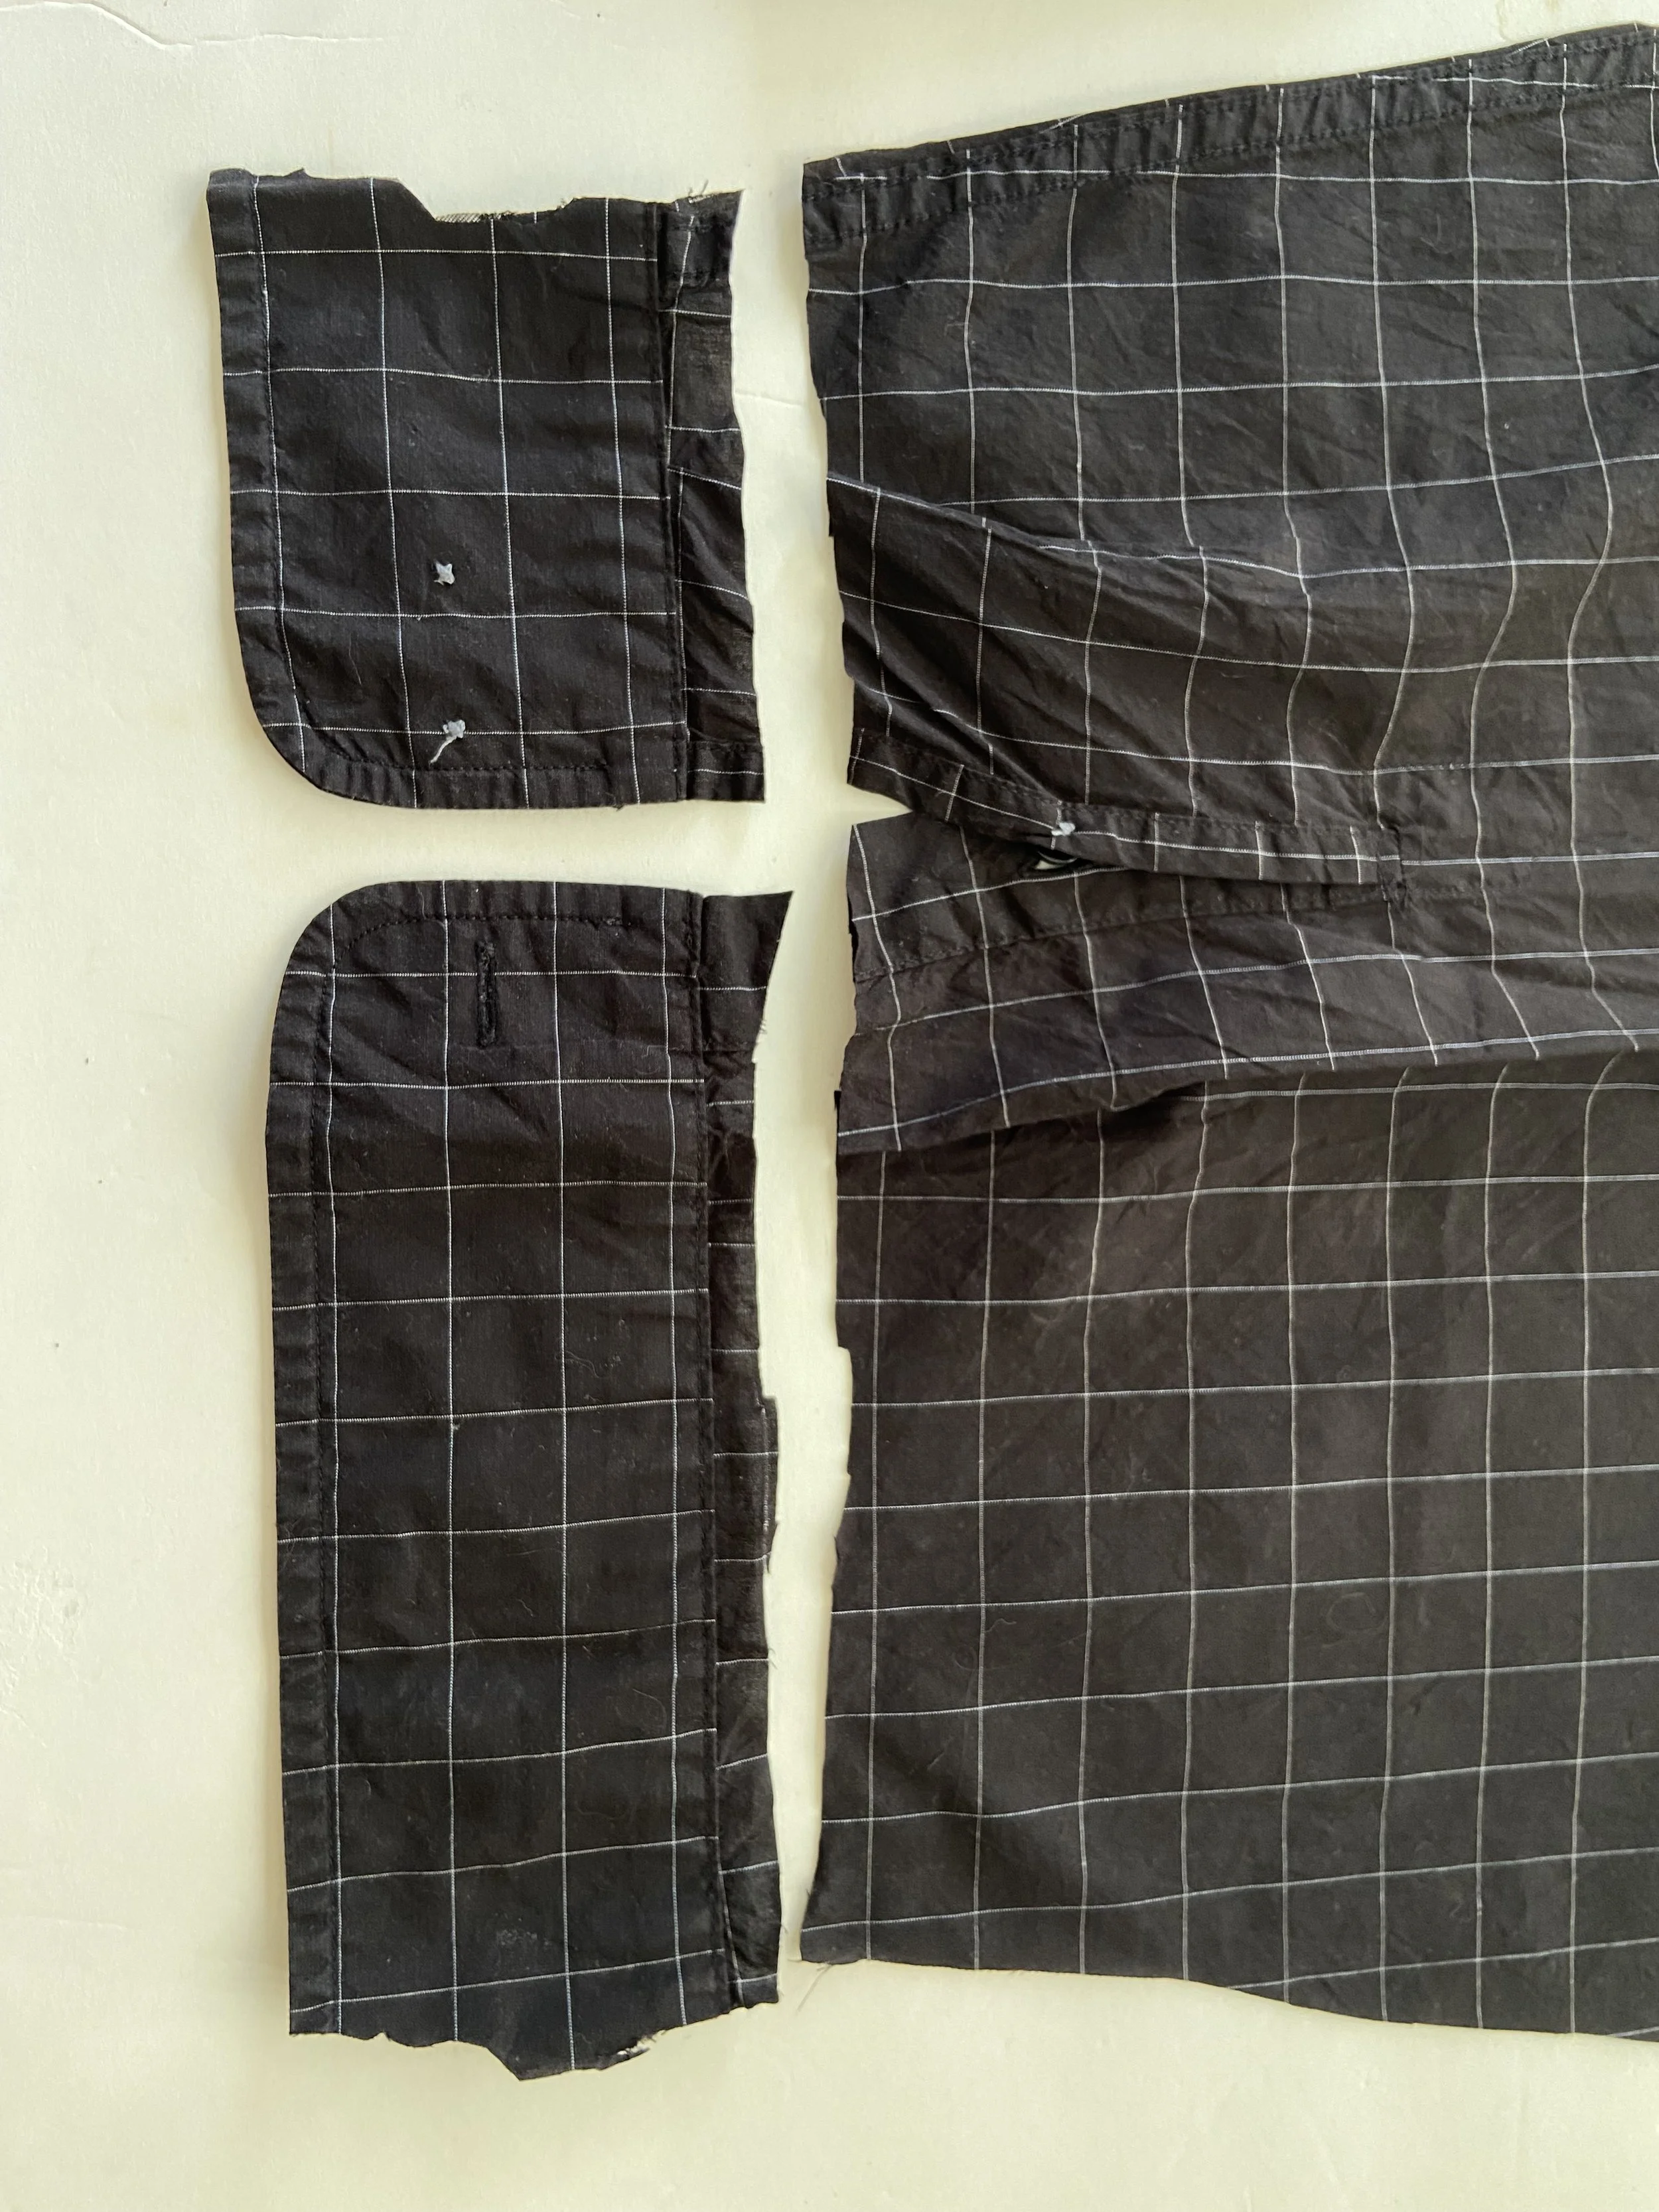
4. Cut across through both layers of the shirt. Just one big chop. Set the rest of your shirt aside because WE WILL BE USING IT LATER.
5. With a hand-sewing needle and (ideally) contrasting color thread, hand-baste the top 4” or so of the button placket closed (my example here did not quite go far enough.)
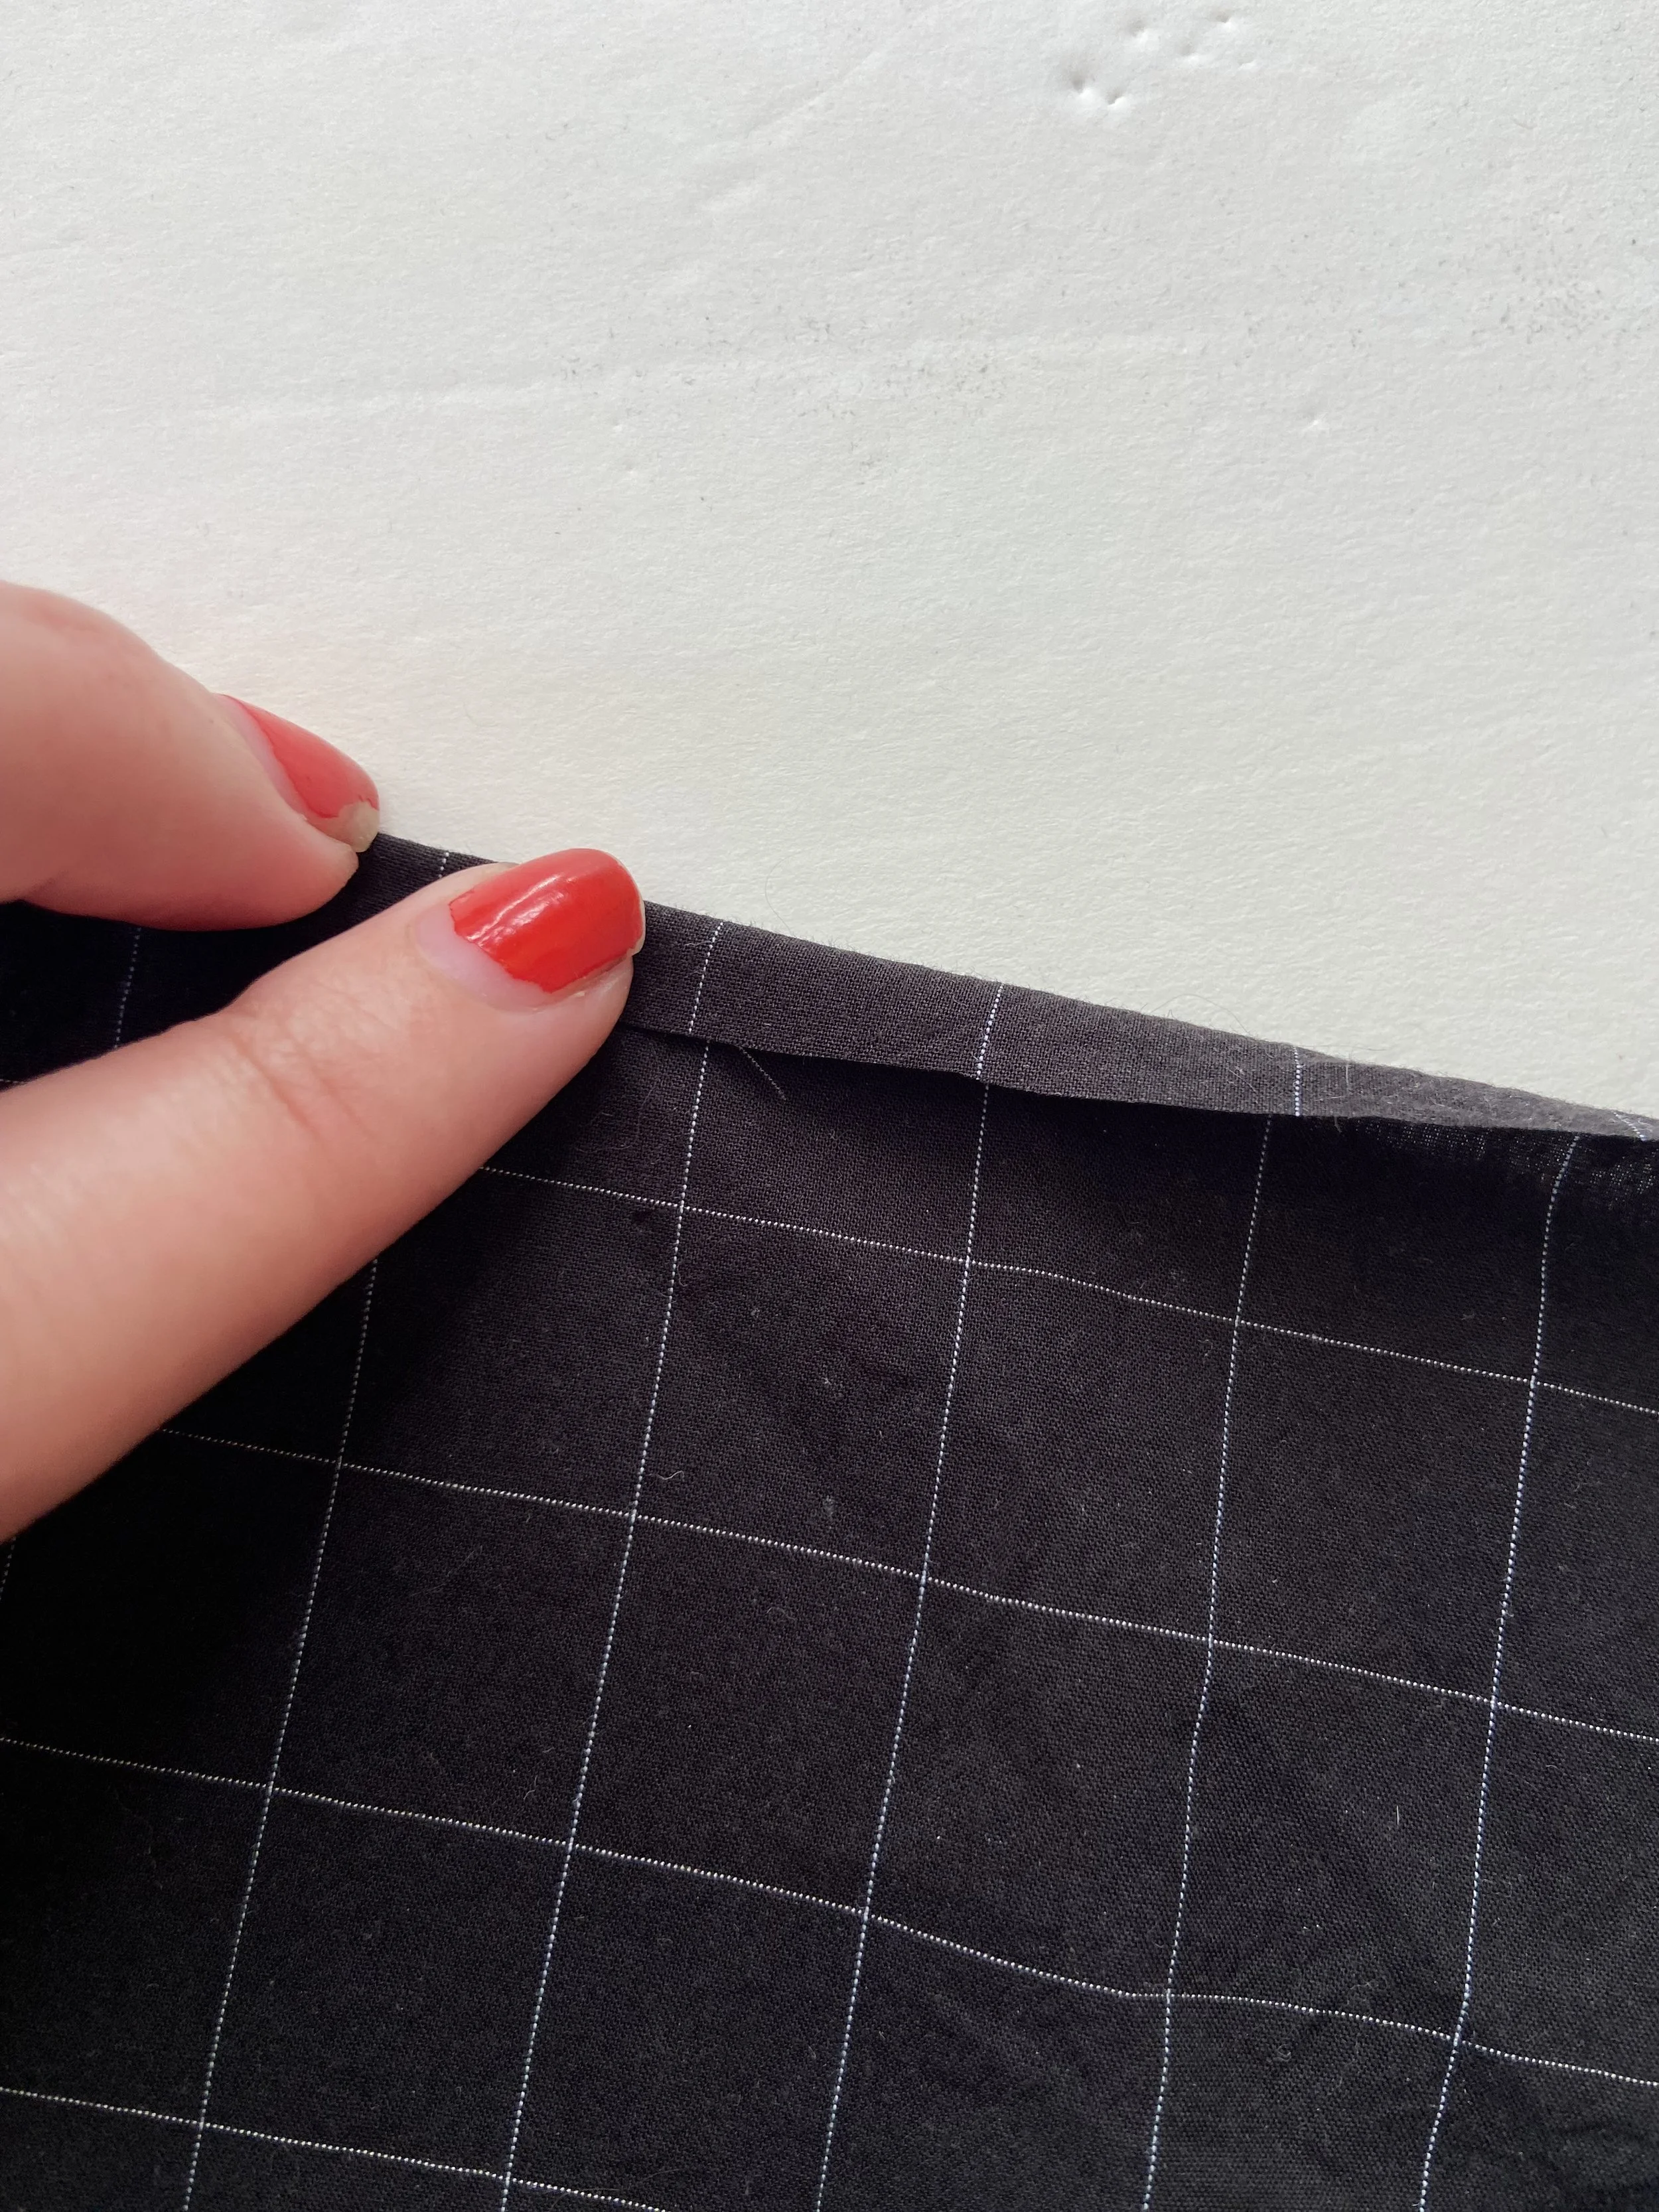
6. Fold the top edge of the shirt down ½” all the way around and press.
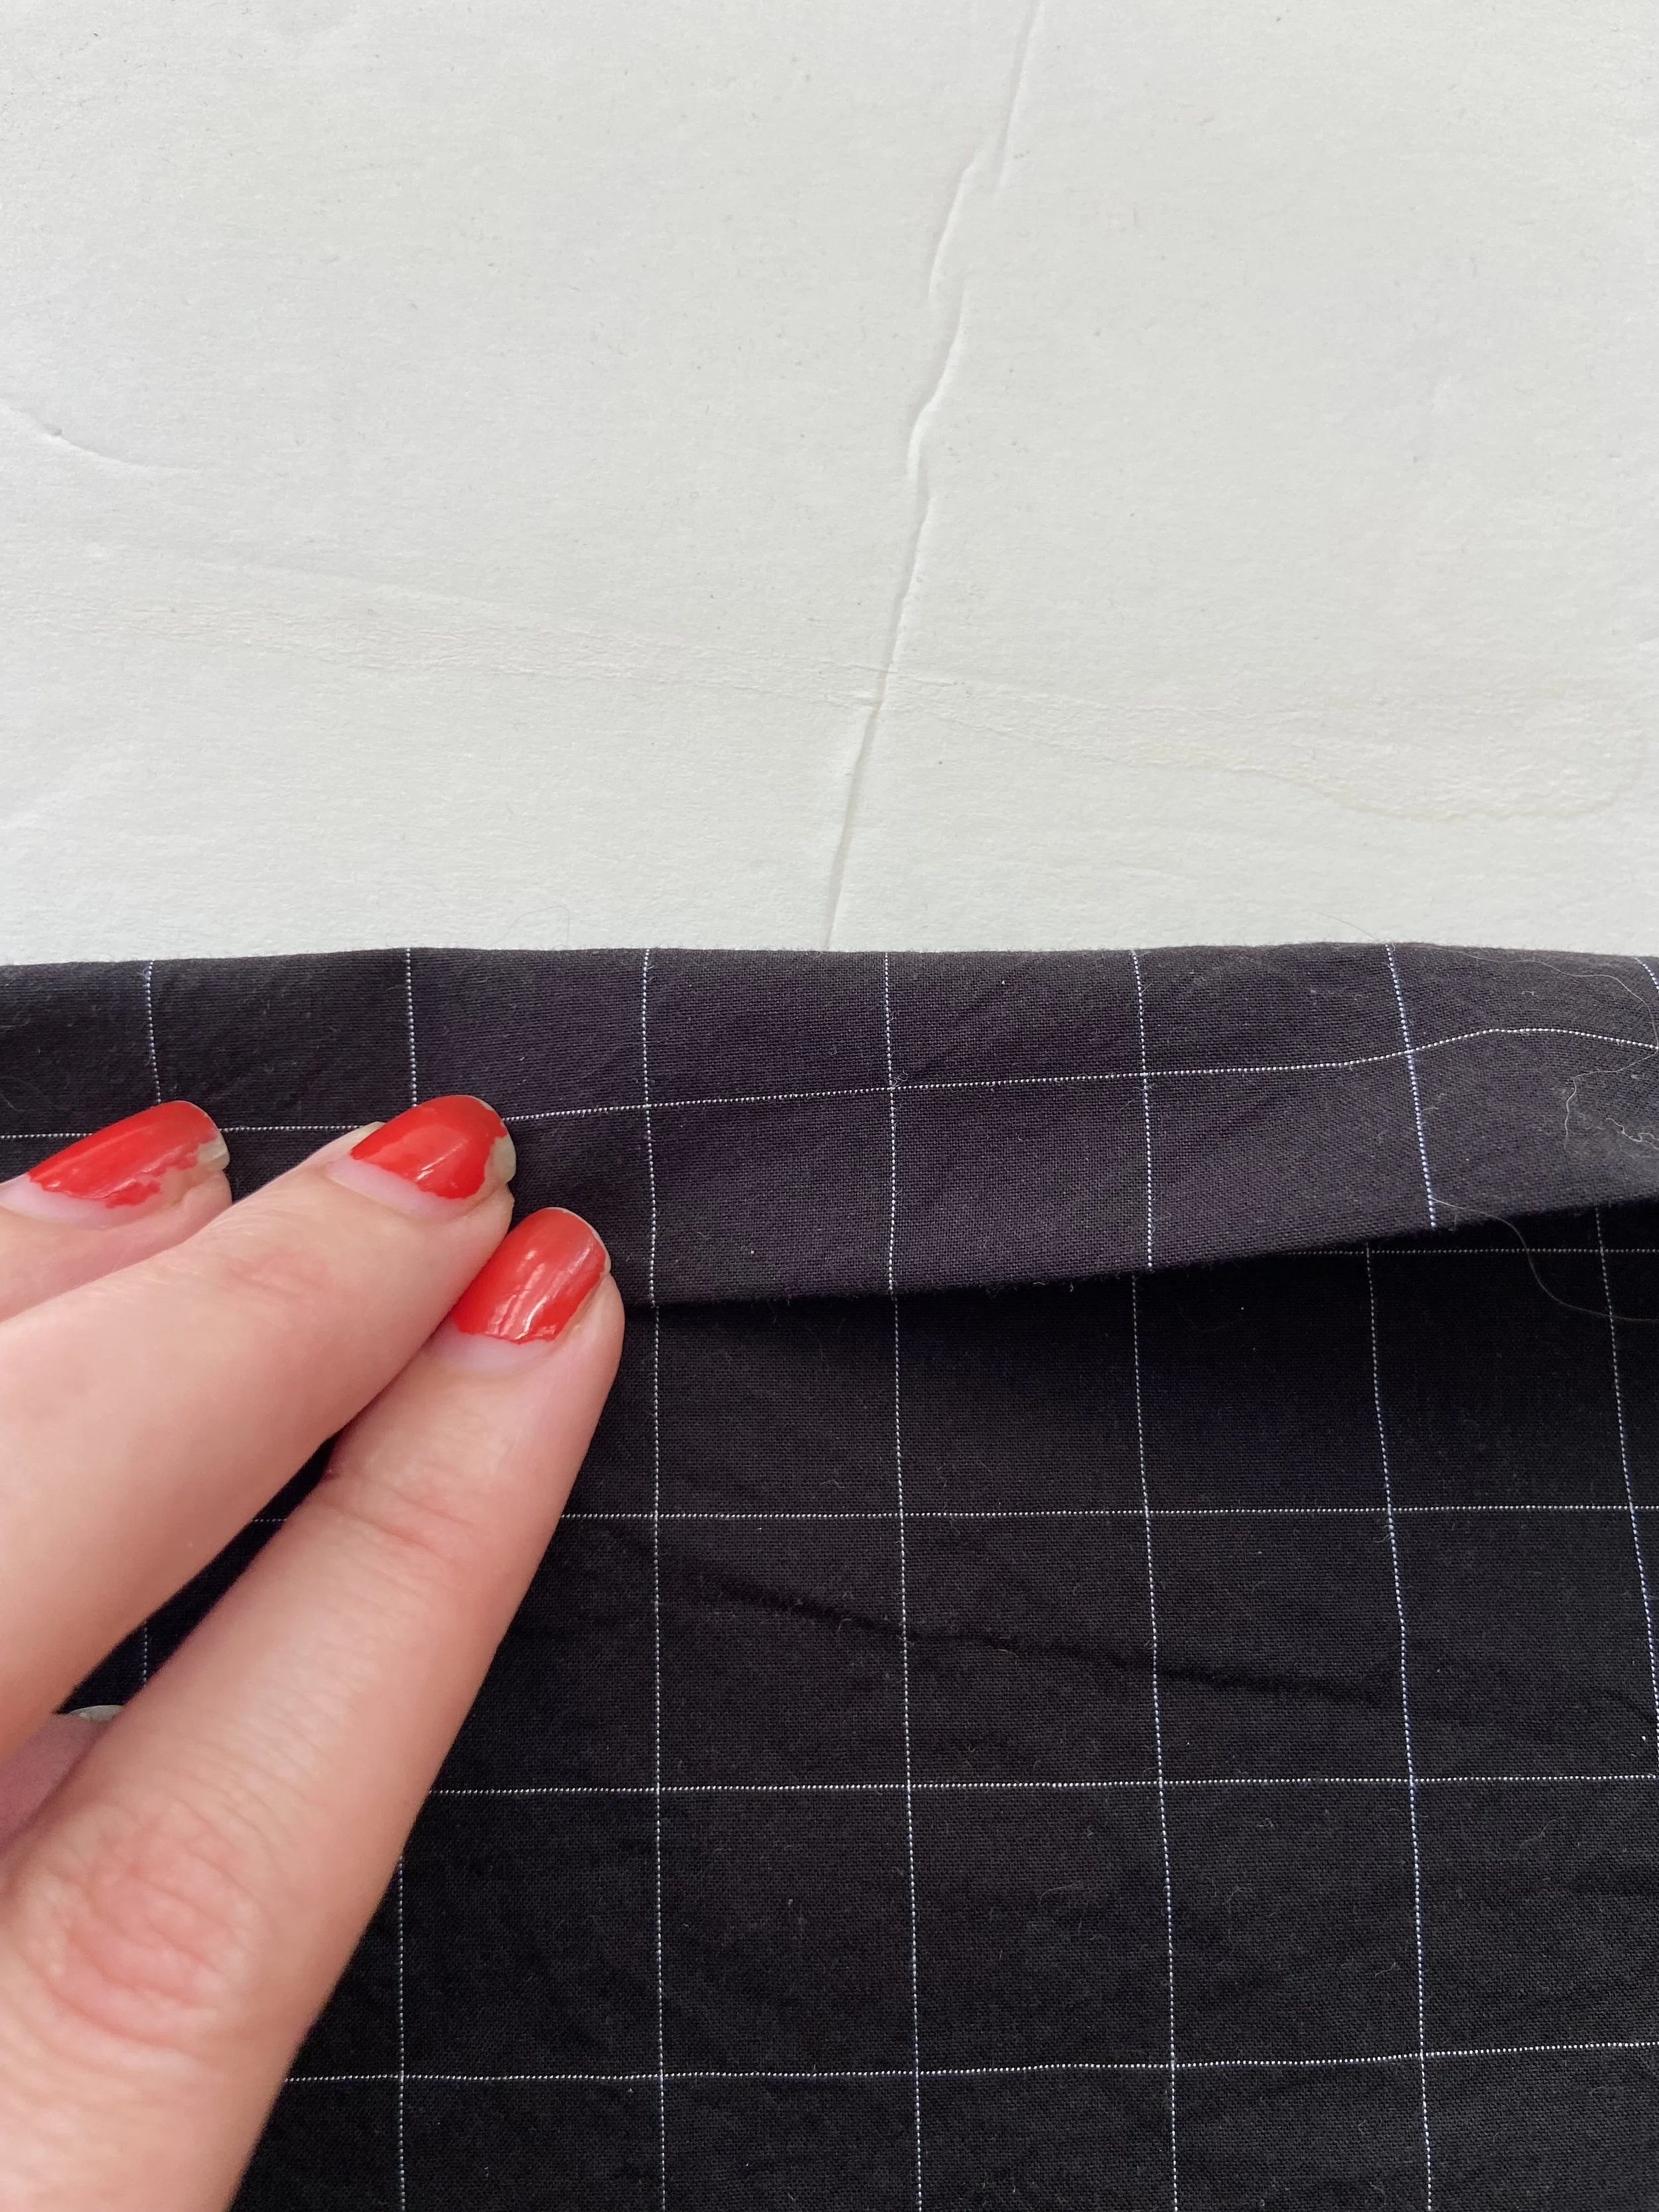
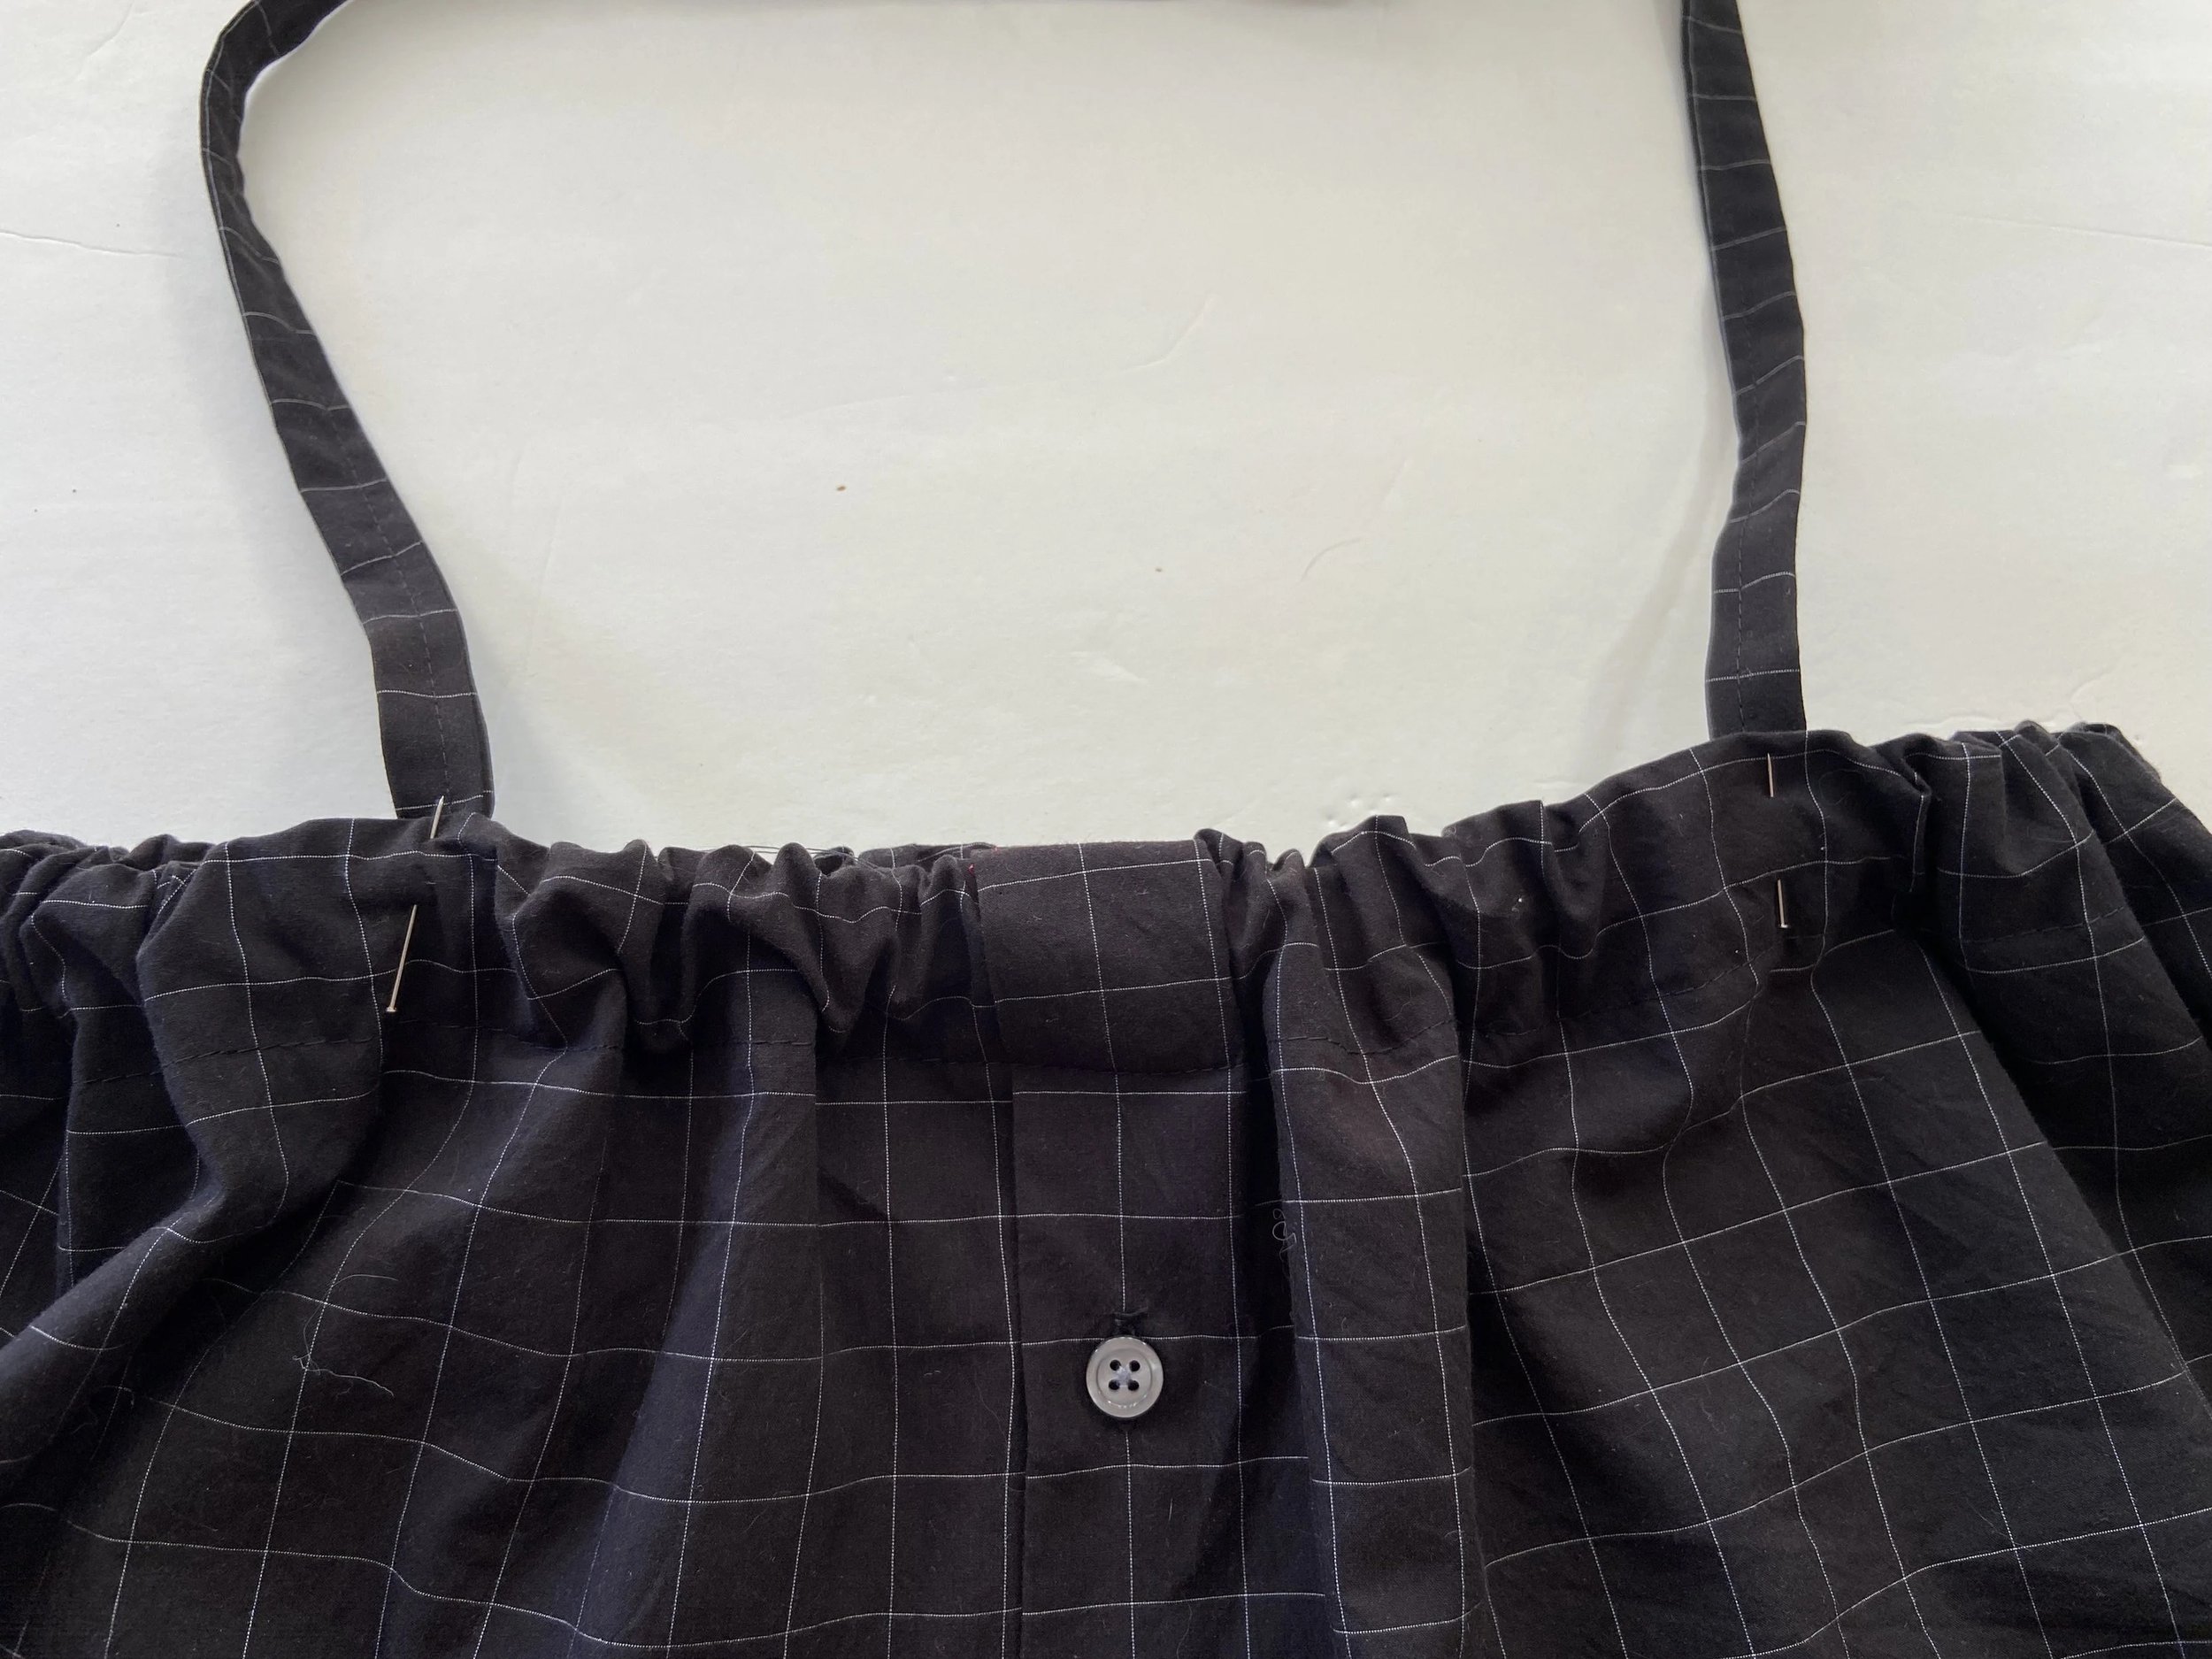
7. Fold and press another 1 ½” down to form the elastic channel and pin in place
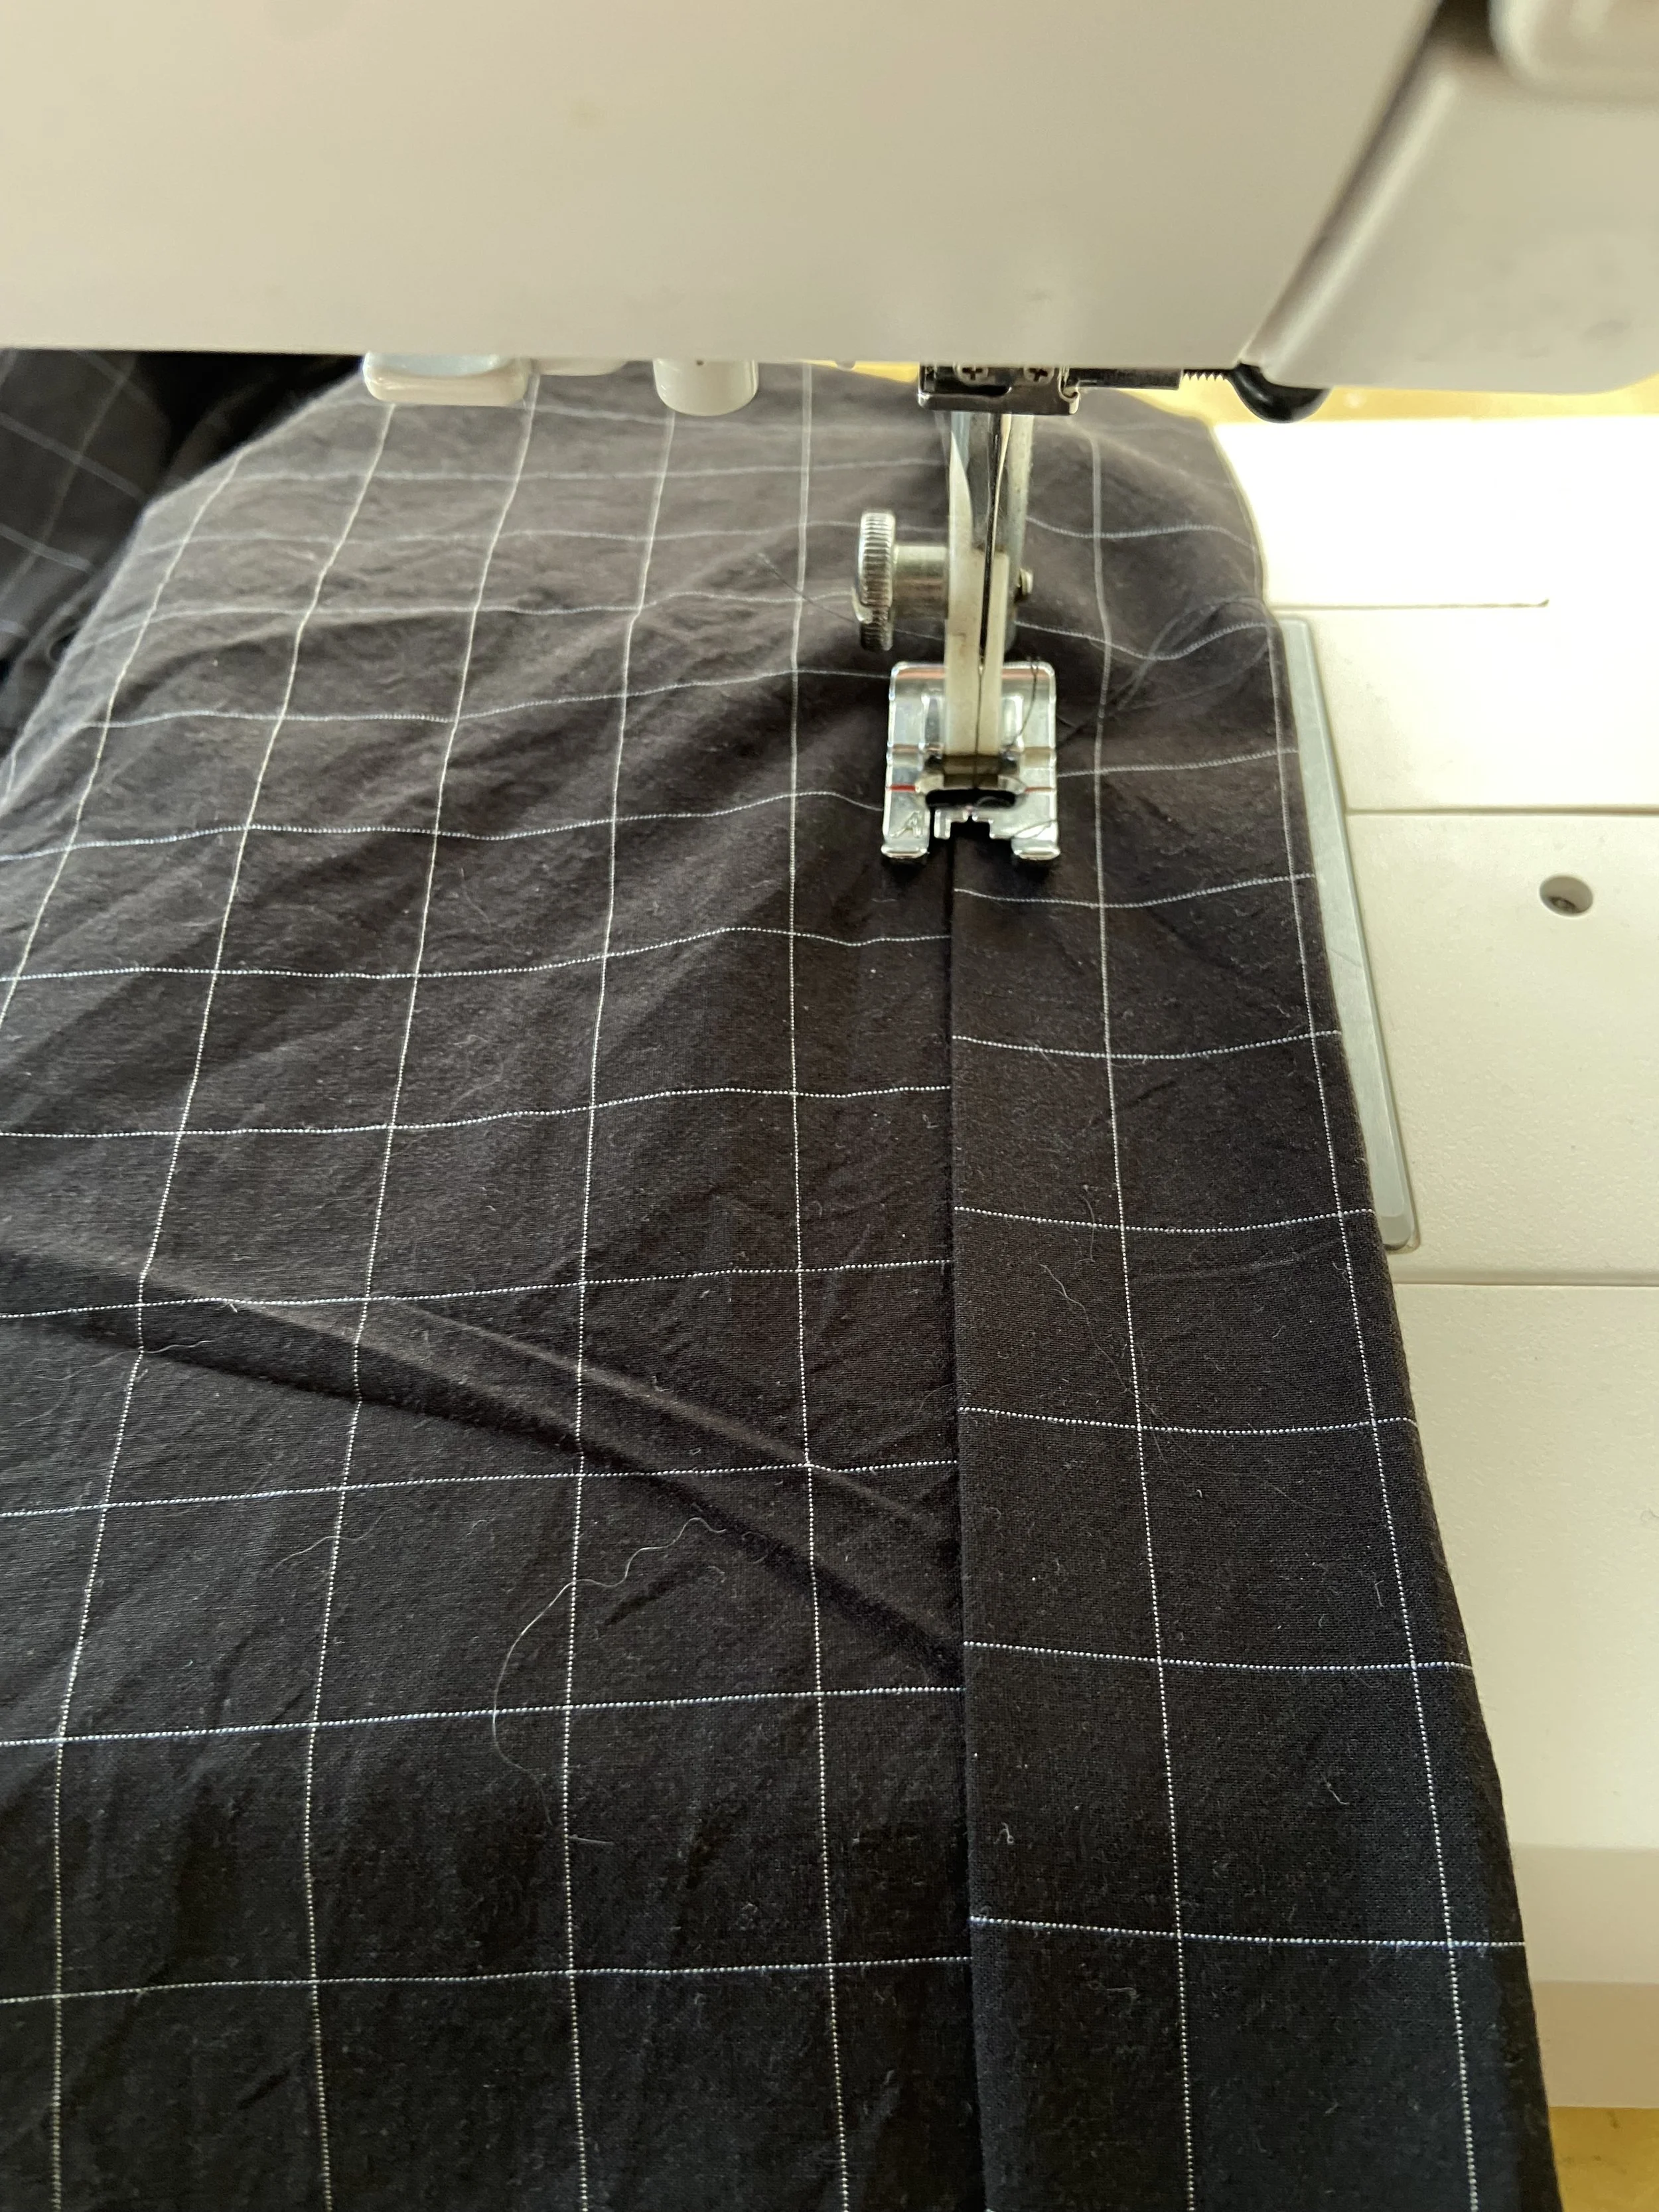
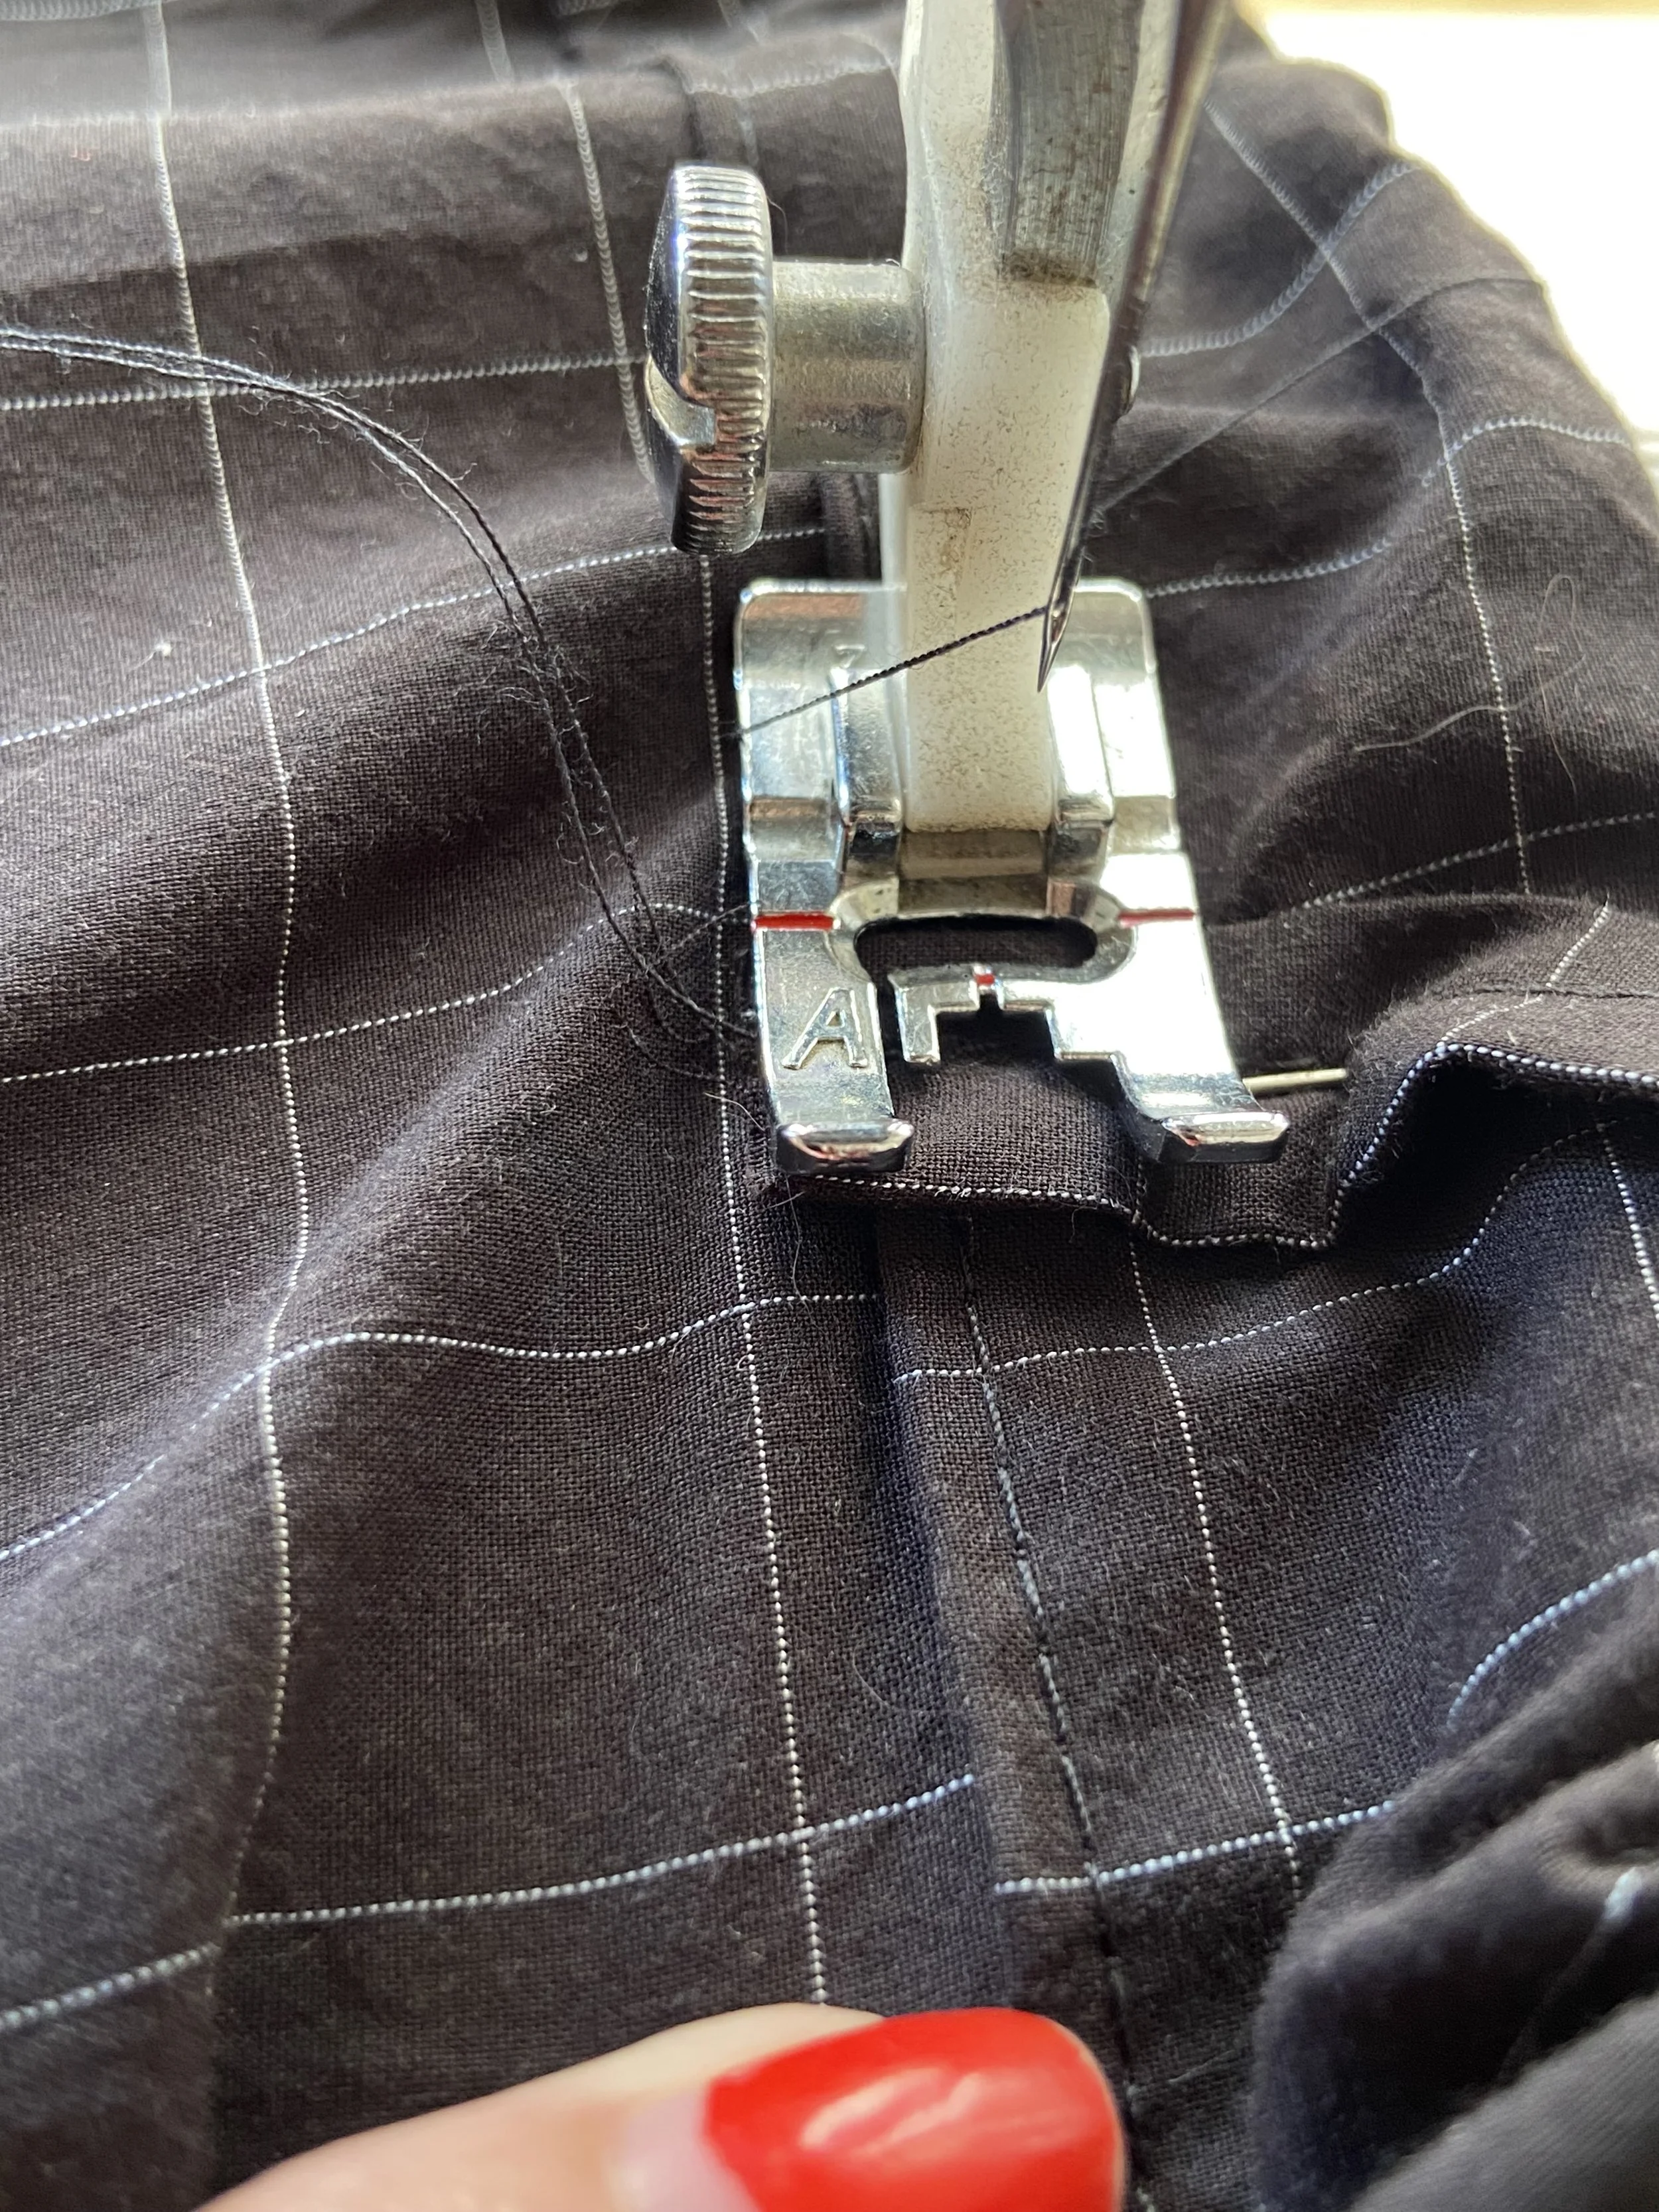
8. Sew the channel closed by sewing an edge stitch (1/4” away from the folded edge) all the way around the shirt, leaving a 2” gap at the side seam or center back to insert the elastic.
9. Measure the elastic: you will need a piece that wraps snugly (but comfortably) around the upper part of your ribcage (where the shirt will sit), plus about 2” for overlap.
10. Using a safety pin (or a bodkin if you’re fancy), thread the elastic through the casing, being careful to make sure that the loose end of the elastic doesn’t get caught into the casing because THEN YOU HAVE TO START ALL OVER (you could alternatively use a second safety pin to prevent this)
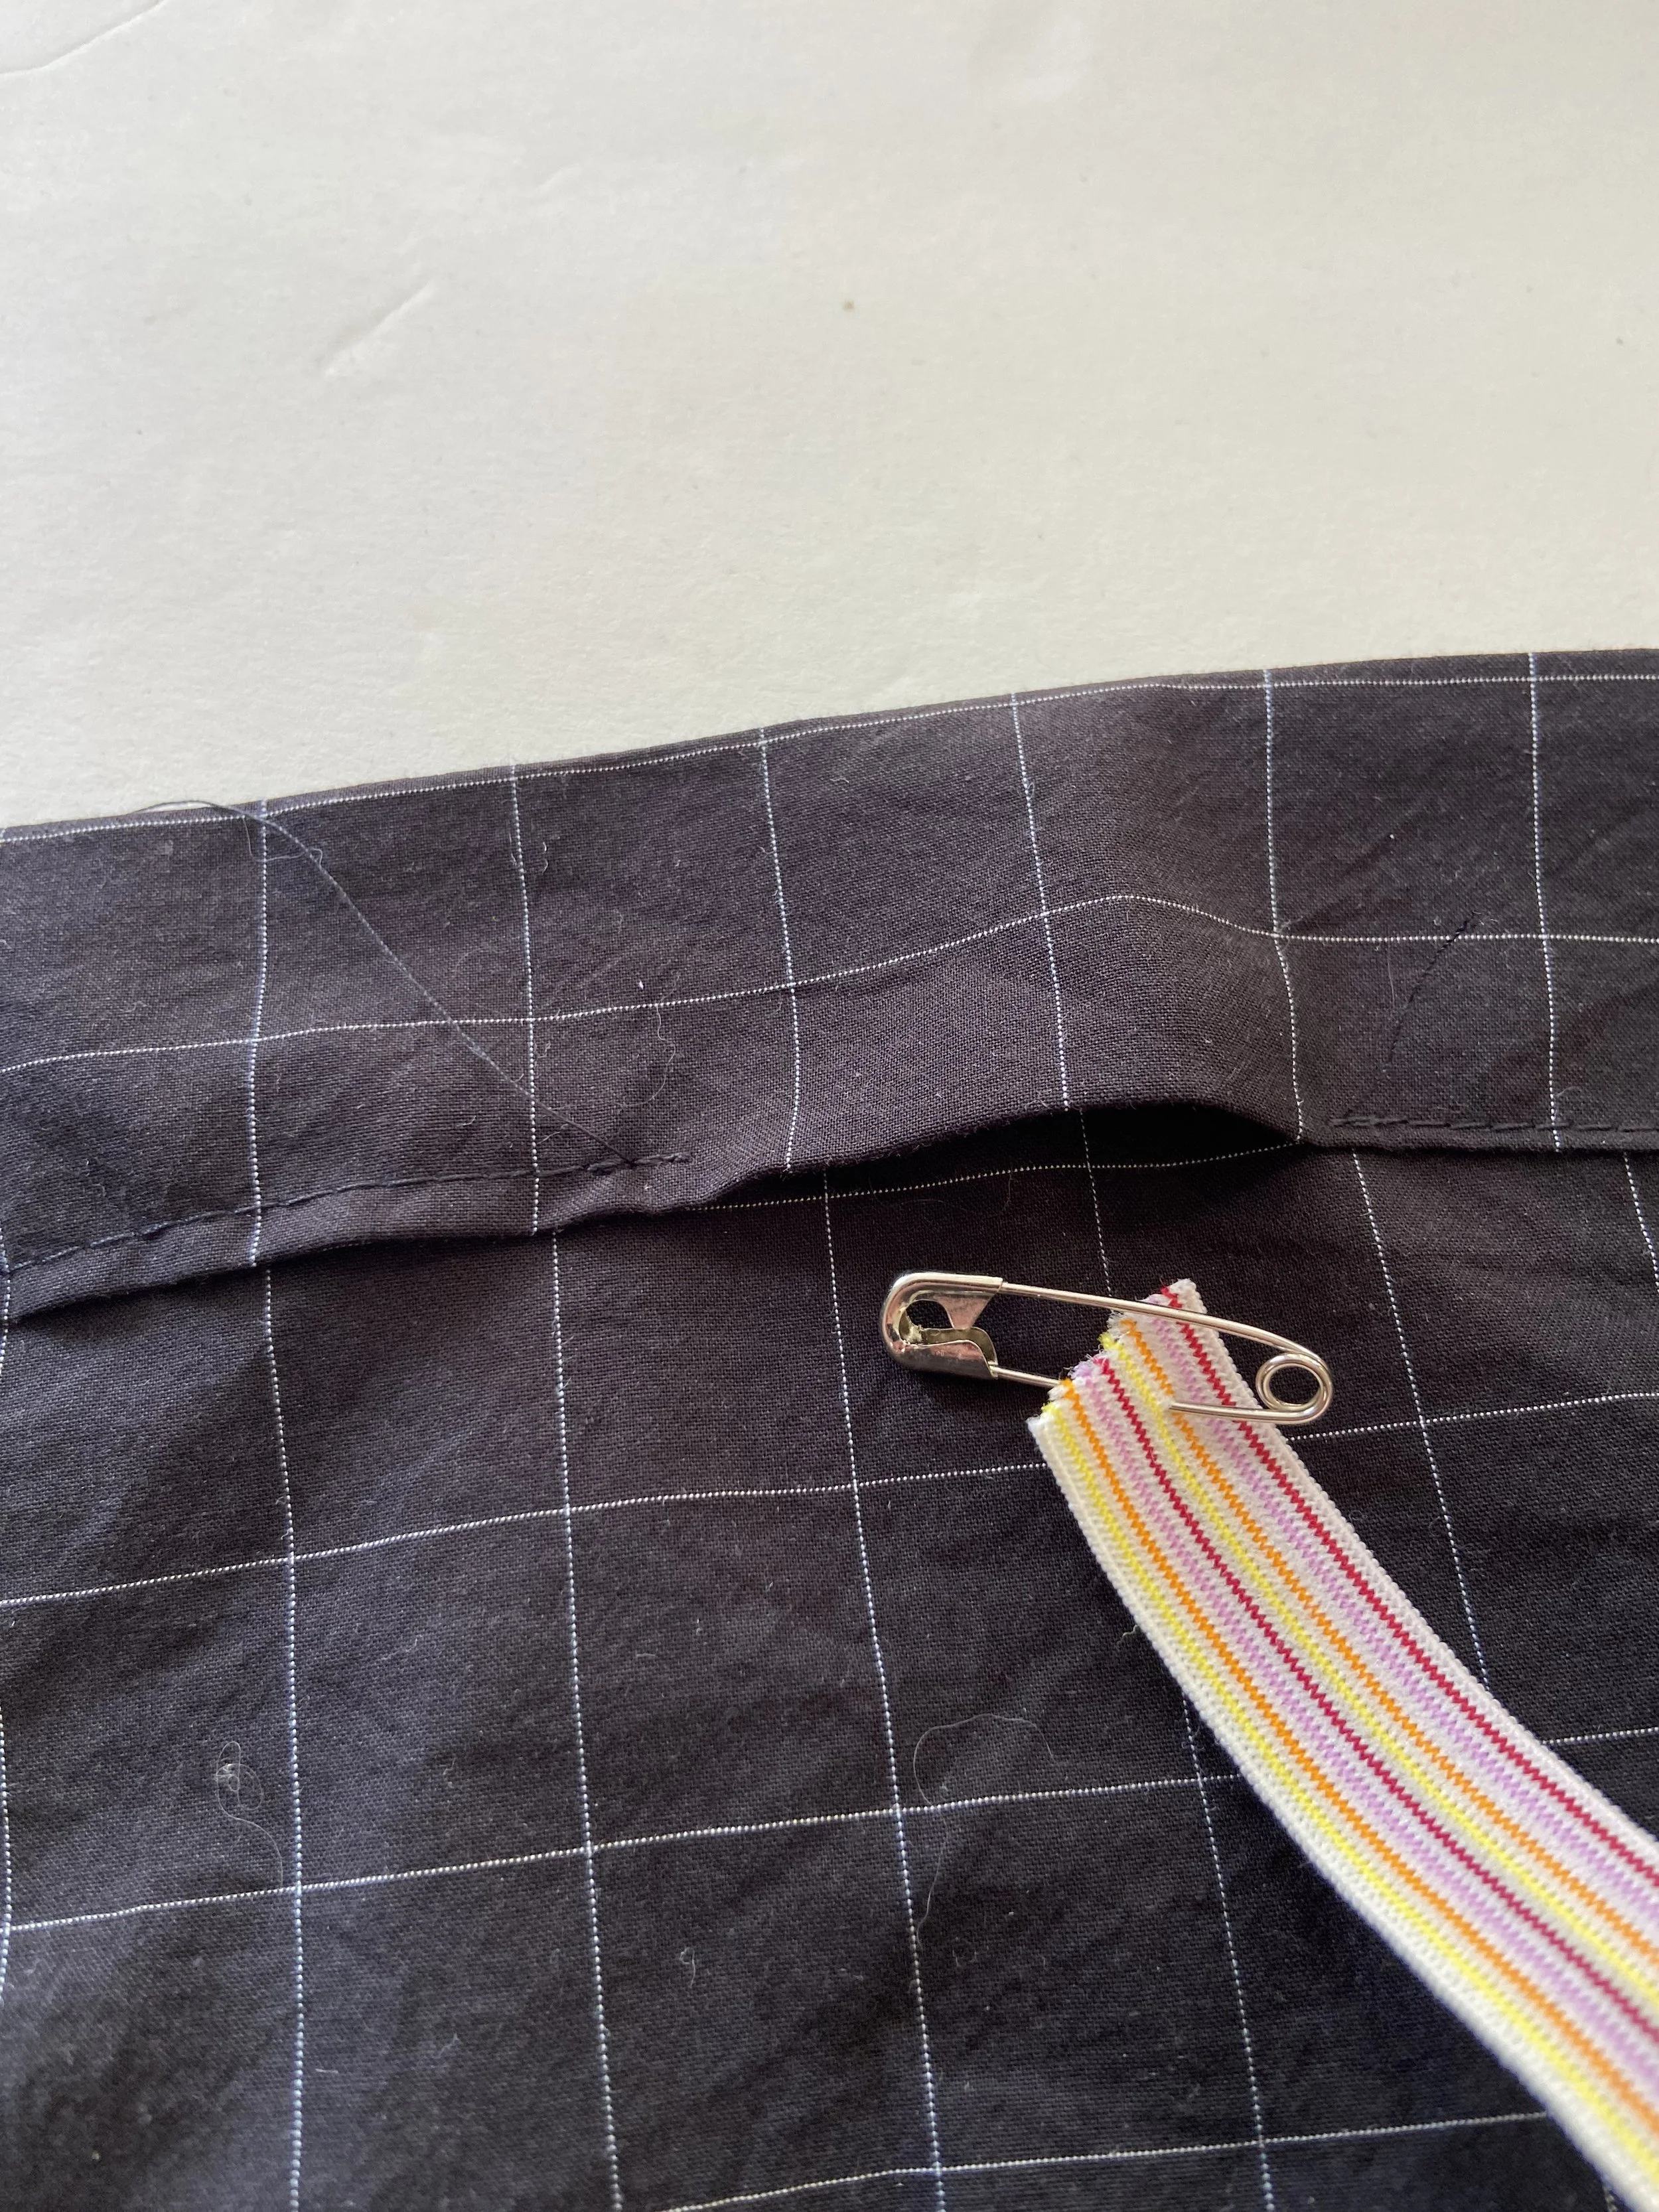
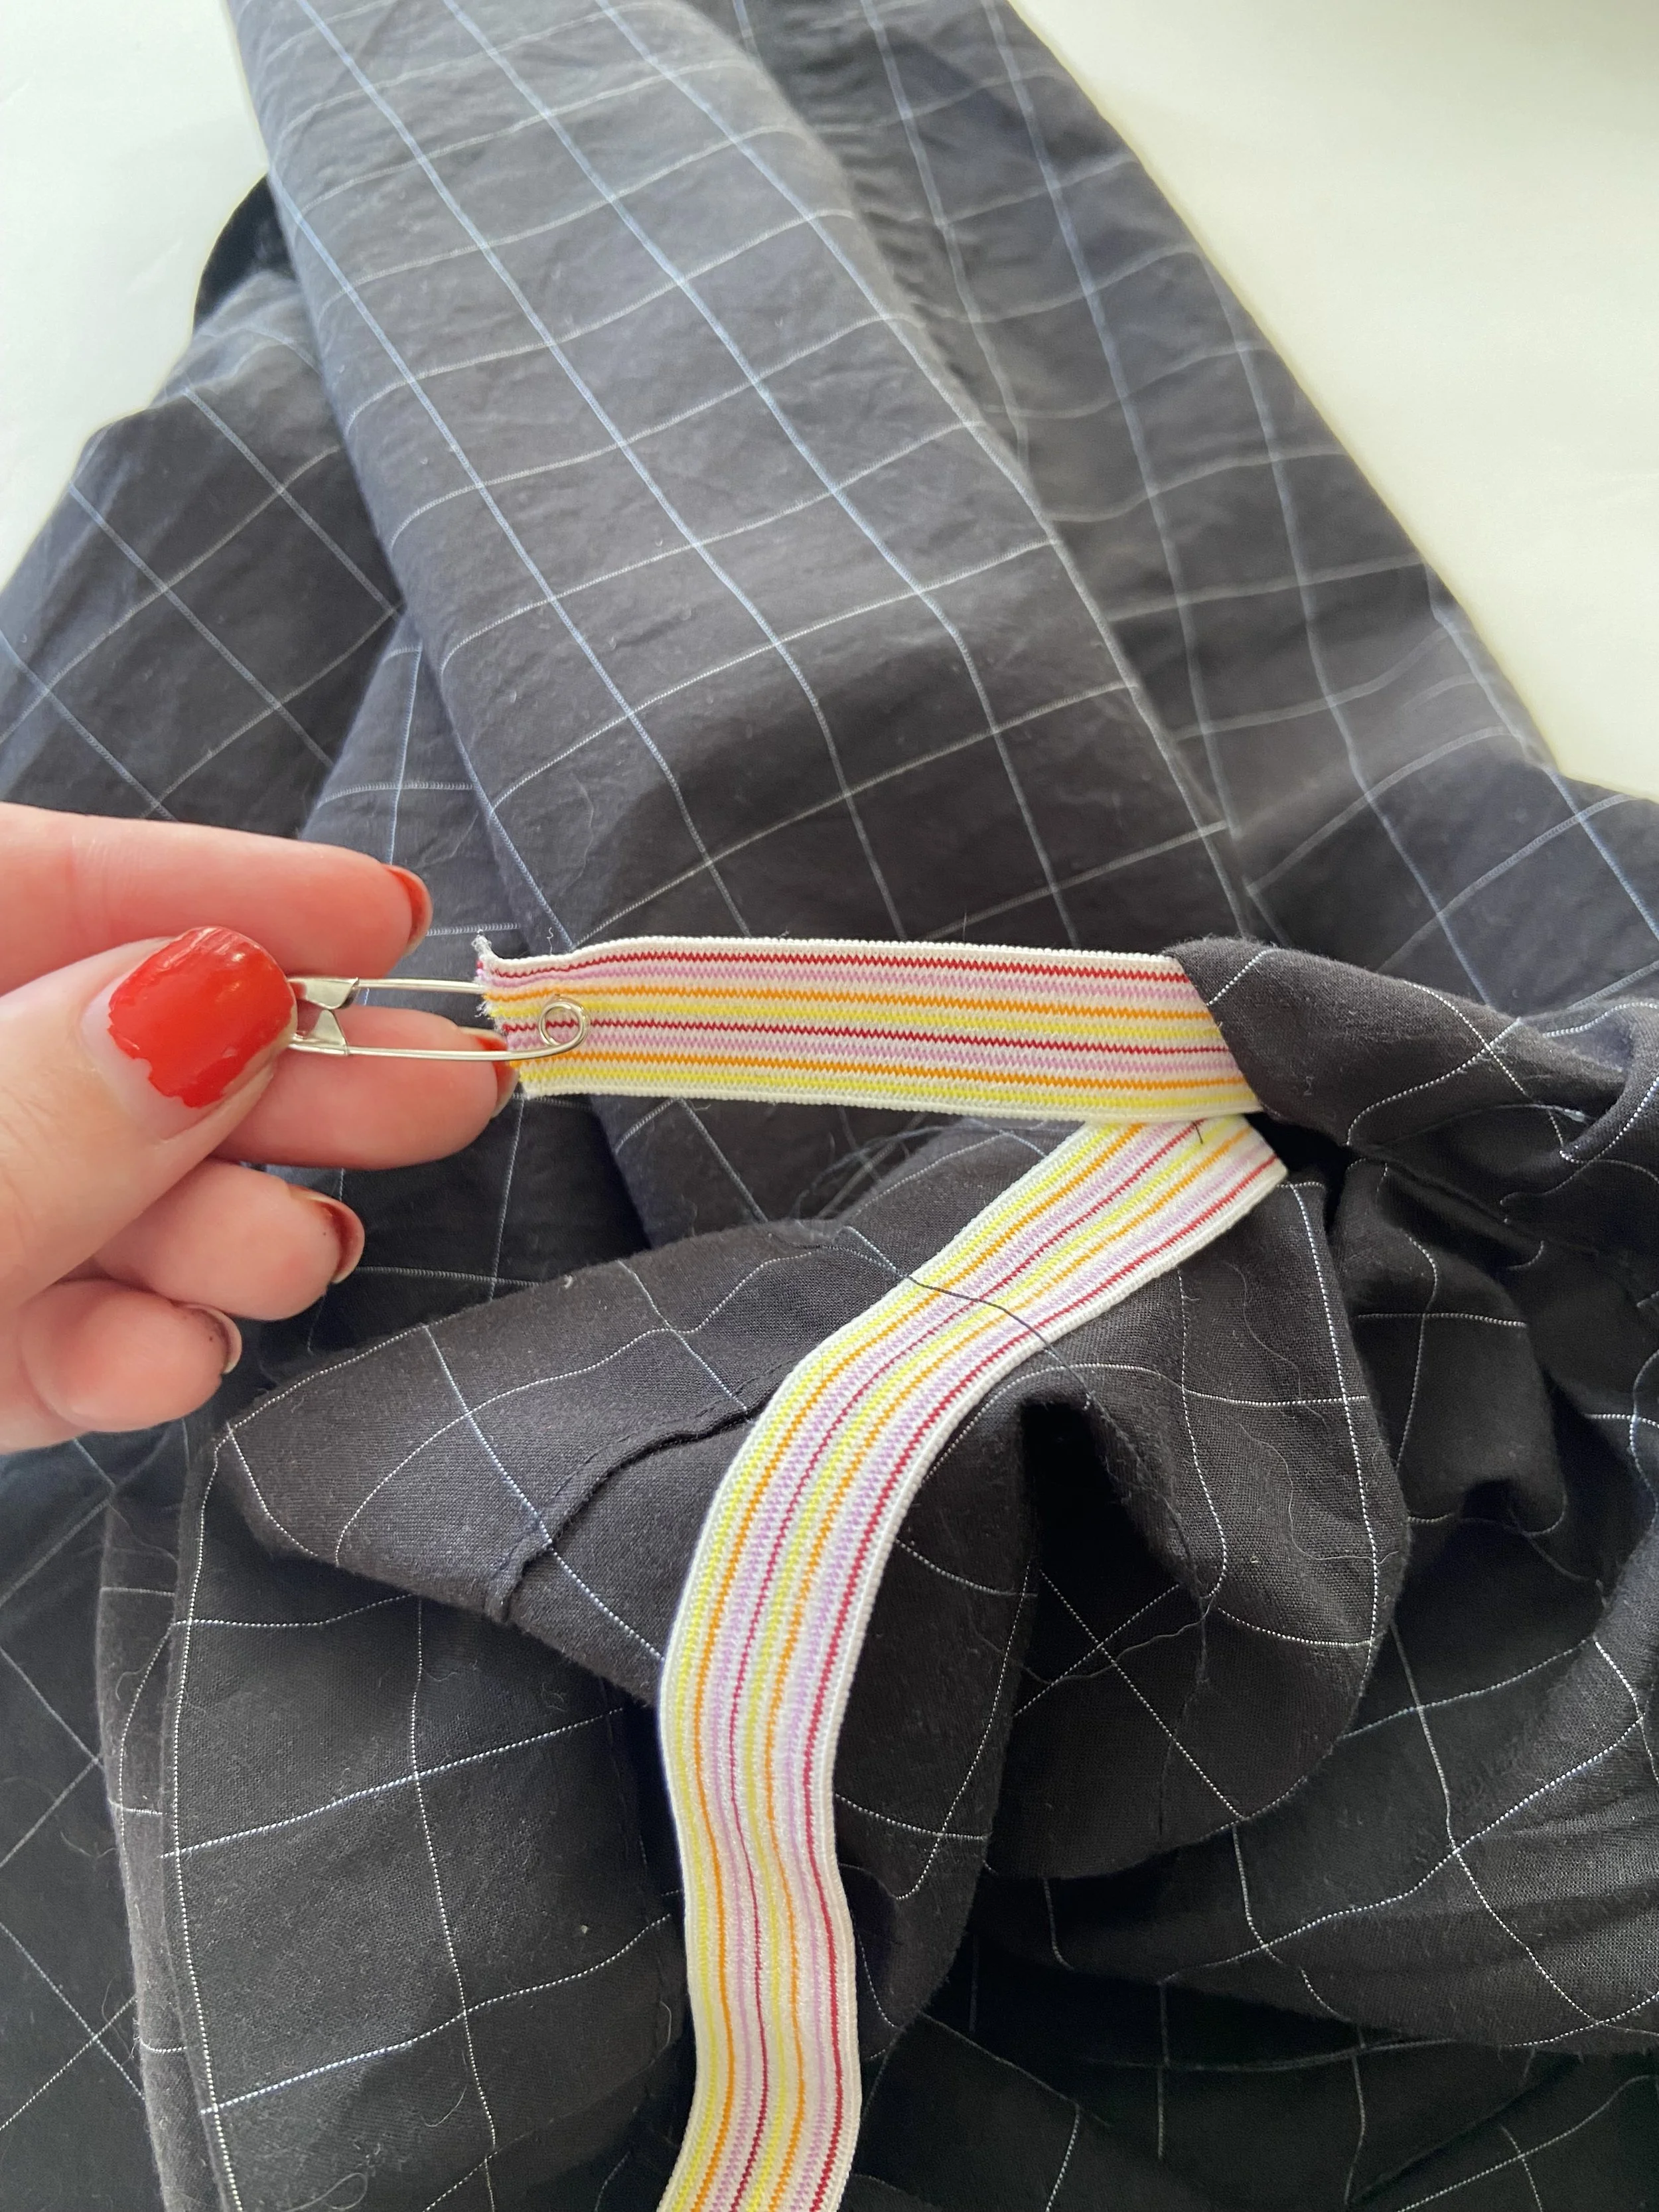
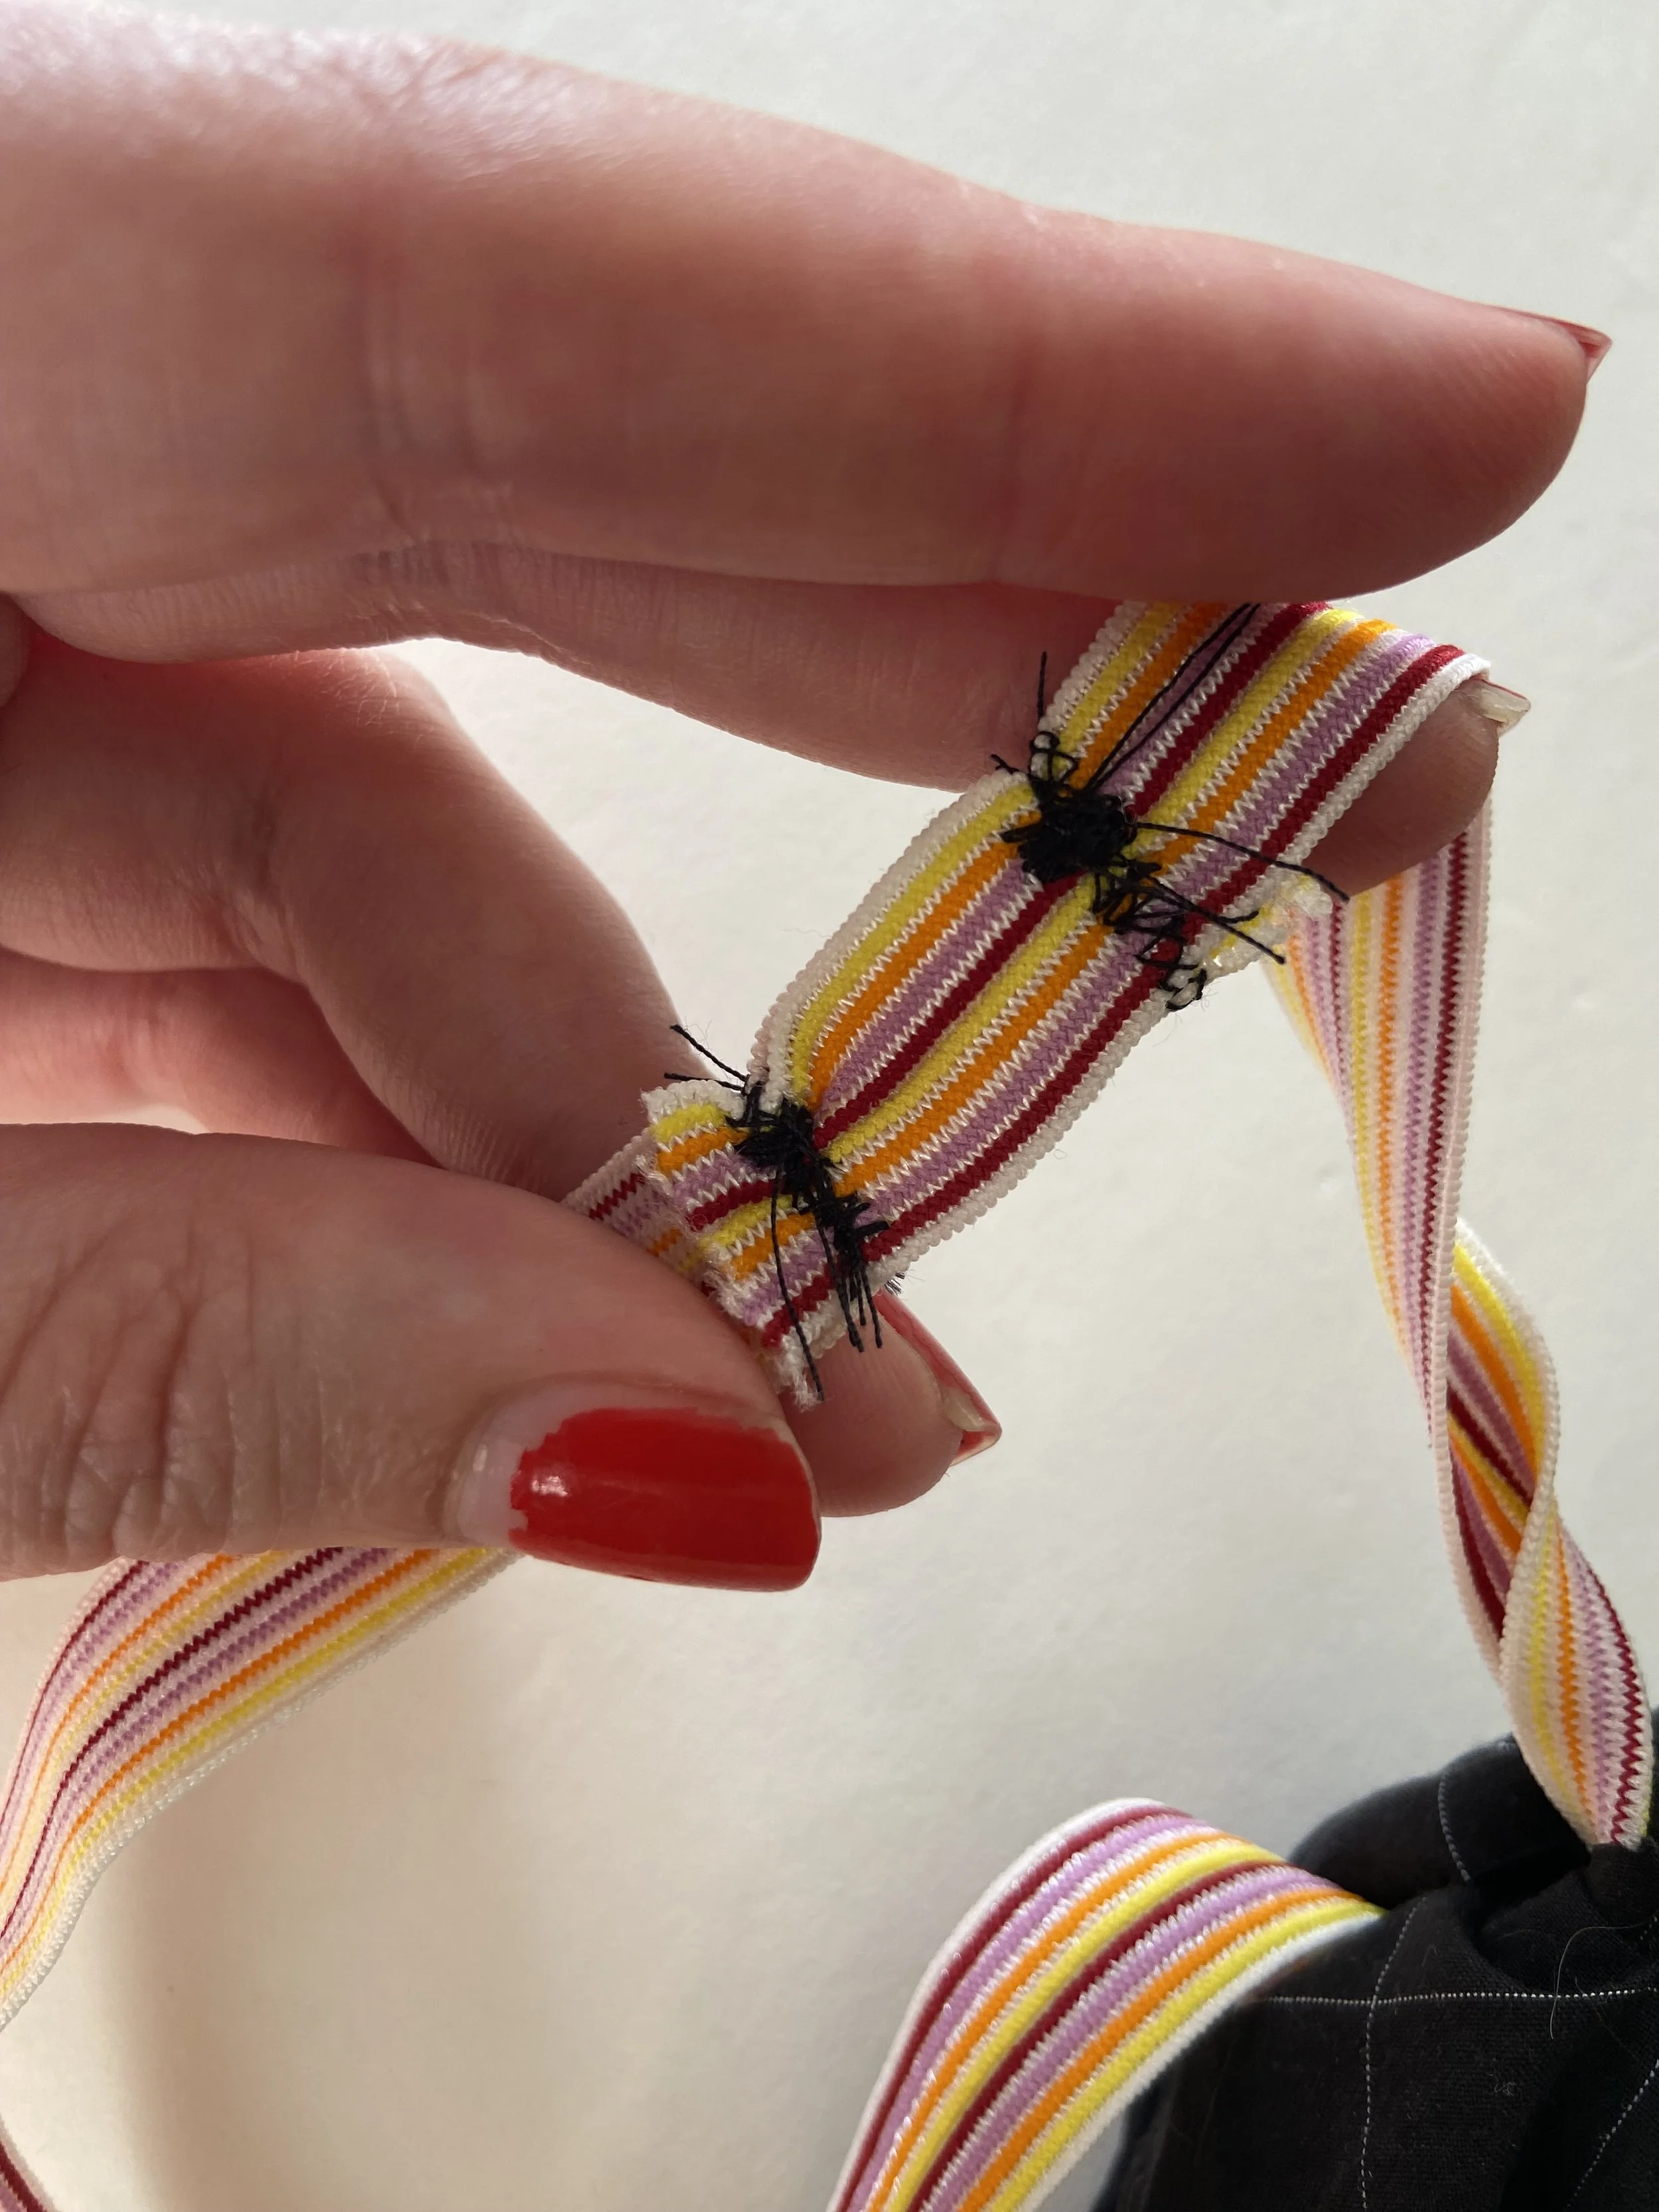
10. Overlap the two ends of the elastic and sew them together as shown to be SURE that it will not pop open while you are wearing this top.
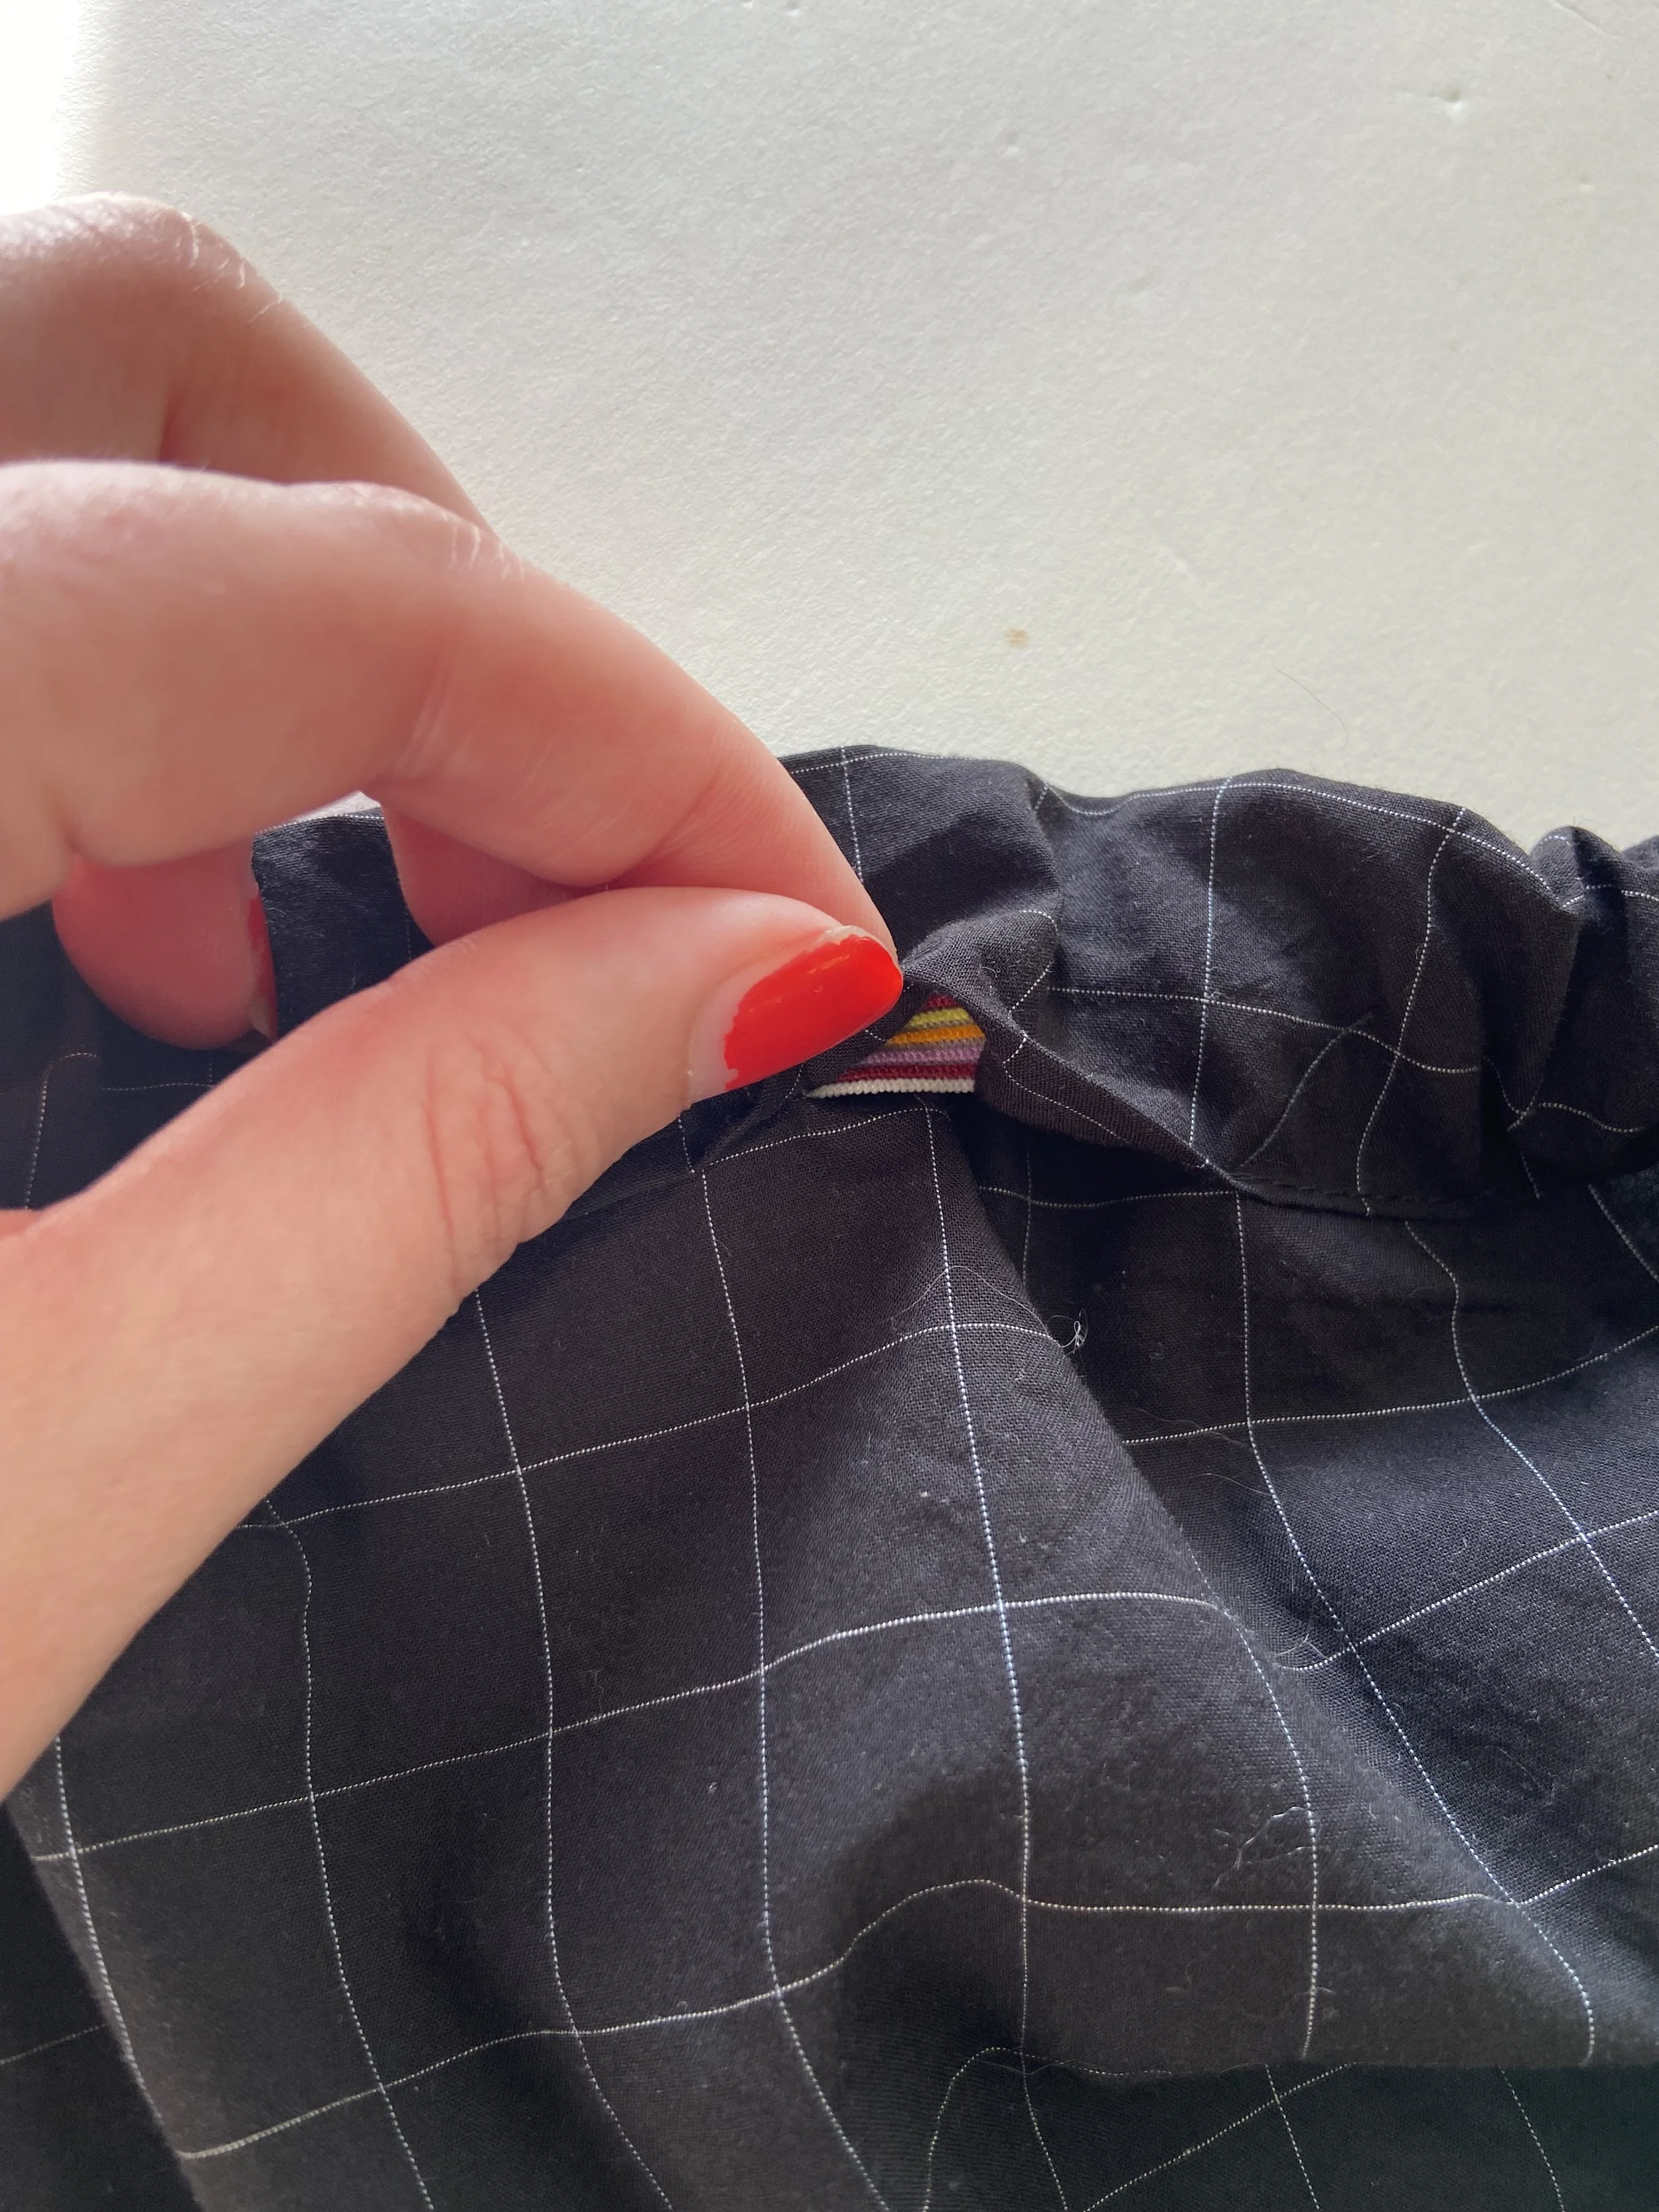
11. Sew the opening of the casing shut.
Now you have a strapless top (or tiny skirt?), which could be the end of this project, BUT, we are going to keep going:
What we’re actually going to do return to the top part of the shirt that we chopped off earlier.
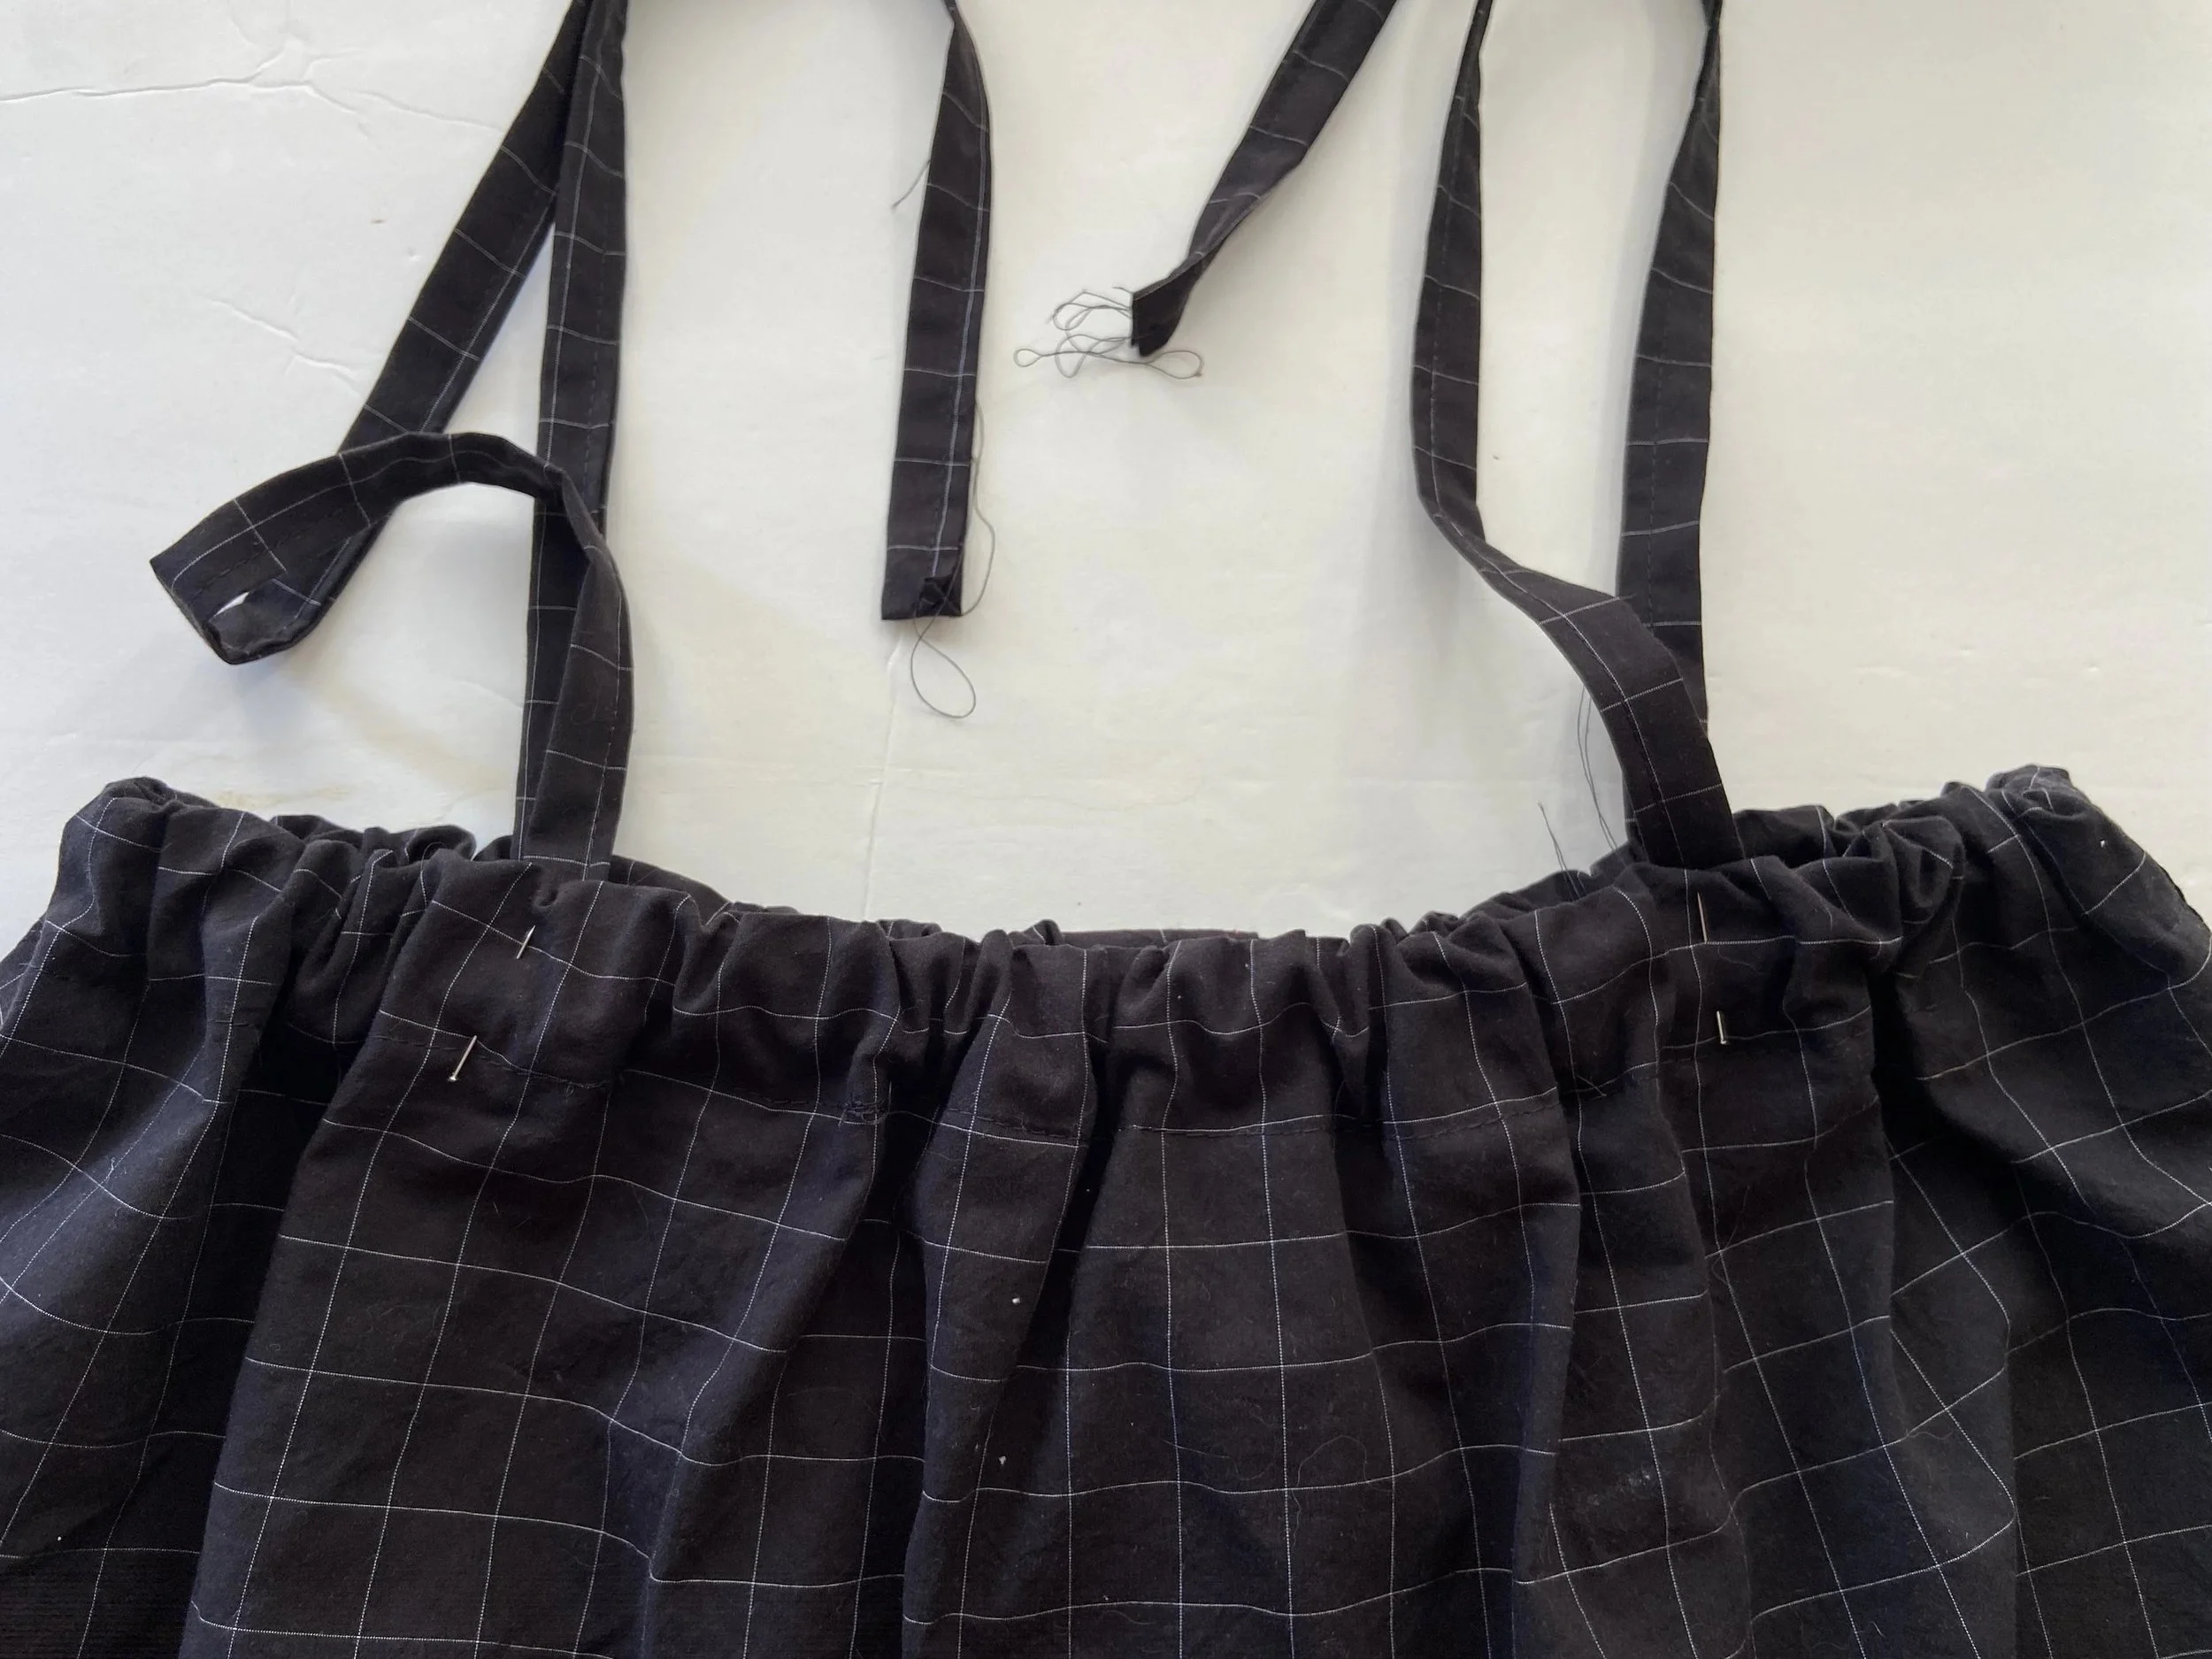
12. Deconstruct the sleeves, starting with cutting them off of the shirt body
Then cut open along the seam.
And cutting off the cuffs.
13 .Press as much of the sleeve fabric flat as you can and lay the two sleeves on top of each other.
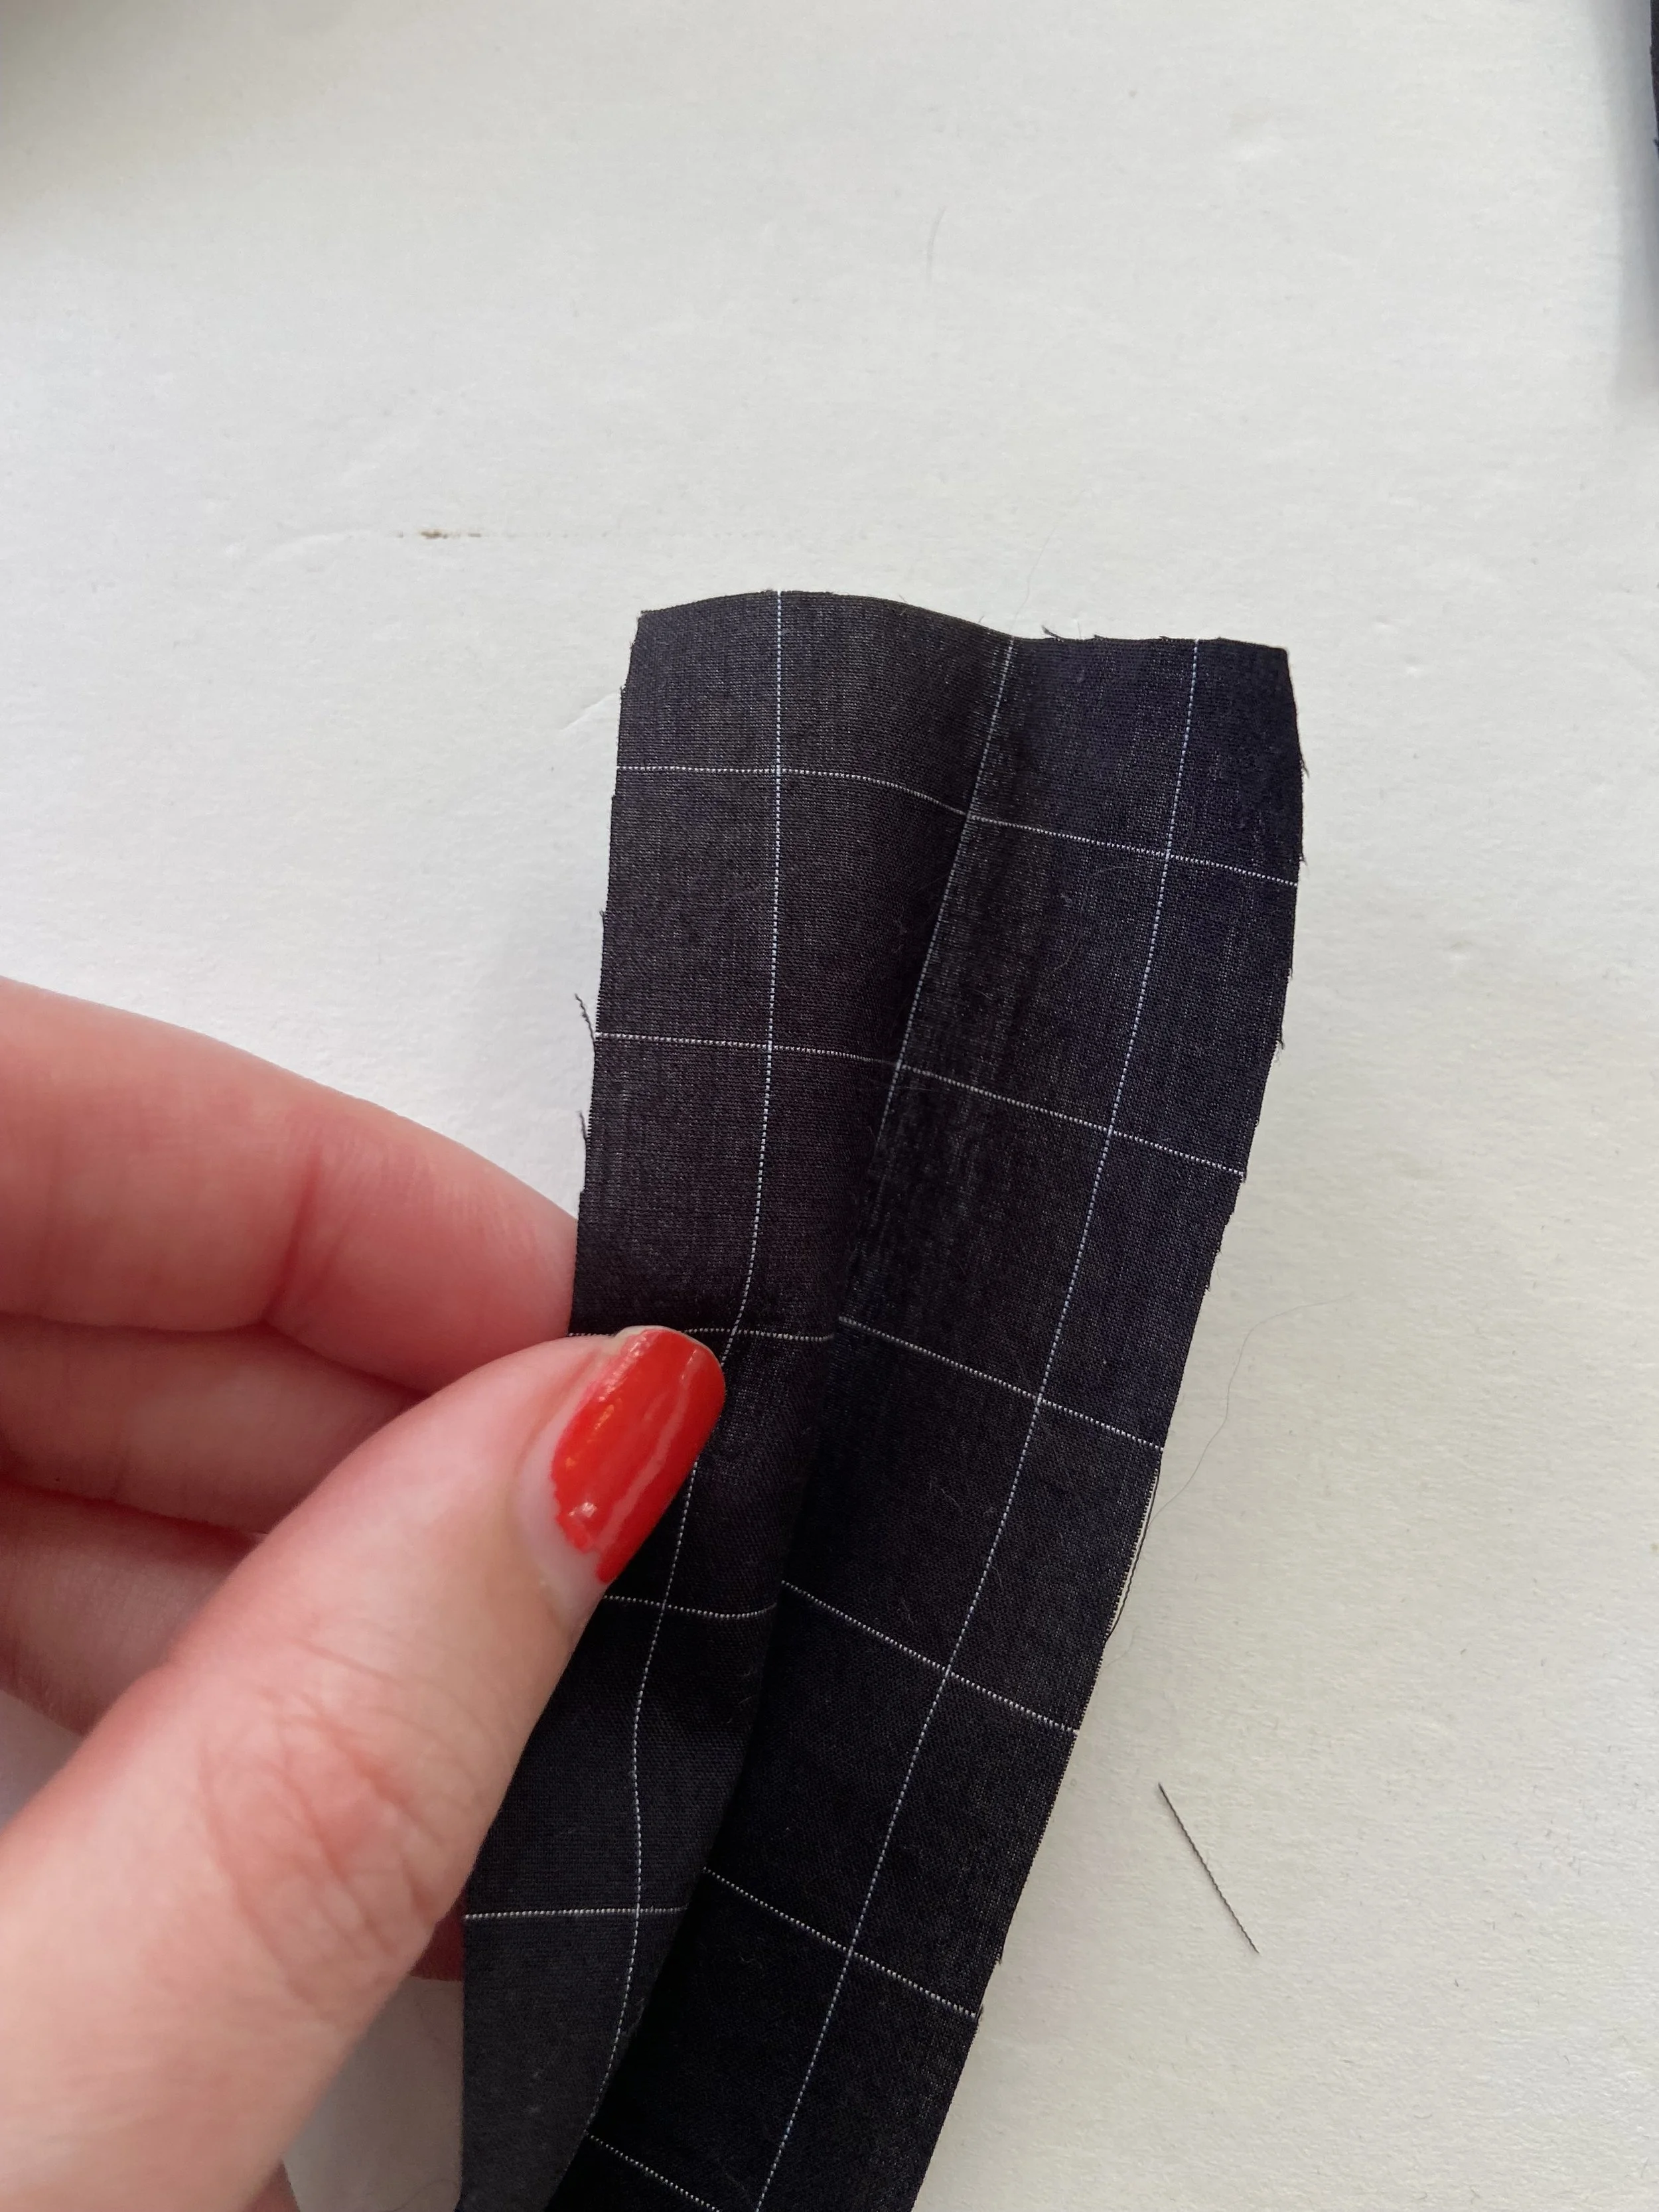
14. Measure and cut four rectangles measuring 2” by 18” to make straps.

1.15. Fold and press the ENTIRE strap lengthwise (hot dog style)
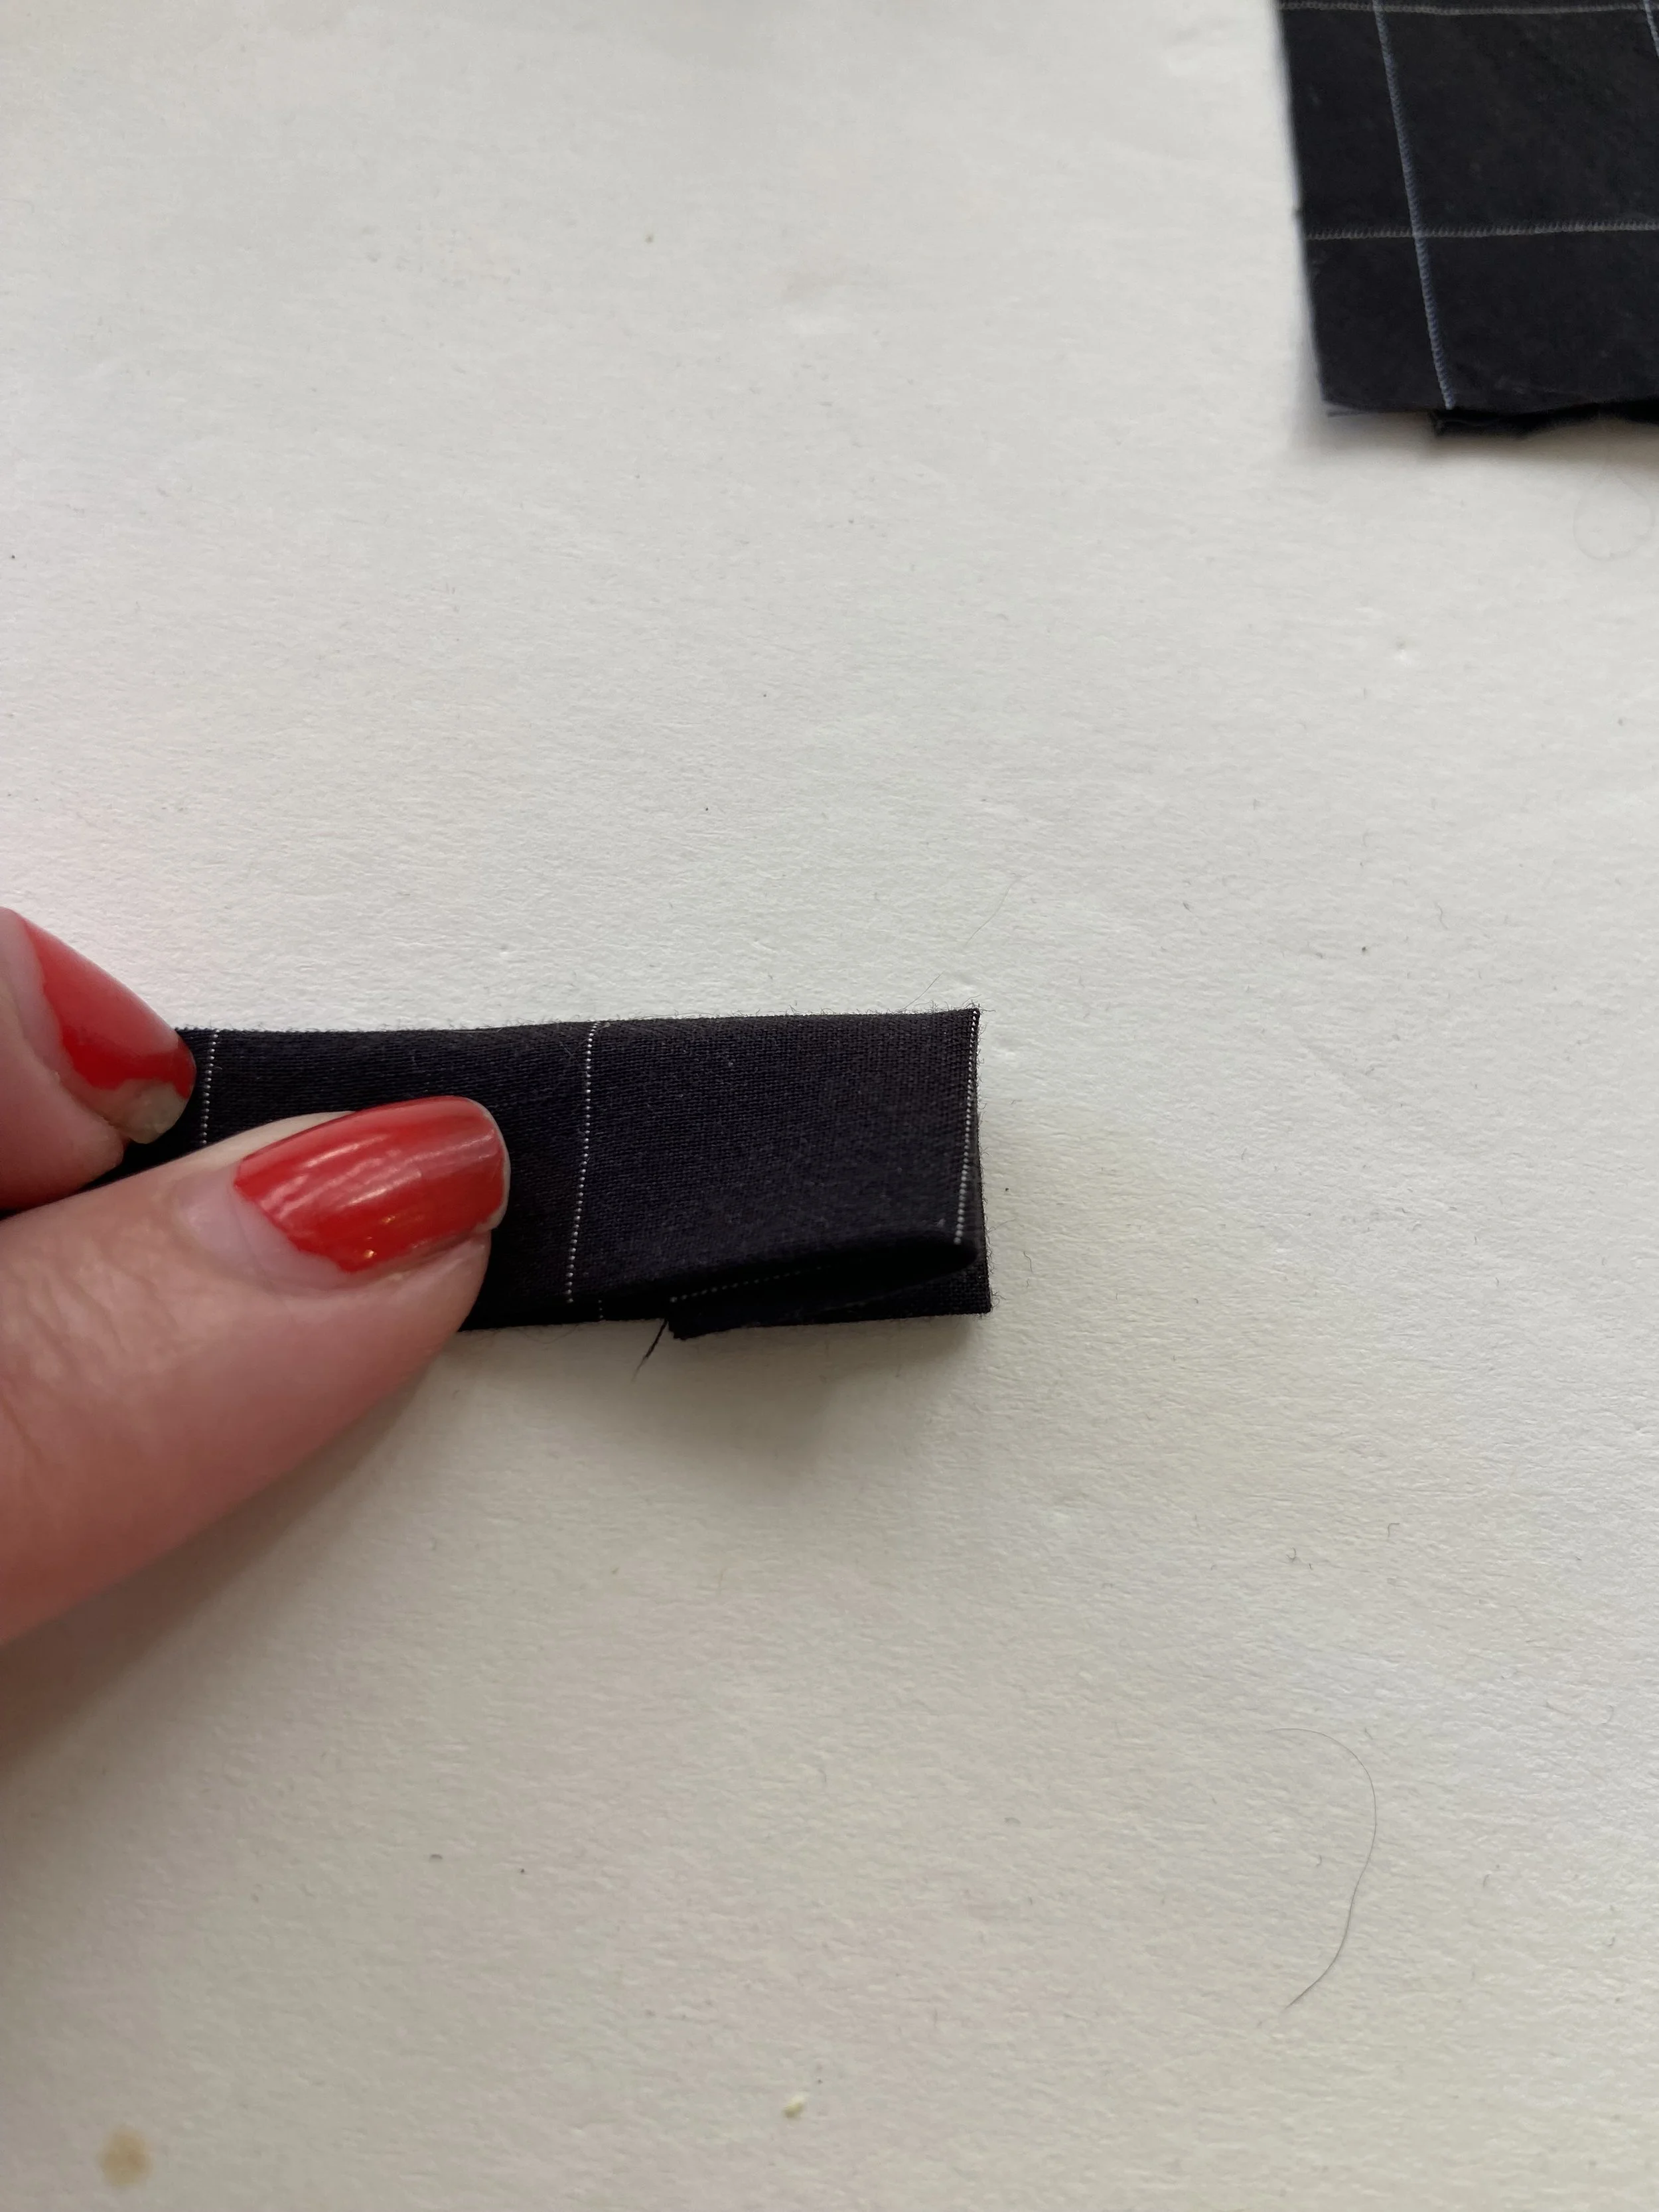
16. Fold each edge inwards towards the center crease

17. Tuck ONE short end in about 1/2”
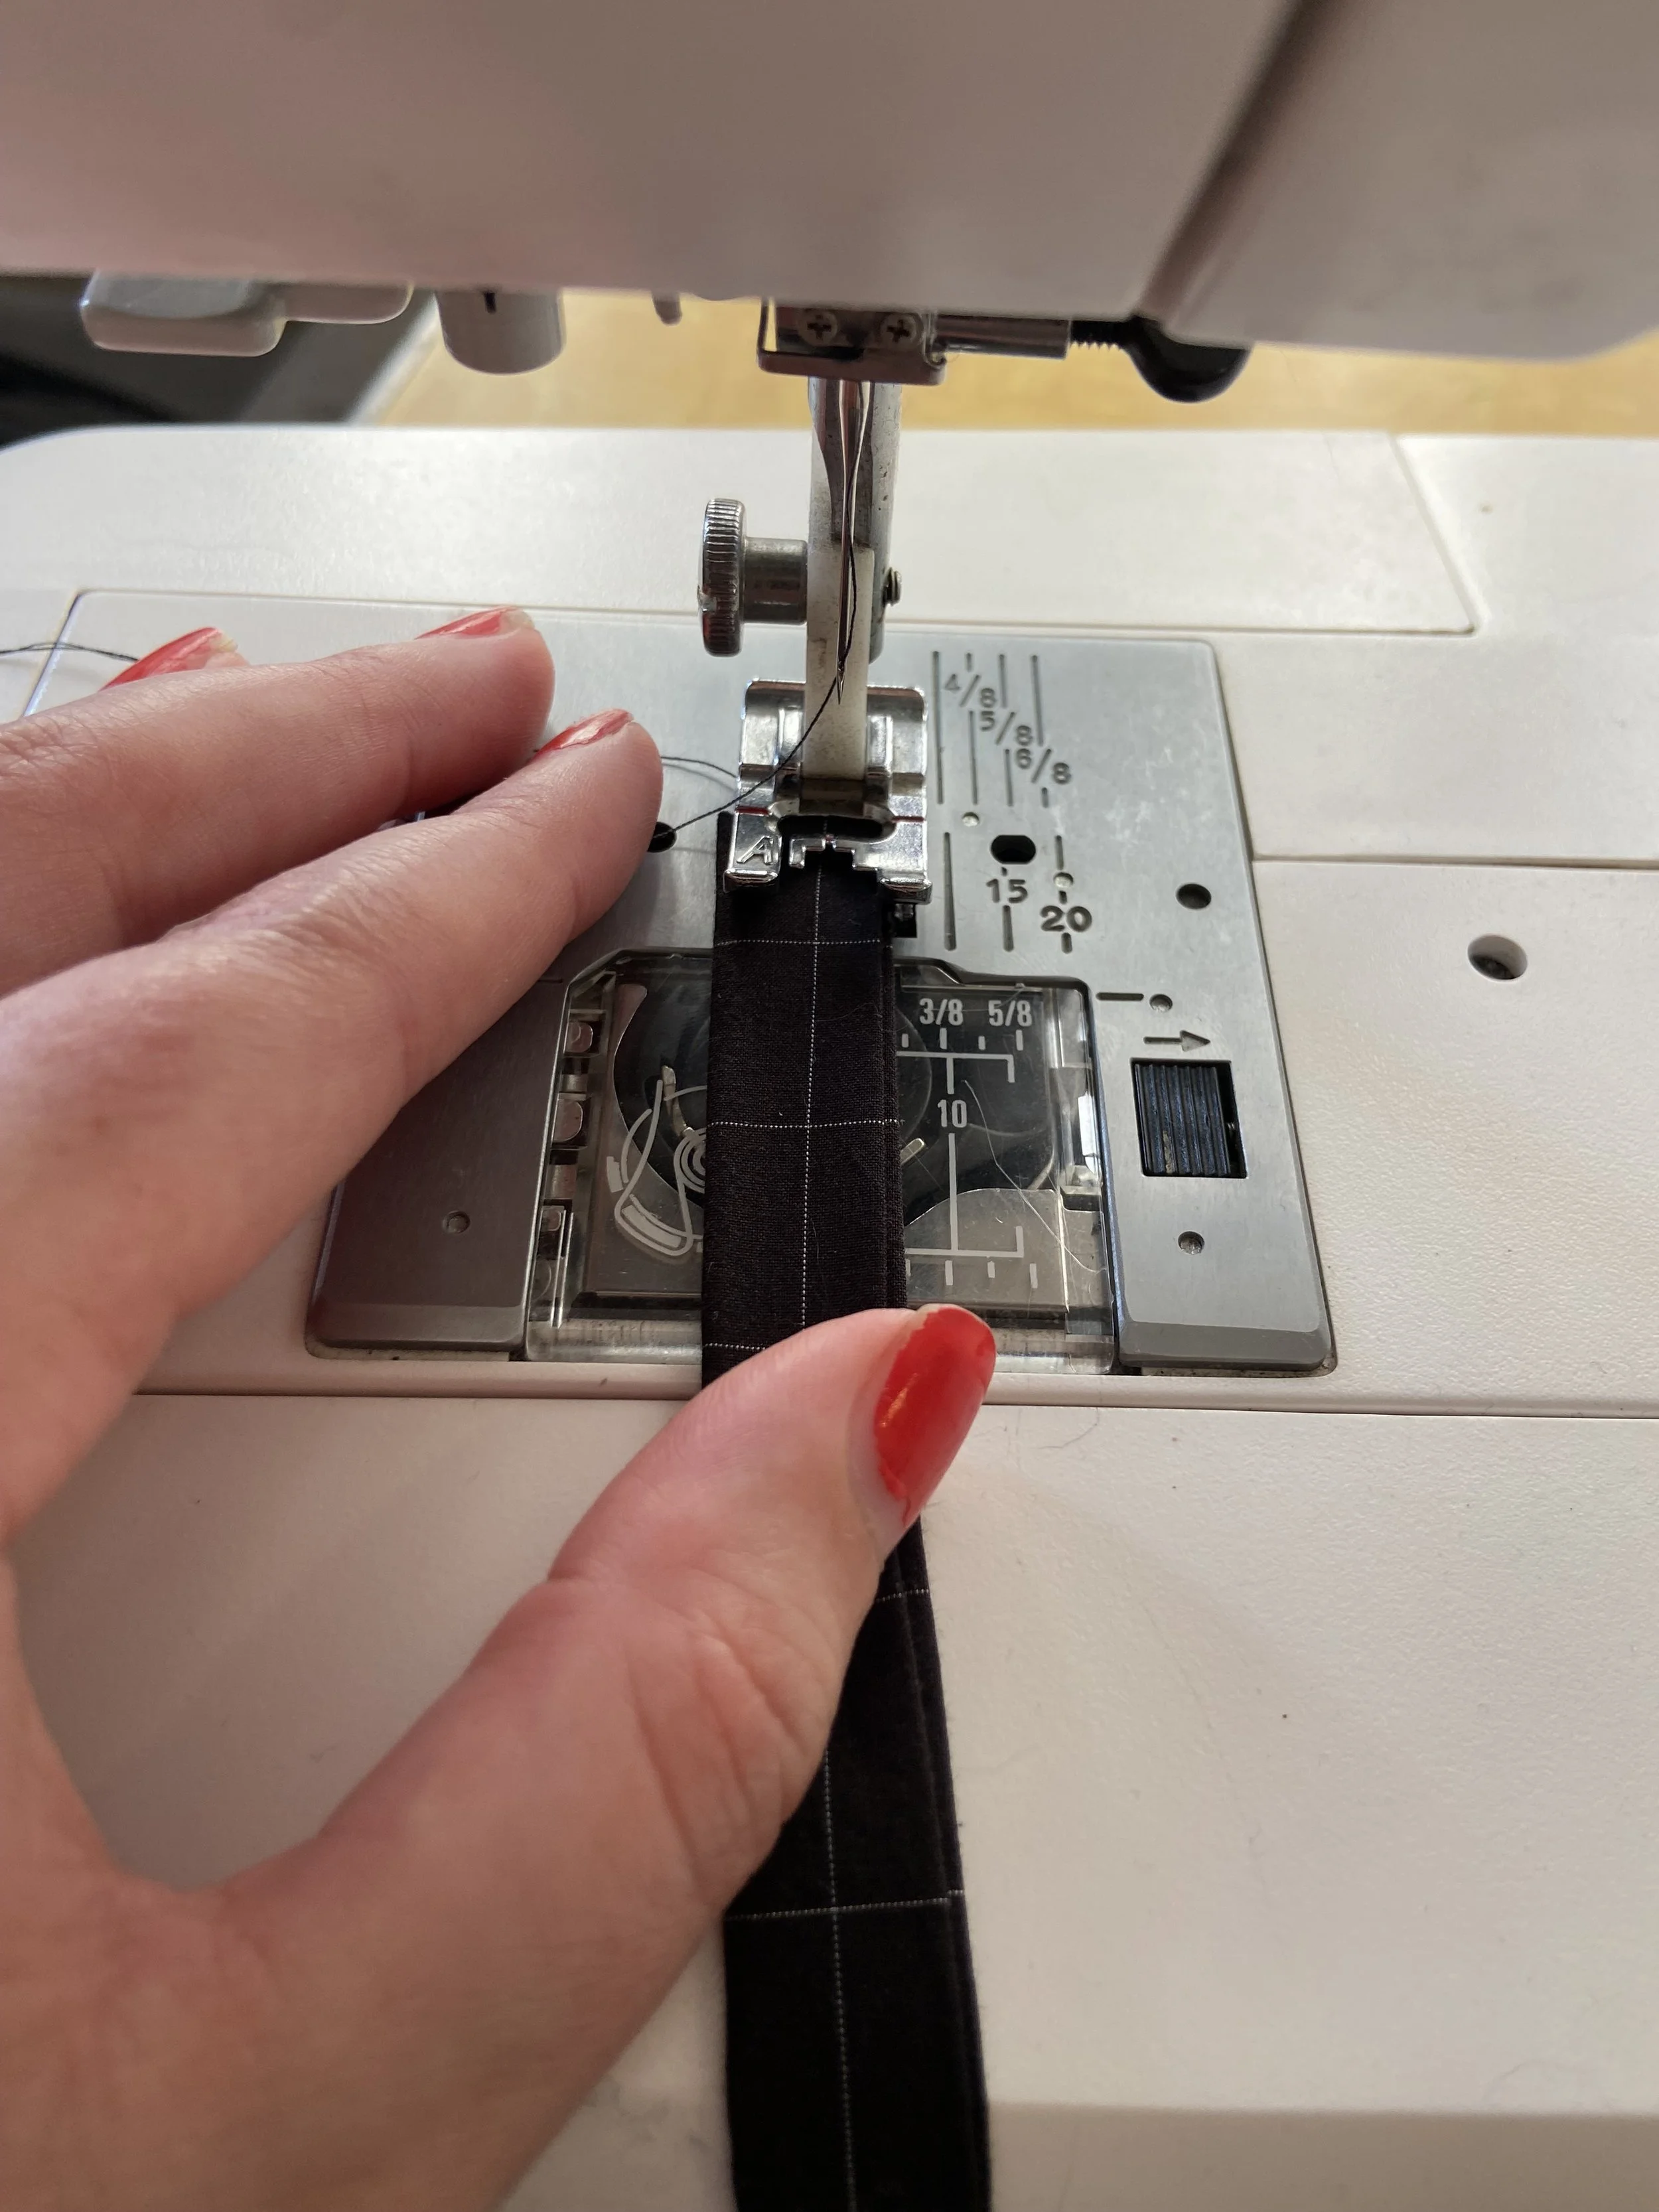
18. Topstitch each strap closed by stitching very close to the open long edge
19. Try on your top, evenly distributing the fabric and mark the strap placement with pins.
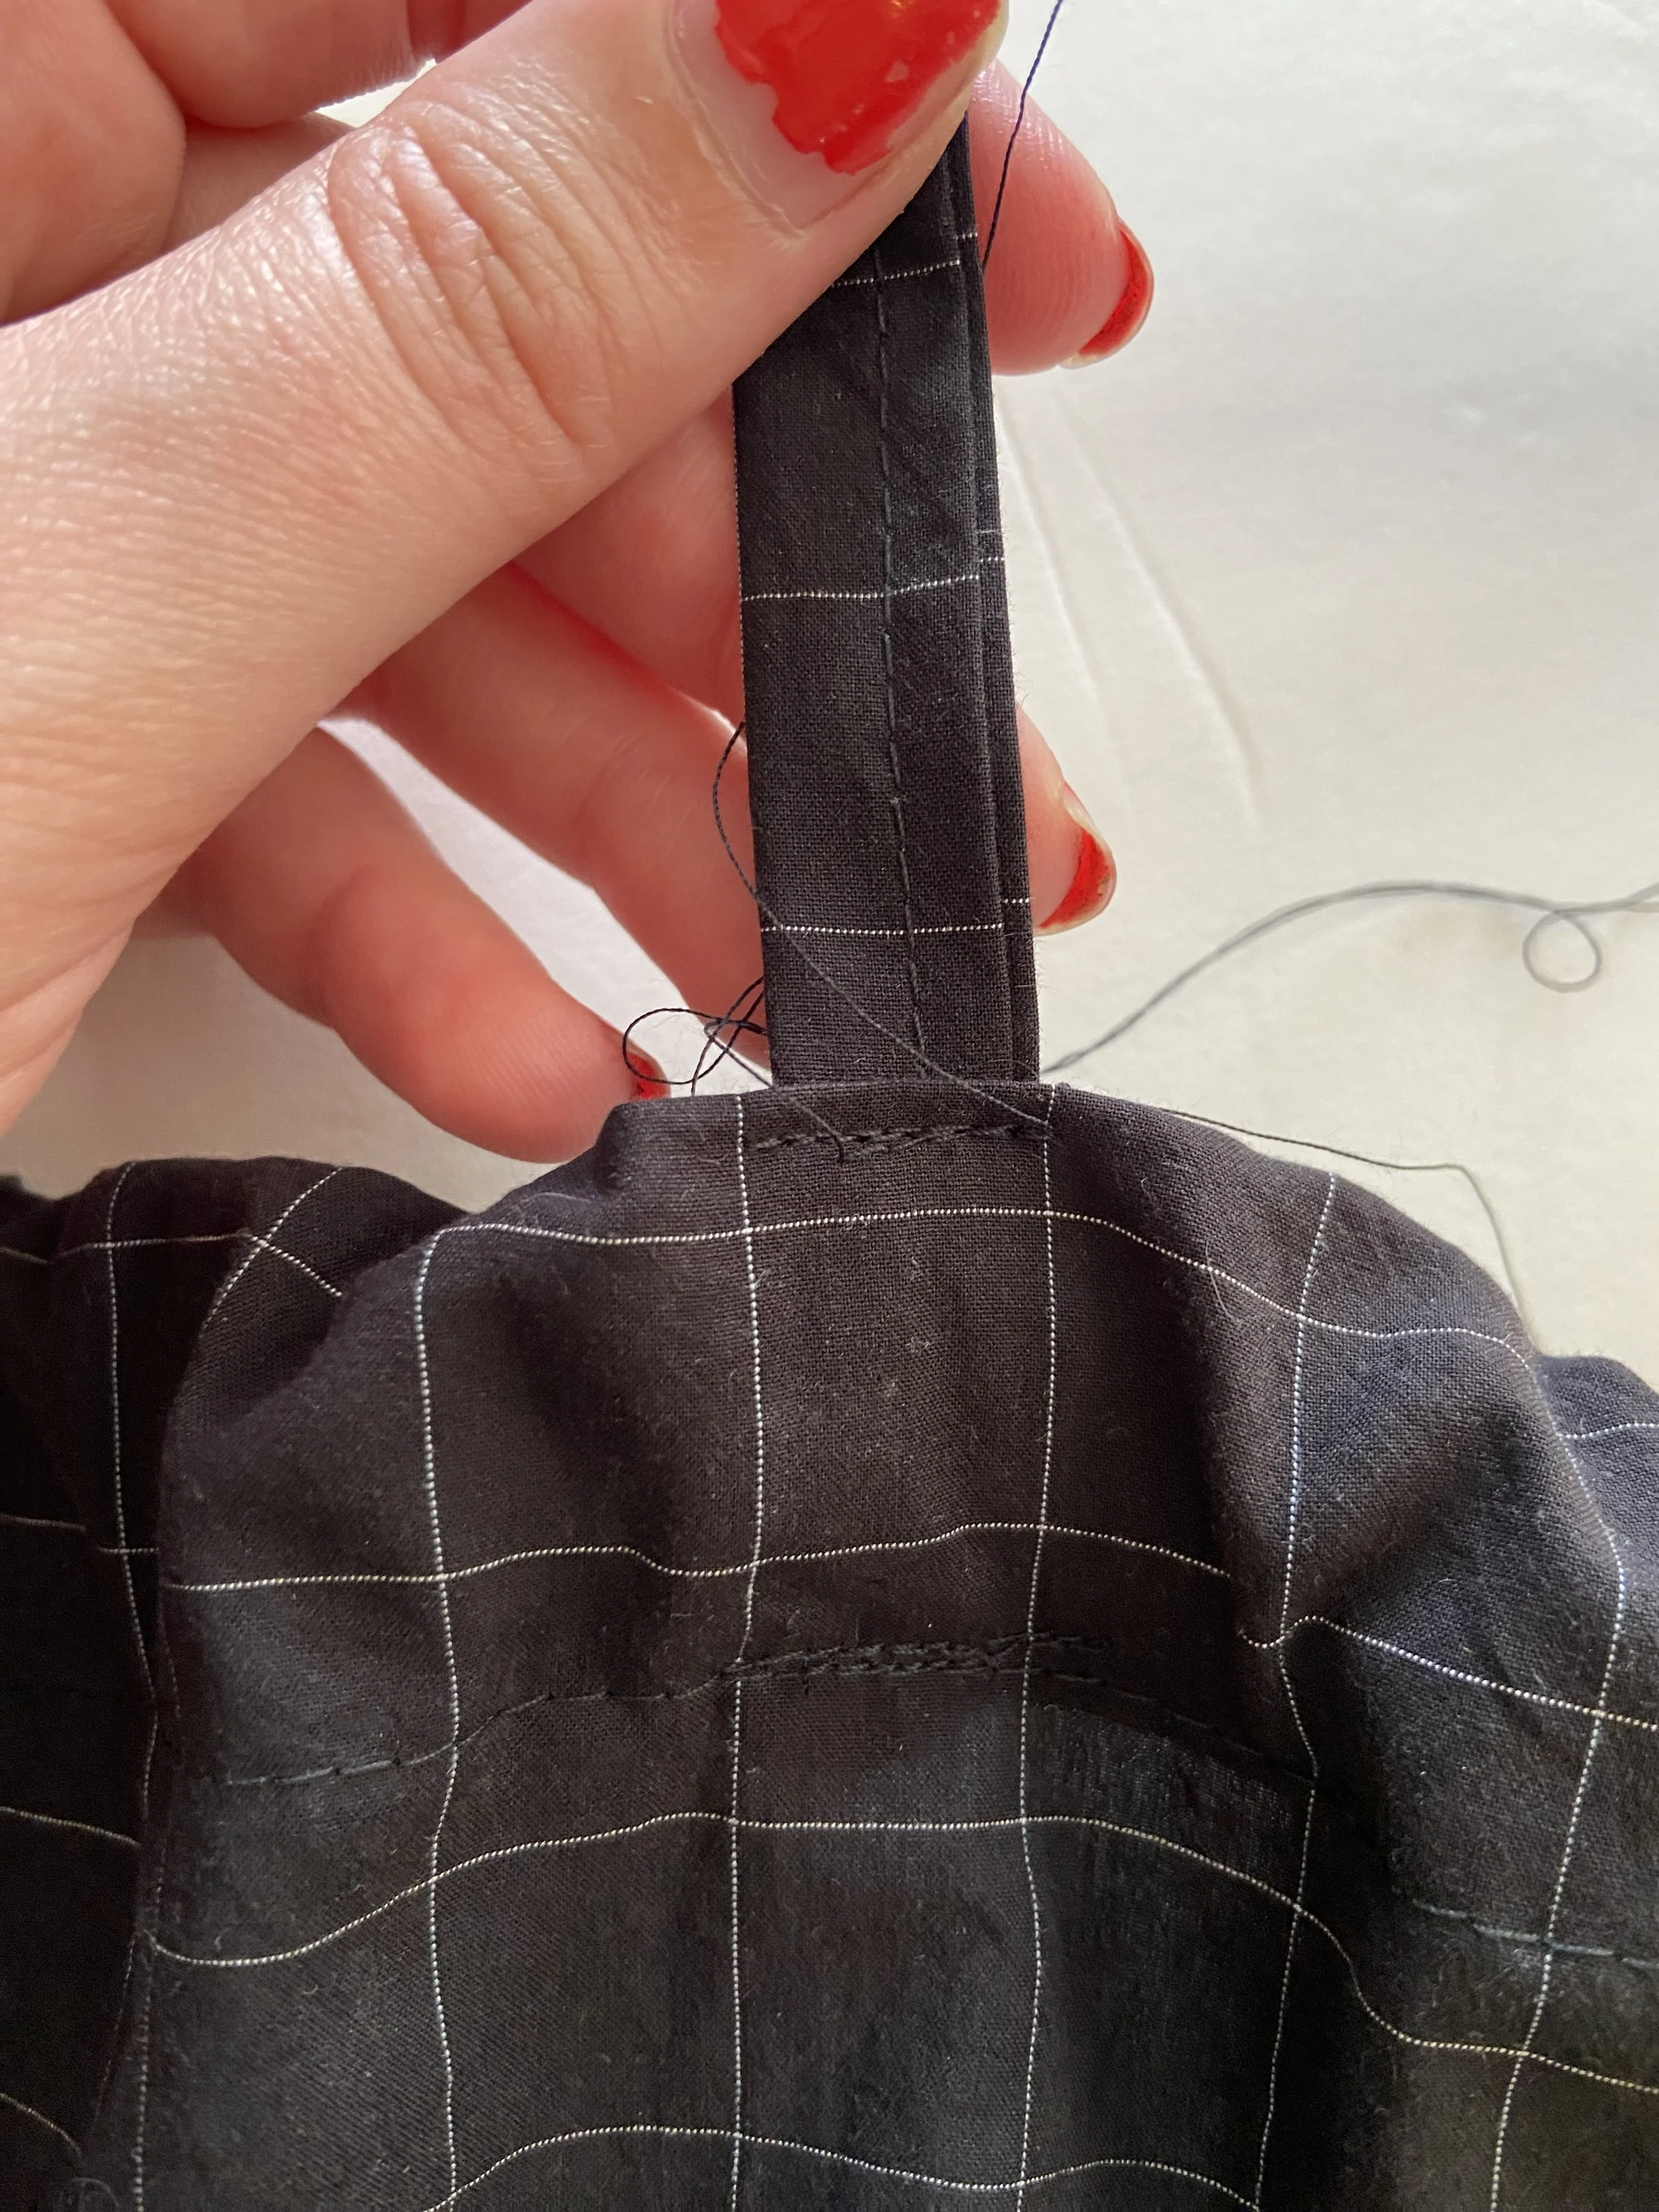
20. Pin the RAW edges of the straps to the INSIDE of the top matching the pins (adjusting for symmetry if necessary!)
21. Sew straps, matching seam lines with the seam of the elastic channel.
22. Reinforce straps by sewing a second line of stitching very close to the top edge of the elastic channel.
23. Clip your threads, give a final press, and enjoy your new top!!!
Customization Inspiration:
Obviously, I can’t end a sewing project without giving suggestions on how to customize your top to make it EXACTLY the way that you want it:
- Change up the straps: try skinnier straps, ribbon straps, or adjustable straps withrings and sliders
- Try a strapless or halter version
- Add a second elastic channel to the hem and make a bubble top
- Button two shirts together for a patchwork top
- Skip the straps and use this tutorial to make a child-sized or mini skirt
I hope that you have enjoyed this tutorial. If you share pictures of your makes, please tag me (@victoriaannmeyers) and use the #VAMSummerBlouse hashtag so I can hype you up!!!
While I share these tutorials for free in the hopes that people will use them to build their sewing skills in an accessible way, I also offer a PDF download of this project for sale HERE for those that would like to support my family financially as I continue to work on figuring out how to make my dream sewing studio a reality.
Additionally, if you’d like to join me in person to make this project (and SO MANY OTHERS!) I have an affiliate link for Craftcation right here!
Thank you so much for being a part of this journey!